 AutoCAD
 AutoCAD LT
 Fusion
 AutoCAD Revit LT Suite
 Architecture, Engineering & Construction Collection
 Revit
Revit Civil 3D
 BIM Collaborate Pro
 Product Design & Manufacturing Collection
 Maya
Maya Inventor
 Navisworks
 3DS Max
 Fusion Extensions
 AutoCAD
 AutoCAD LT
 Fusion
 AutoCAD Revit LT Suite
 Architecture, Engineering & Construction Collection
 Revit
Revit Civil 3D
 BIM Collaborate Pro
 Product Design & Manufacturing Collection
 Maya
Maya Inventor
 Navisworks
 3DS Max
 Fusion Extensions
 AutoCAD
 AutoCAD LT
 Revit
Revit Civil 3D
 BIM Collaborate Pro
 AutoCAD Revit LT Suite
 Navisworks
 Revit LT
 3DS Max
 Forma
Forma Architecture, Engineering & Construction Collection
Save on the products you need with the AEC Collection and discover the toolkit that expands your skill set.
 AutoCAD
 AutoCAD LT
 Fusion
 Maya
Maya Inventor
 Navisworks
 3DS Max
 Recap Pro
 Alias Concept
 Fusion Extensions
 Product Design & Manufacturing Collection
Save on the products you need with the PDM Collection and discover the toolkit that expands your skill set.
PDM Collection includes:
 Maya
Maya 3DS Max
 Maya Creative
 Flame
Flame Arnold
 Recap Pro
 Mudbox
 Flow Capture
 Media & Entertainment Collection
Save on the products you need with the ME Collection and discover the toolkit that expands your skill set.
Task 1: Adding a Polycloud Markup to a Revit 3D Model
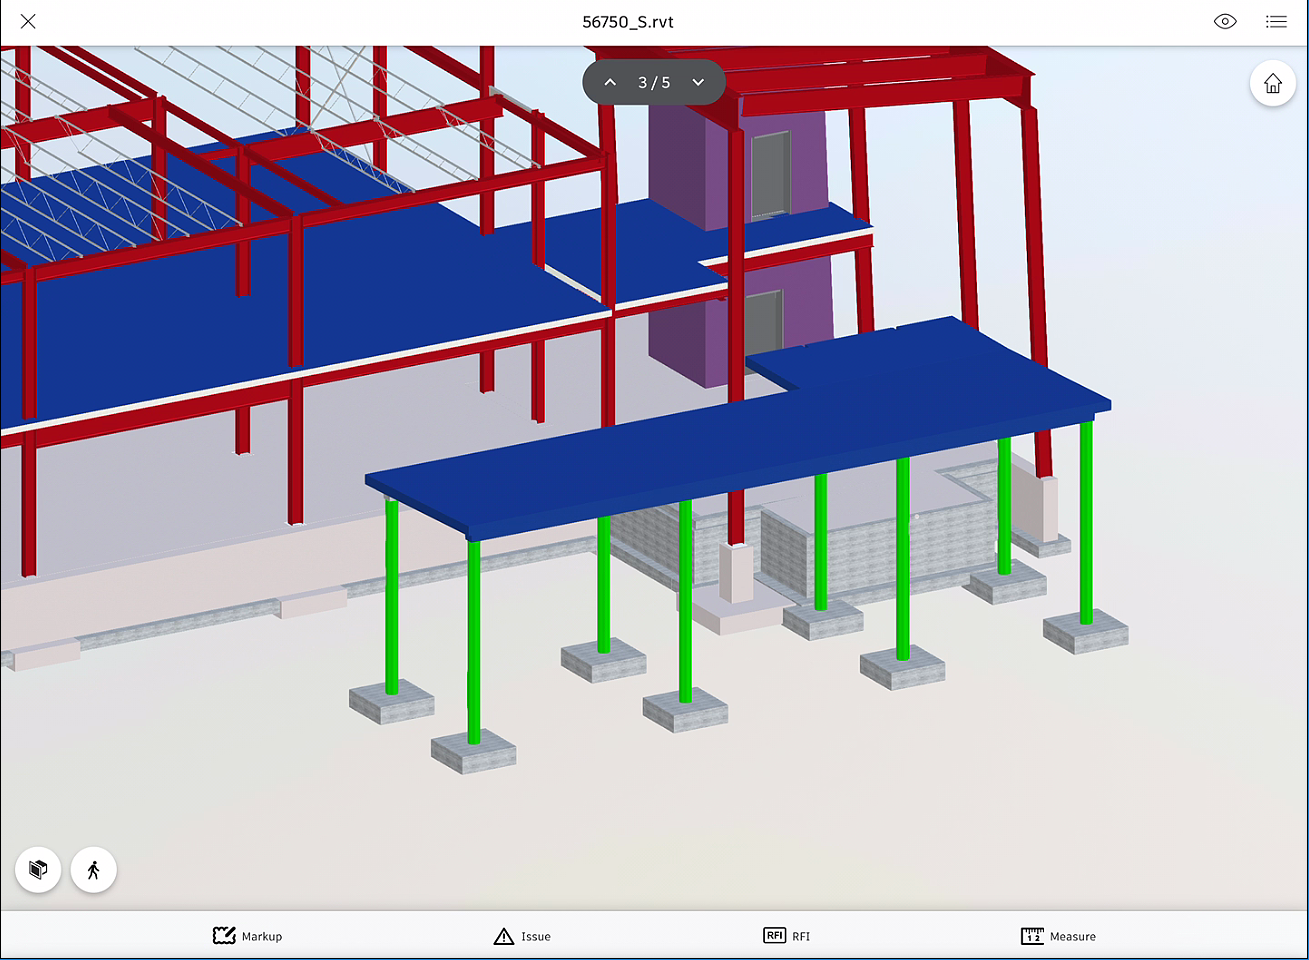
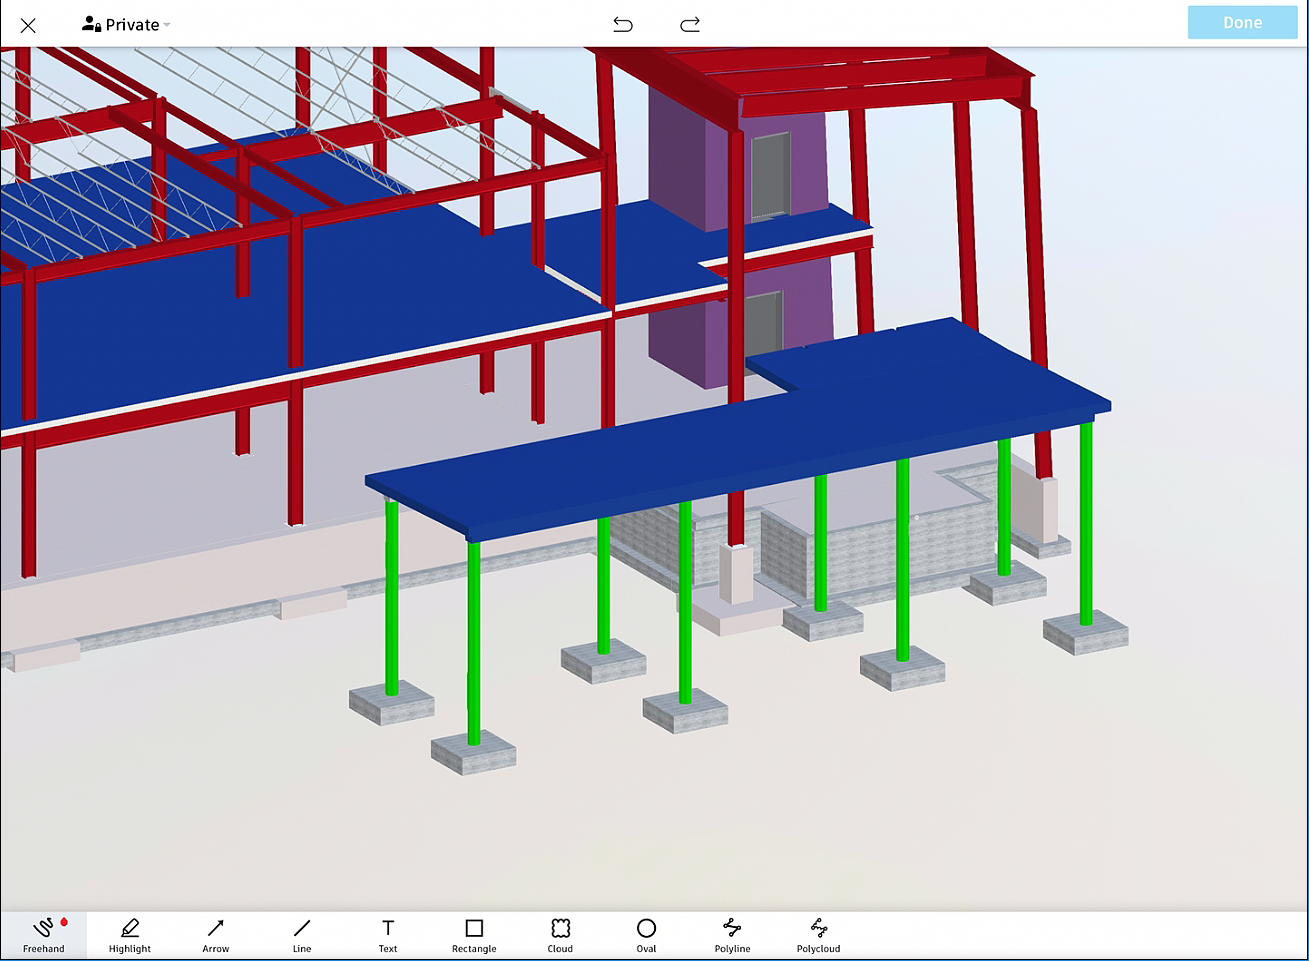
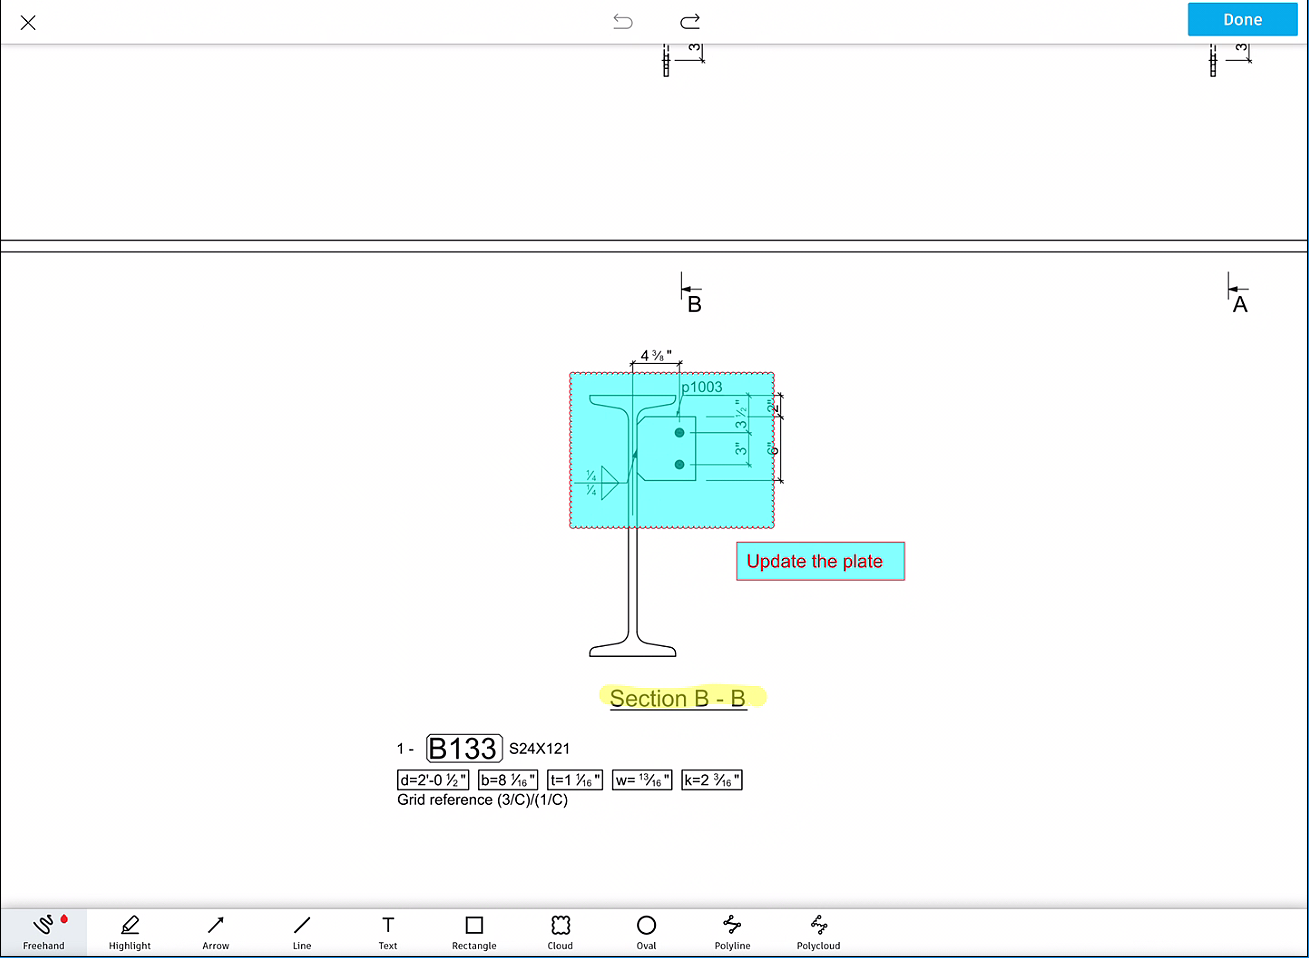
From the bottom toolbar, tap on the Markup option to enter the markups environment. Notice that in this environment, there are several markup tools available on the bottom toolbar, as shown in the following figure:
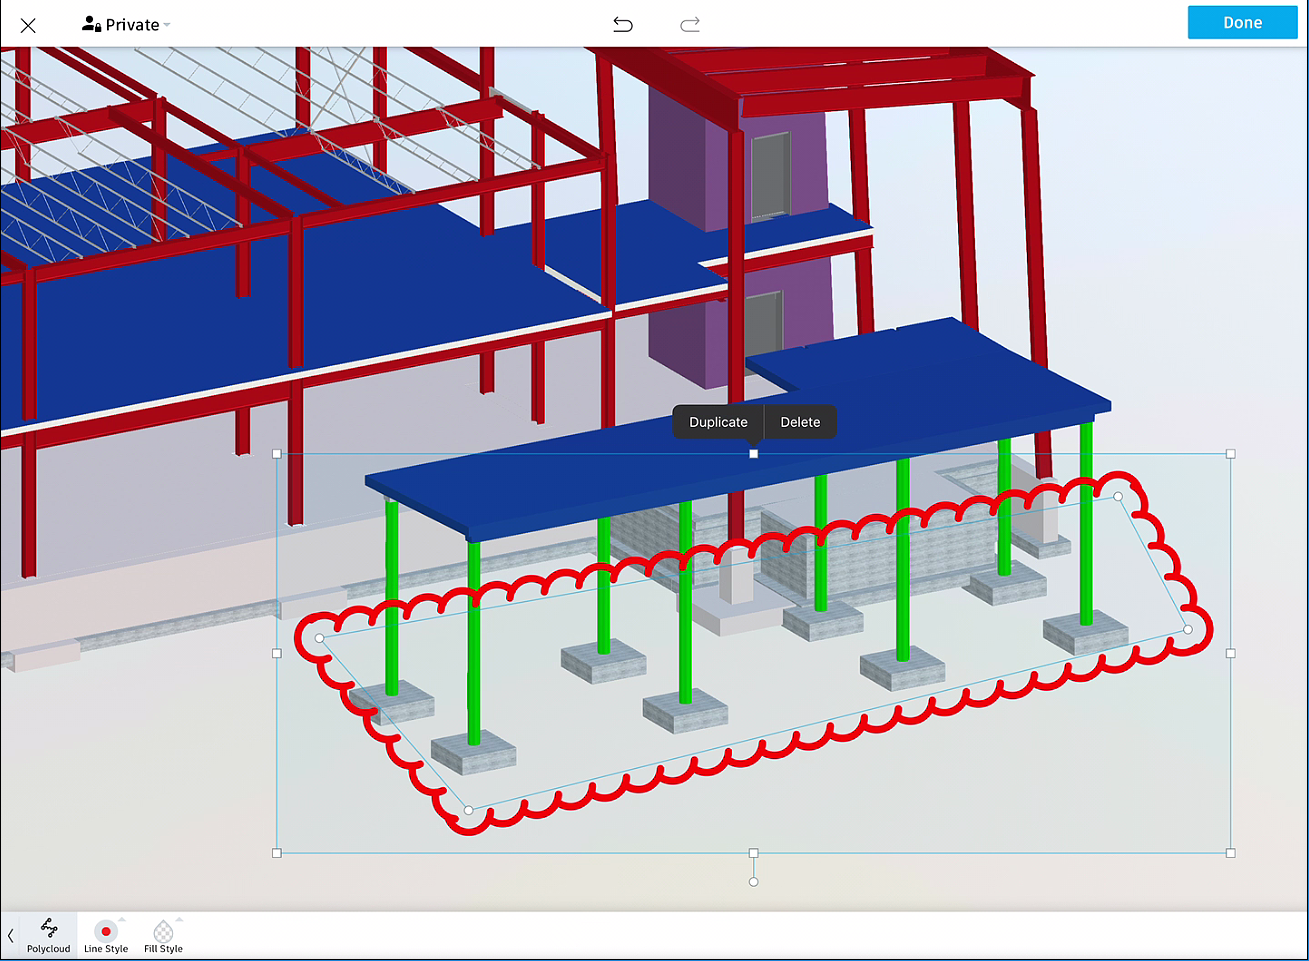
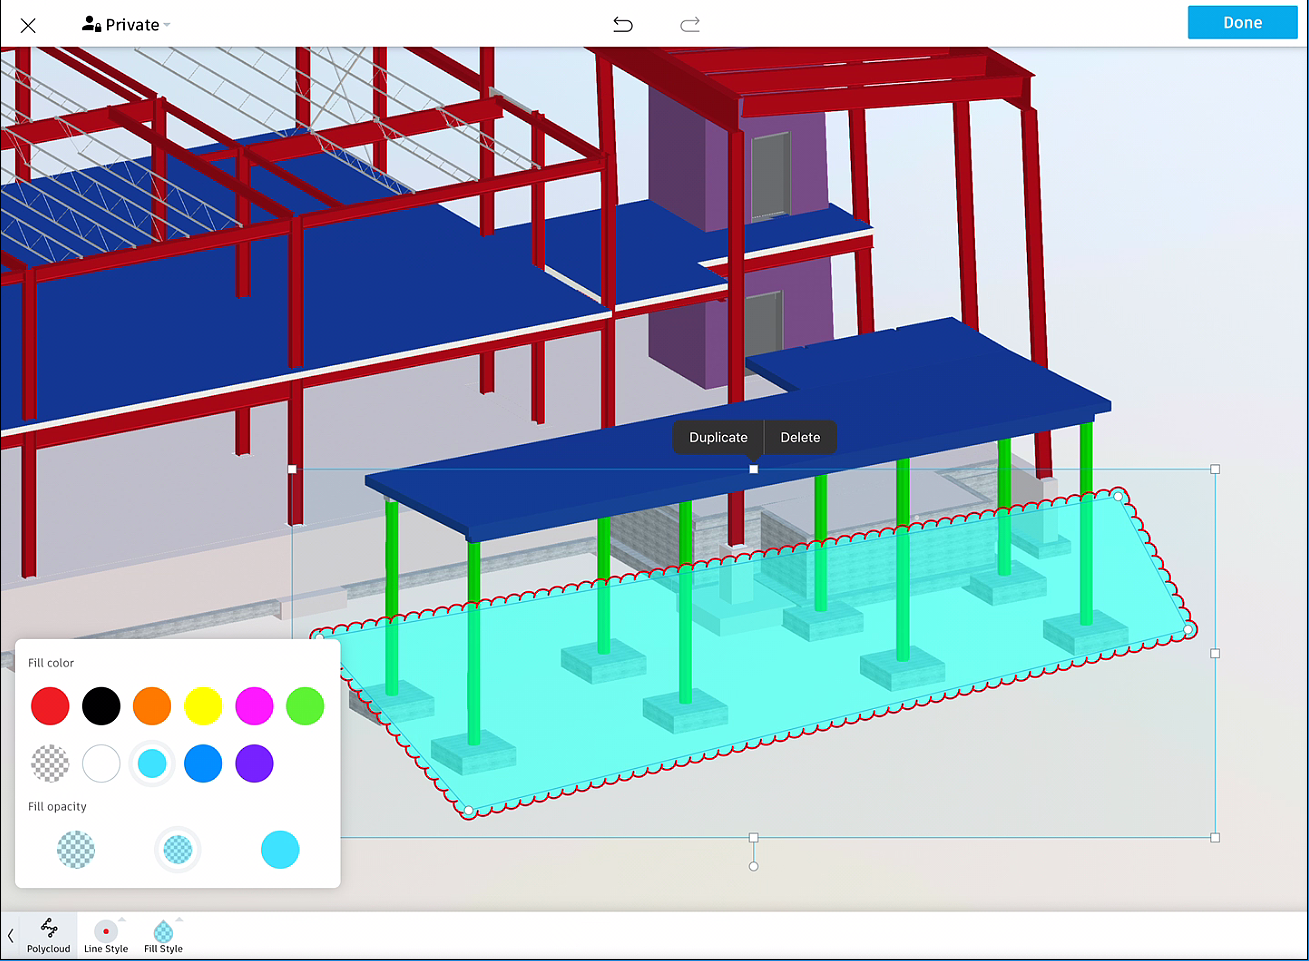
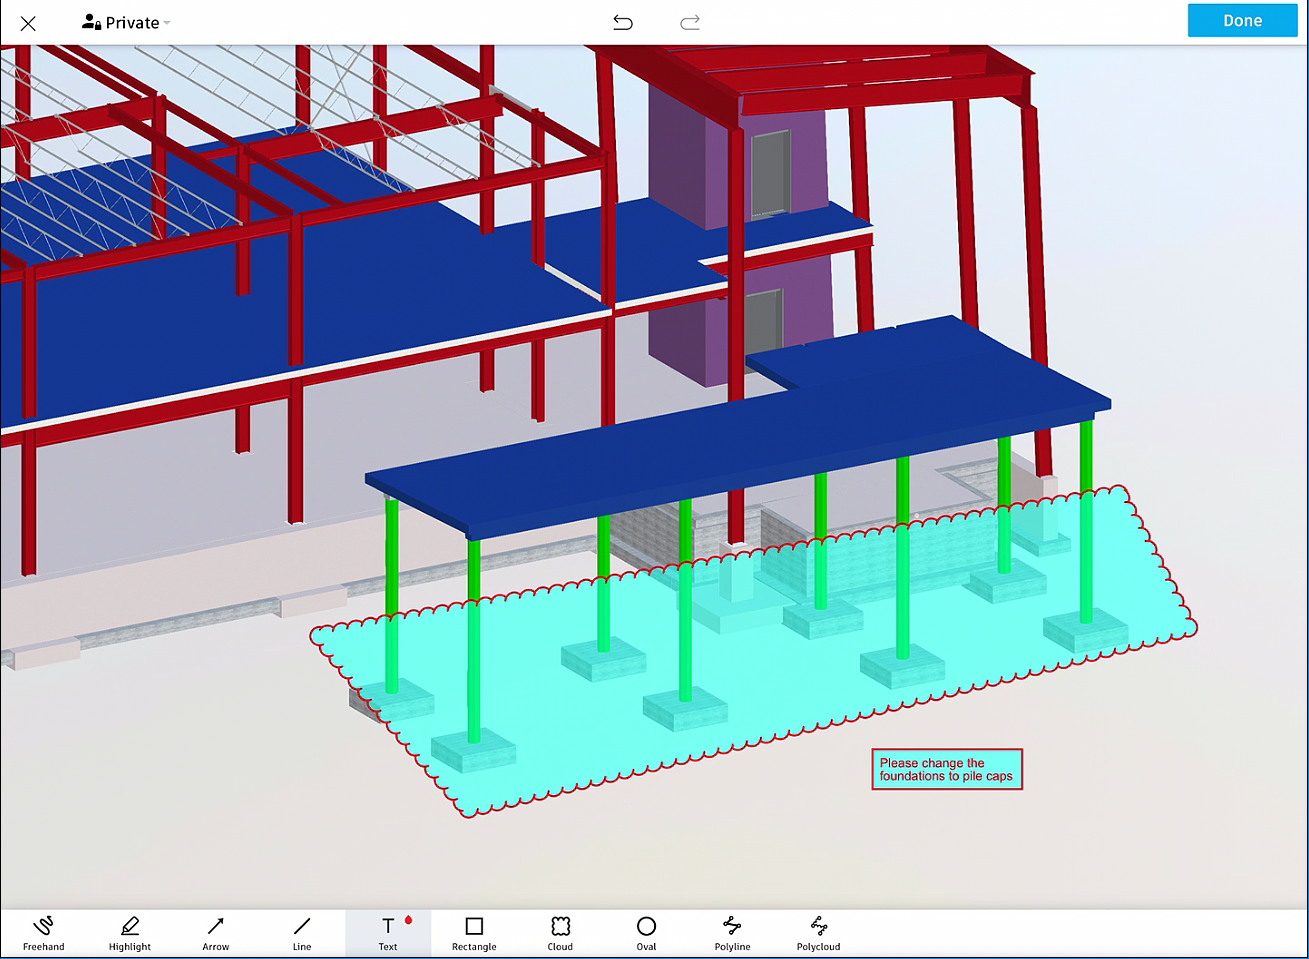
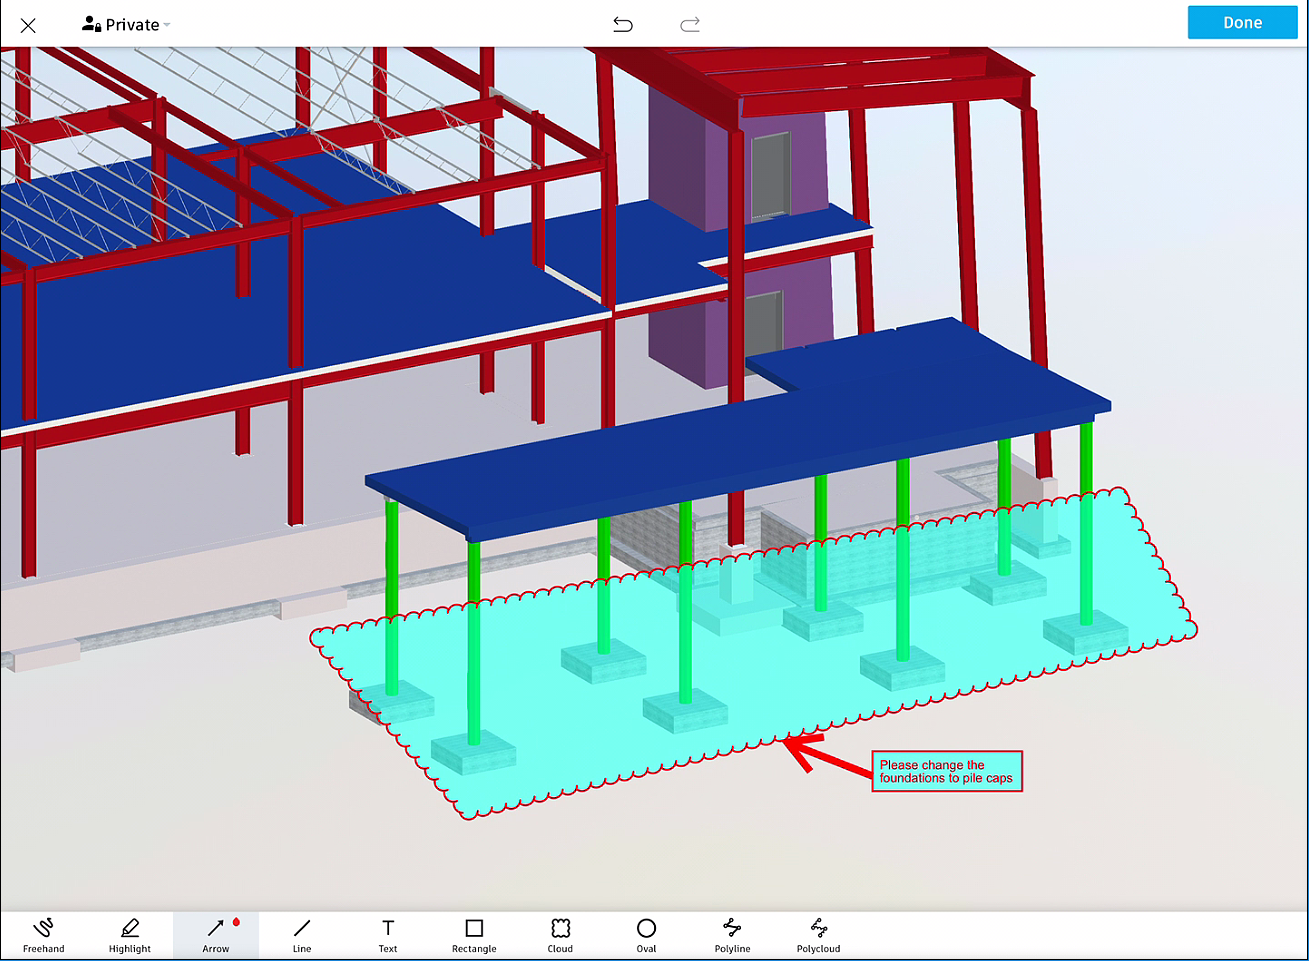
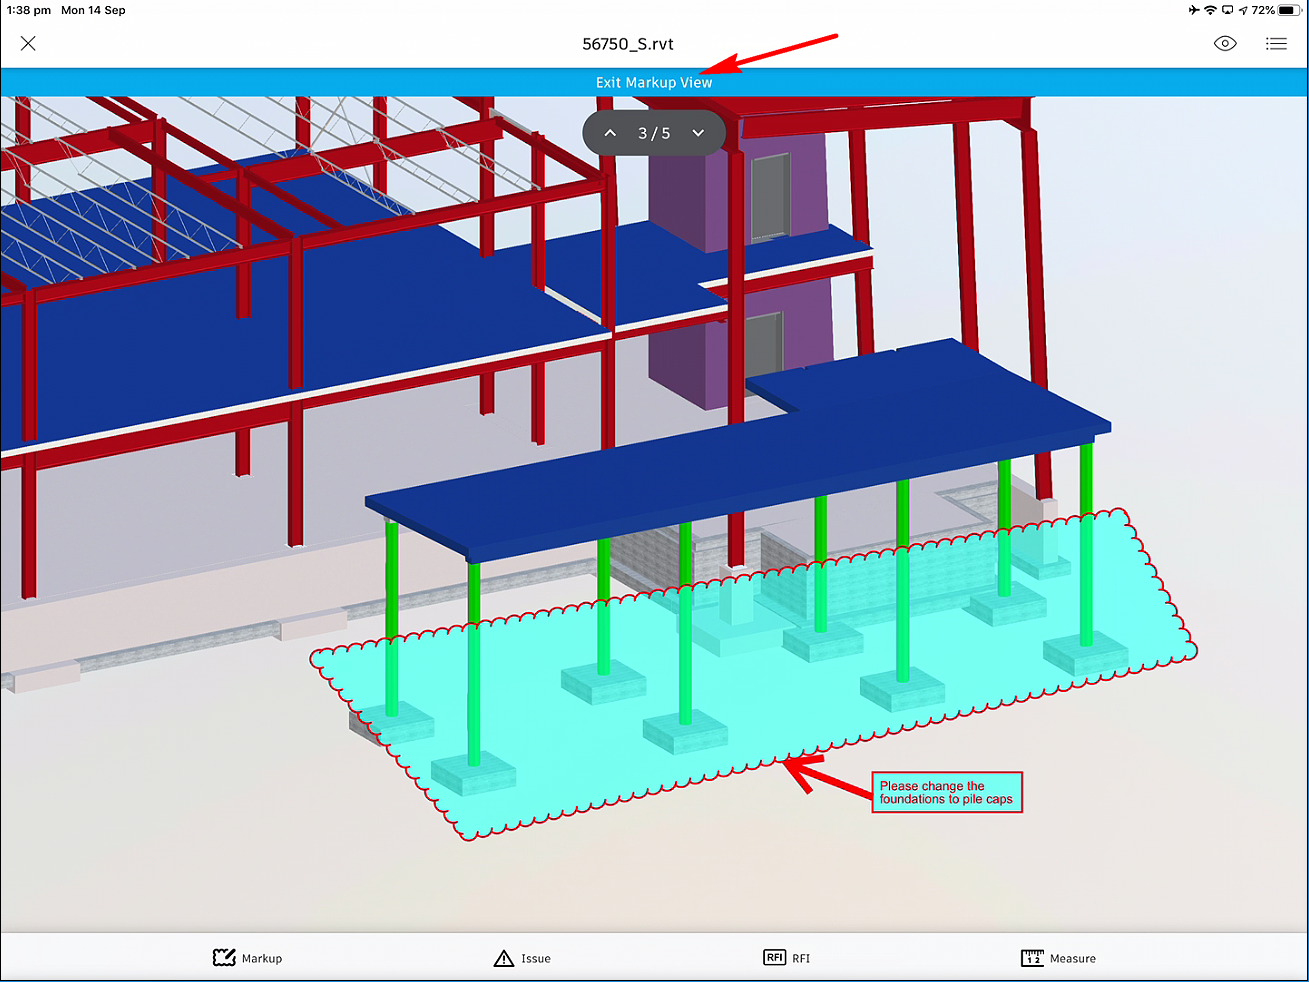
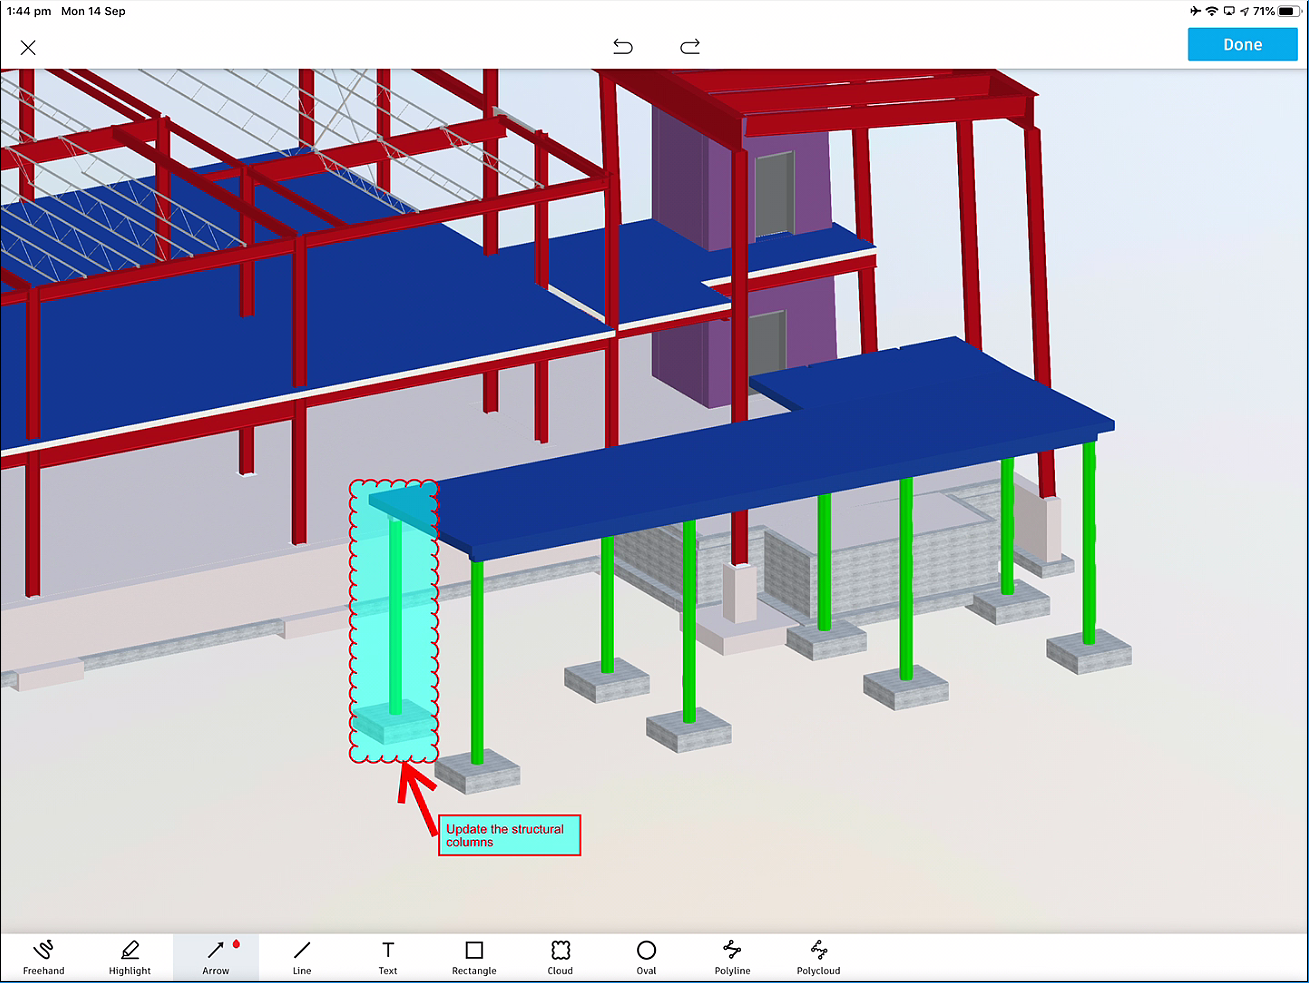
3.From the top right, tap Done to finish adding the markups.
4.From the top center in the app window, tap on Exit Markup View, as shown in the following figure to exit the markups view.
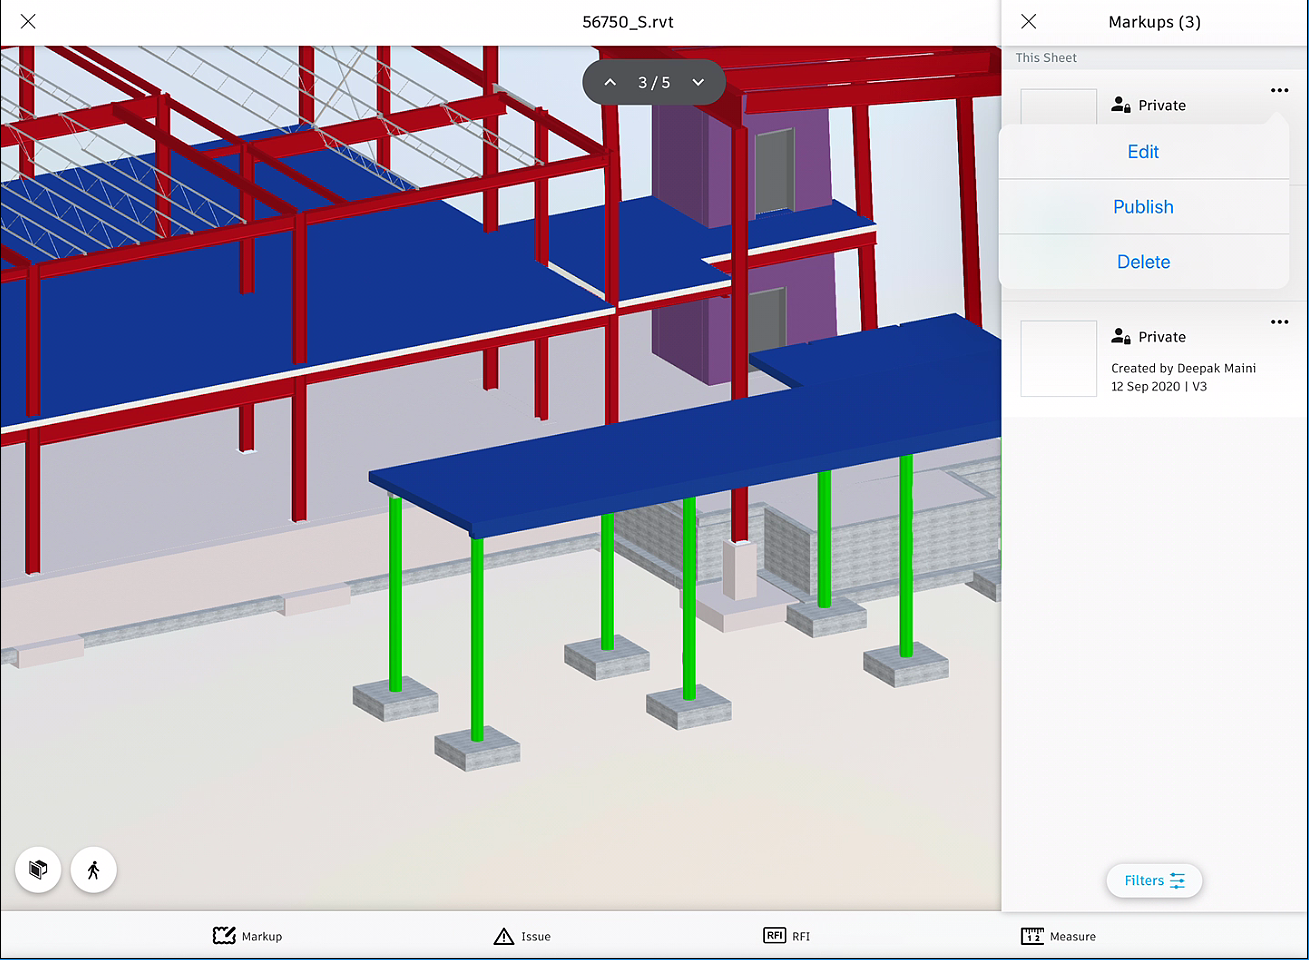
3.Tap on Publish; a confirmation window is displayed asking you to confirm.
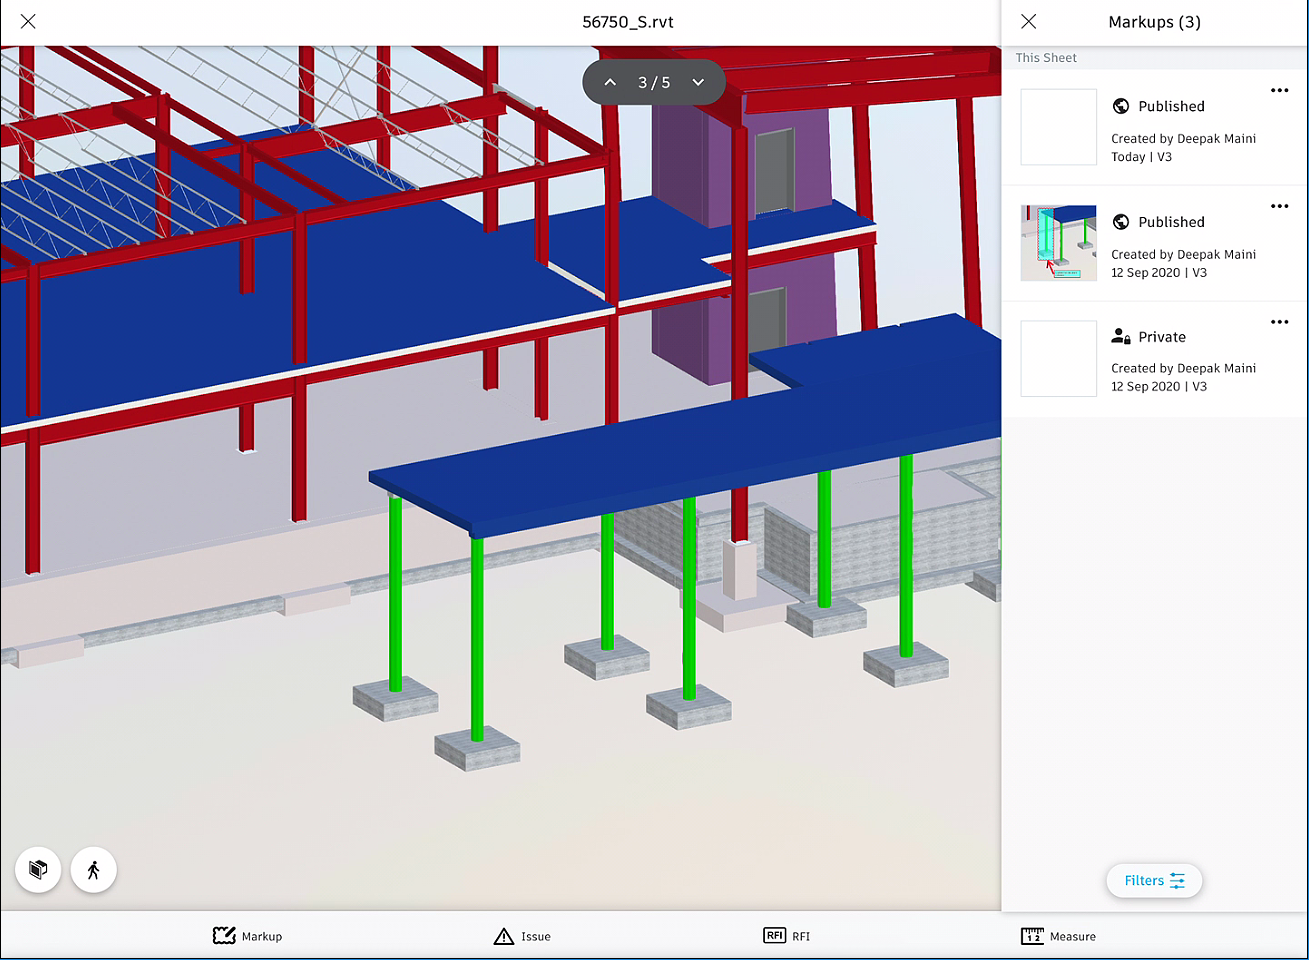
4.Tap on Publish in the confirmation window to change this markup to a published markup for the rest of your team members to view it. The following figure shows a couple of markups changed to published markups.
How to buy
Privacy | Do not sell or share my personal information | Cookie preferences | Report noncompliance | Terms of use | Legal | © 2025 Autodesk Inc. All rights reserved
Sign in to start learning
Sign in for unlimited free access to all learning content.Save your progress
Take assessments
Receive personalized recommendations
May we collect and use your data?
Learn more about the Third Party Services we use and our Privacy Statement.May we collect and use your data to tailor your experience?
Explore the benefits of a customized experience by managing your privacy settings for this site or visit our Privacy Statement to learn more about your options.