Preparing the model for rendering in 3ds Max
Preparing the Revit model for rendering in 3DS Max - Exercise
Task 1: Create a 3DS Max view in Revit
- Open the practice file Medical Center.rvt.
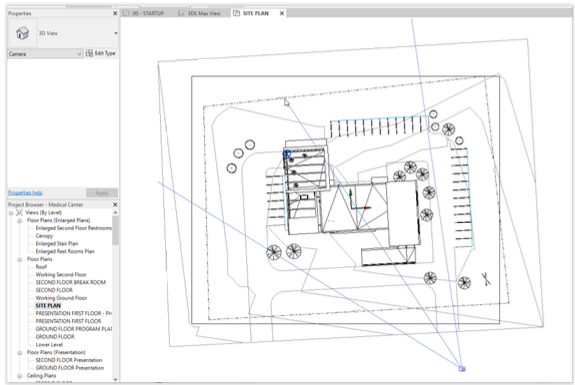
- In the Project Browser, under Floor Plans, open SITE PLAN.
- From the View tab, open the 3D flyout and choose Camera.
- Place the camera near the bottom of the model and drag to set the direction of view and the far clip plane.
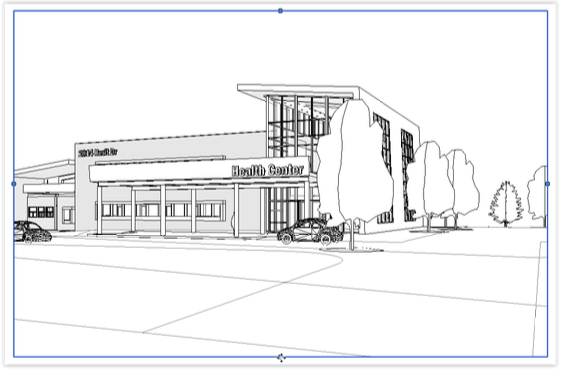
- In the Properties dialog, rename the new view 3DS Max view.
- Adjust the view crop as desired by selecting the crop outline and dragging the blue dots.
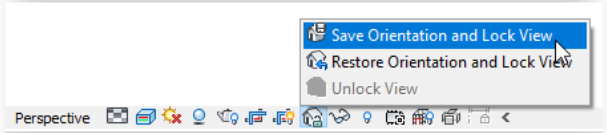
- Once you're happy with the view, click the Lock icon on the View Control Bar and choose Save Orientation and Lock View.
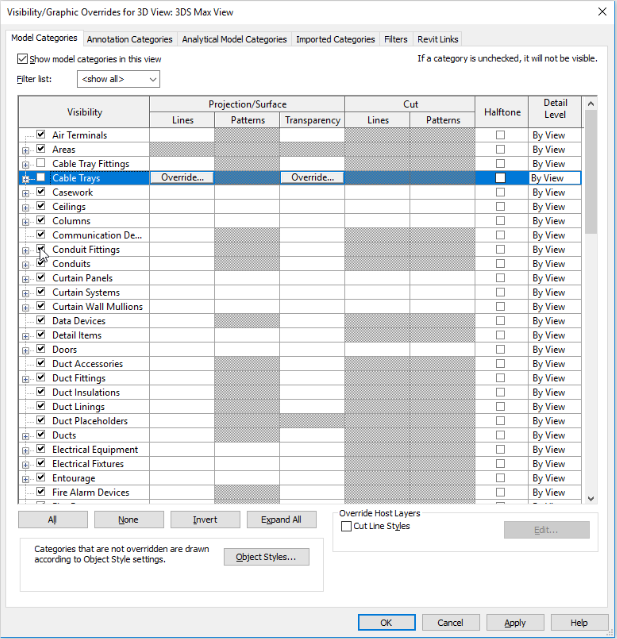
- Type VG to open the Visibility/Graphic Overrides dialog. Turn off any model categories that may be in the model but that won't appear in the rendering, such as cable trays and conduits, and so forth.
Task 2: Assign materials
- In the Visual Style selector in the View Control Bar, change the view style to Realistic to see if any materials appear to be missing.

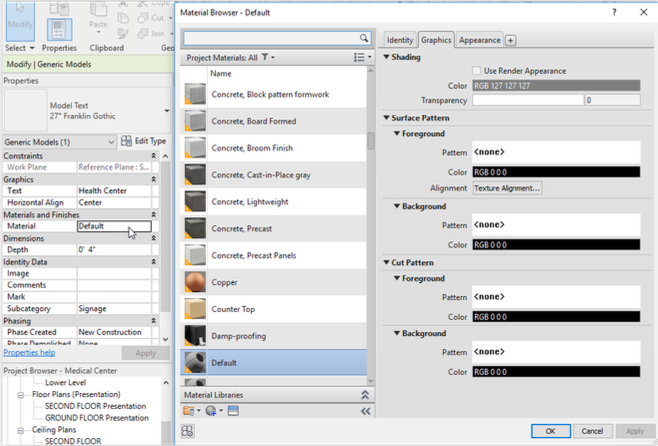
- The signage on the building is gray, so select it to see if it has a material. The Properties dialog shows that the Default material is assigned to the signage.
- To assign a material that will render, click in the box next to Material, and then click on the three dots to open the Material Browser.
- In the Search field at the top, type Exterior Signage.
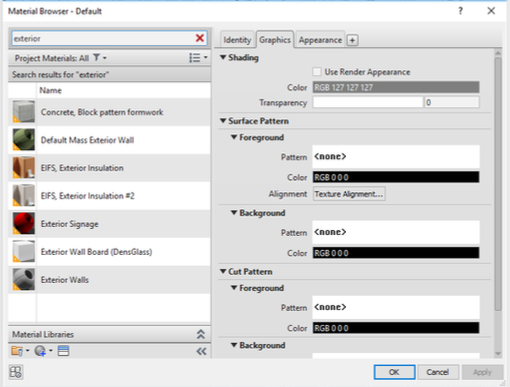
- Select the Exterior Signage material, and click OK to close the dialog.
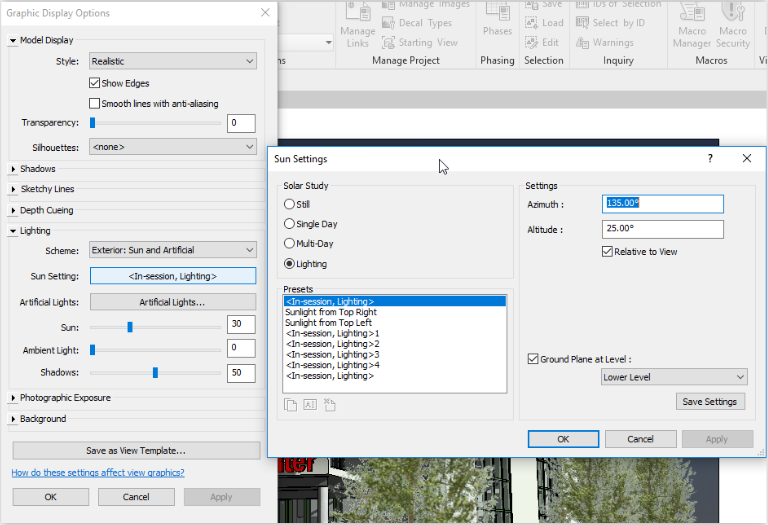
Task 3: Set lighting and environment
- In View Properties, click the Edit button next to Graphic Display Options.
- Make sure the view style is set to Realistic.
- Click the arrow next to Shadows and put a check in Cast Shadows. You can also check Show Ambient Shadows if you wish.
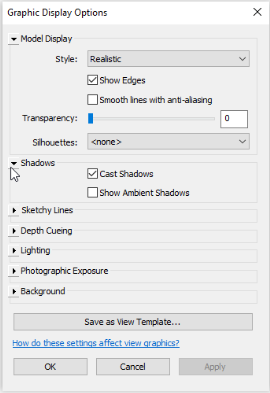
- Click the arrow next to Lighting and choose Exterior: Sun and Artificial for this rendering.
- For Sun Setting, leave the defaults or change the angle of the sun as desired.
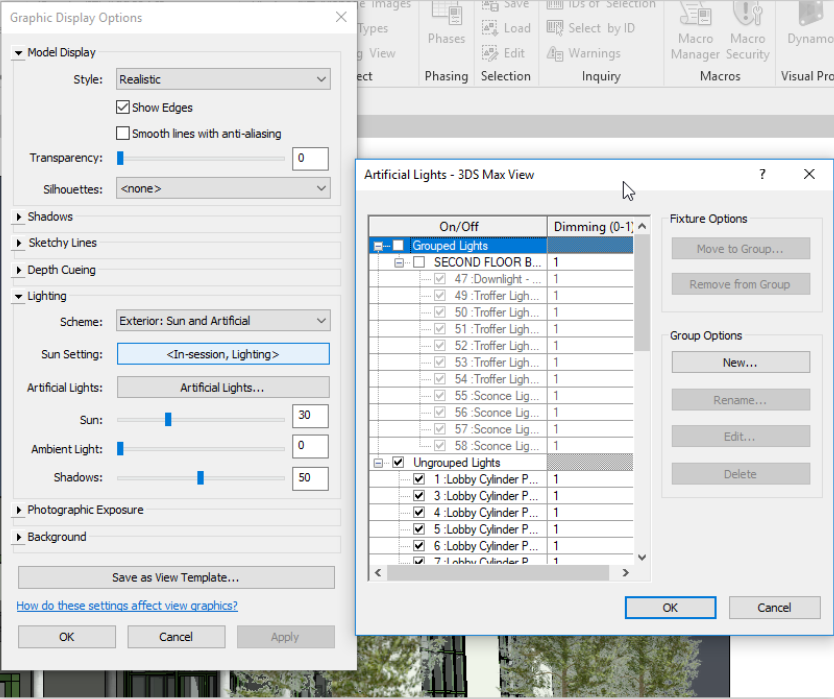
- Click Artificial Lights… to select which lights you want to render. Uncheck any lights that won't be used in the rendering.
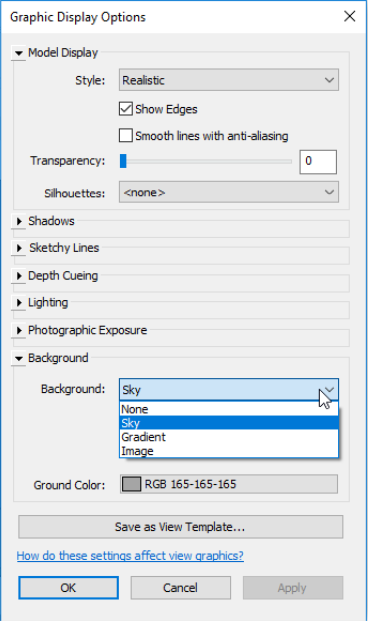
- Click the arrow next to Background and choose the desired background.
- Optionally, at this point, do a test rendering in Revit to see if you want to make any changes.
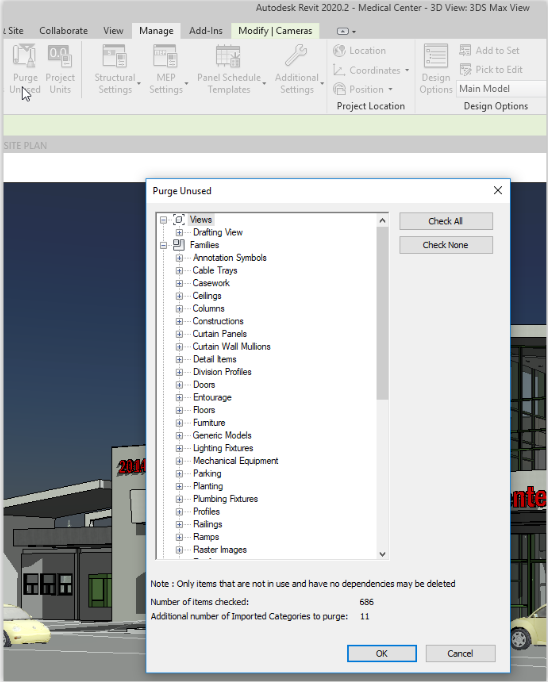
Task 4: Purge the model
- On the Manage tab, select the Purge tool and purge the model 3 times, or until there is nothing left to purge.
- Save the file.
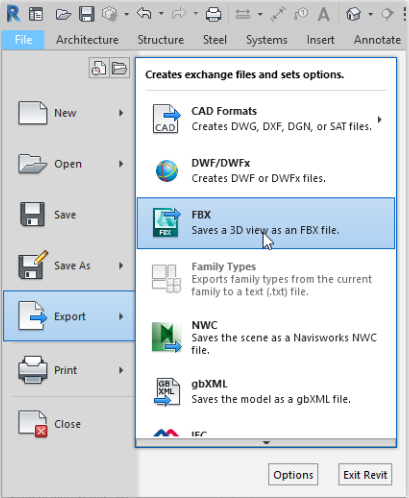
Task 5: Export the model to FBX
- From the File menu, choose Export to FBX.