Configure Shared Parameters - Exercise
The various parameters or fields within the Revit database are fixed. Things like door widths, floor levels and sheet numbers are all preprogrammed into the Revit database. But what about information required within the project that is not part of the Revit database? In that case, you need to create your own parameters and that is what shared parameters are all about.
In this exercise, you will add a civic number and a zone to the project landing page by making them shared parameters for the project.
To configure shared parameters, follow these steps:
- Open Revit.
- Open the Small Medical Center model.
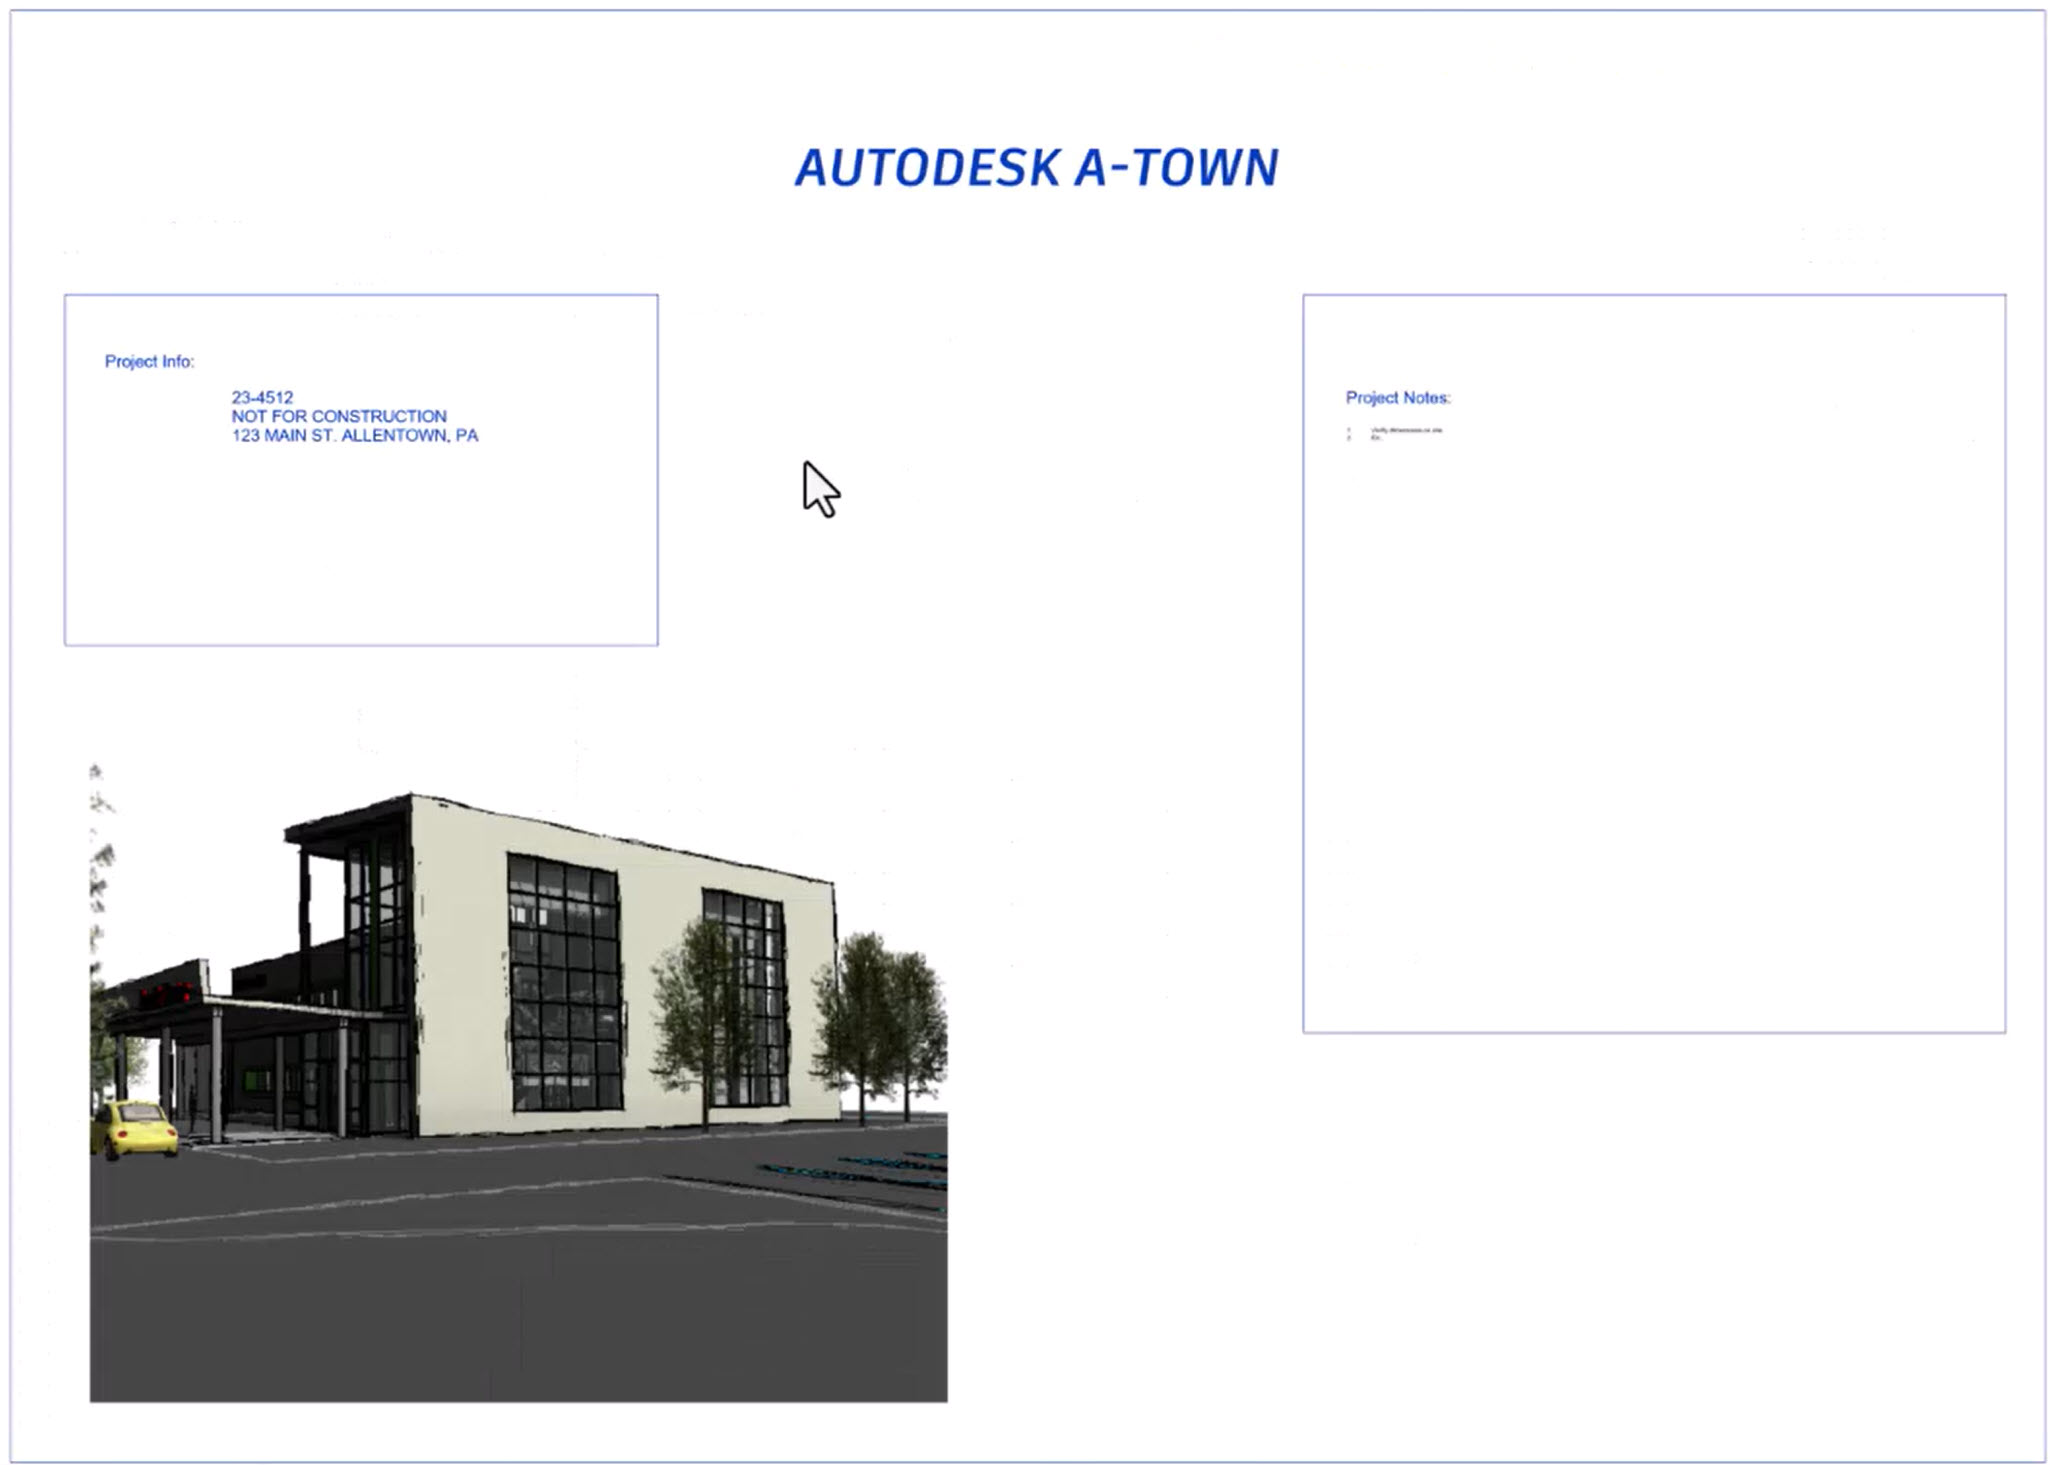
- The project opens to the Startup page (as configured in a previous exercise), as shown below. There are no fields for the zone or civic number.
- Select the titleblock, and in the Modify | Title Blocks contextual tab>Mode panel, click Edit Family.

- In the Family Editor, in the Create tab>Text panel, click Label.
- For the insertion point of the new label, select somewhere in the lower section of the Project Info box.
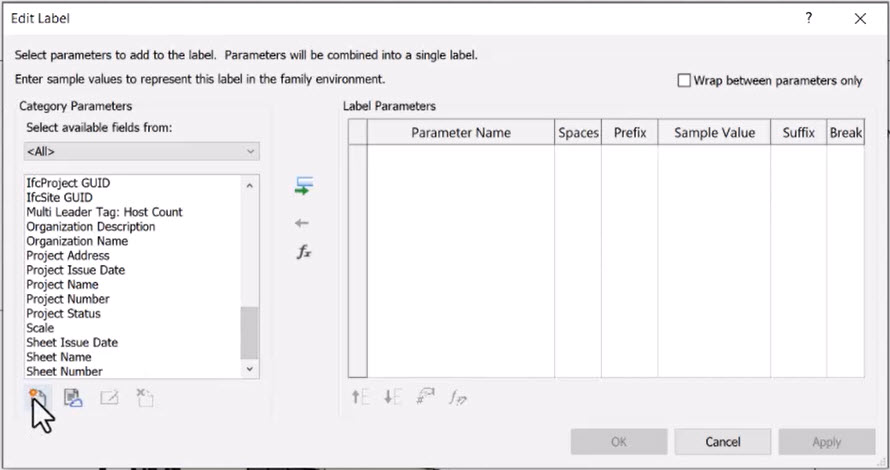
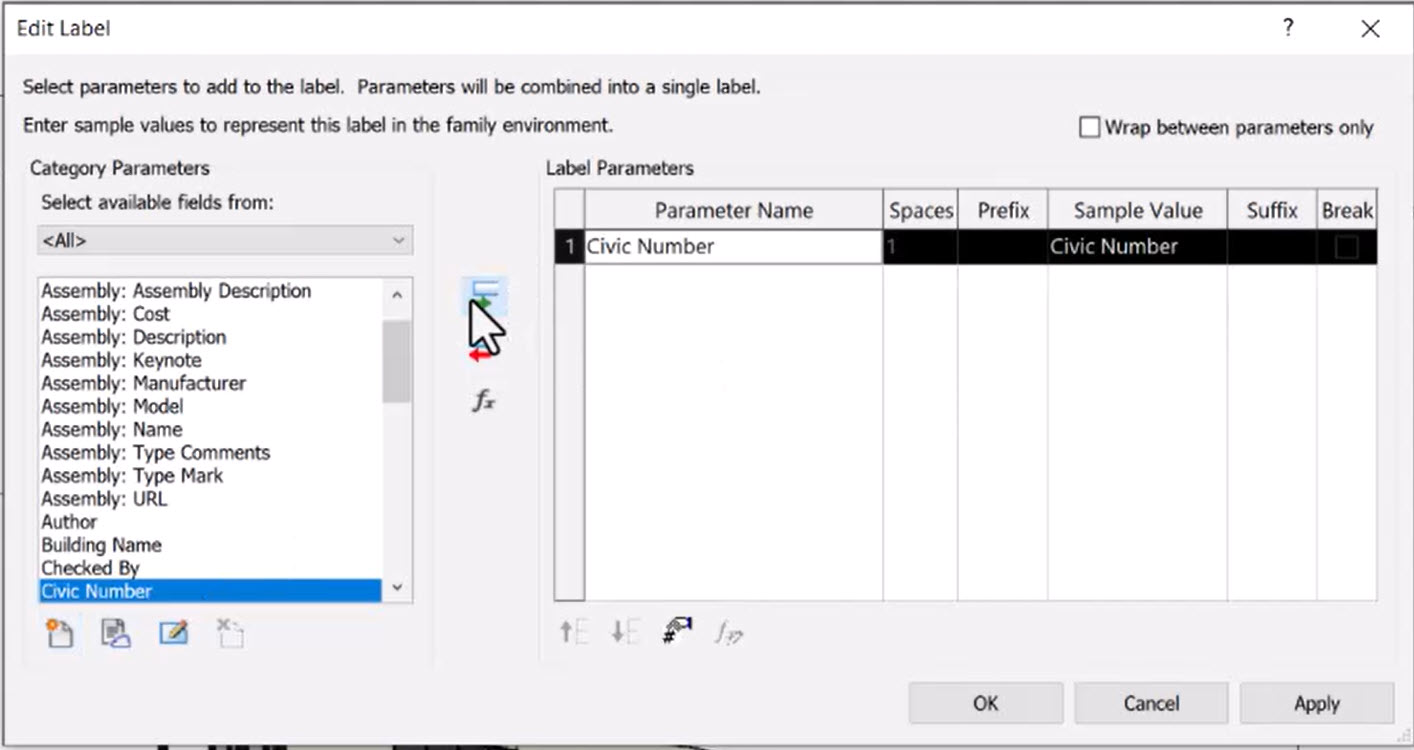
- In the Edit Label dialog box, note that there is no Civic Number (or Zone) in the Category Parameters list on the left. To add these parameters, click New Parameter, as shown below.
- In the Parameter Properties dialog box, for Parameter Type, click the Select… button.
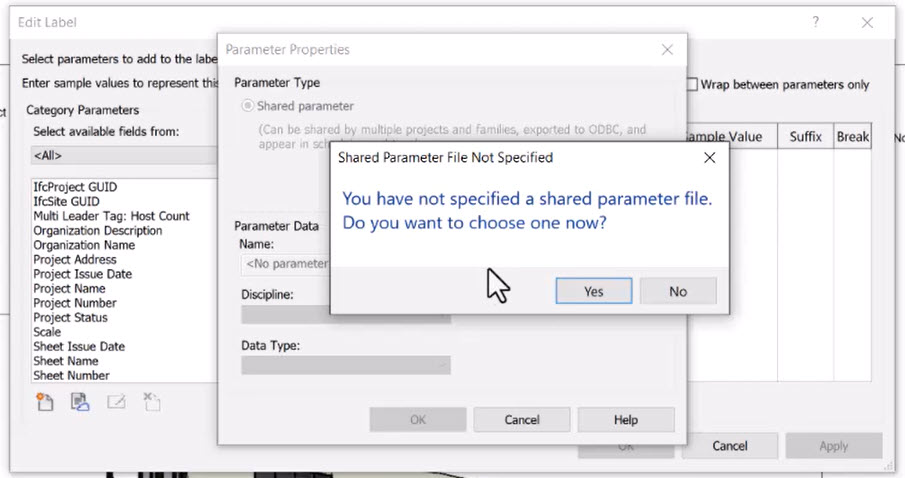
- Select Yes to choose a shared parameter file, as shown below.
- In the Edit Shared Parameters dialog box, click Create… to create a new shared parameters file. Save it in the Config folder of the project and name it 23-4512 Shared Parameters.txt.
- Under Groups, click New… and name the group Project Information.
- Under Parameters, click New…
- In the Parameter Properties dialog box, enter the following (as shown below):
- Name: Civic Number
- Discipline: Common
- Data Type: Number
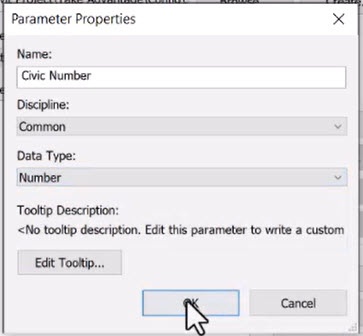
- Click OK.
- Add another new parameter for Zone. For the Discipline, select Common, and for the Data Type, select Text.
- Click OK until you’re back at the Edit Label panel. Note that Civic Number is now in the Category Parameters list and is highlighted.
- Click Add Parameter(s) to Label.
- Click OK and the new Civic Number tag is created.
- Create another label for Zone to the right of the Civic Number.
- In the Edit Label panel, click New Parameter and then click Select… to open the Shared Parameters dialog box.
- Select Zone.
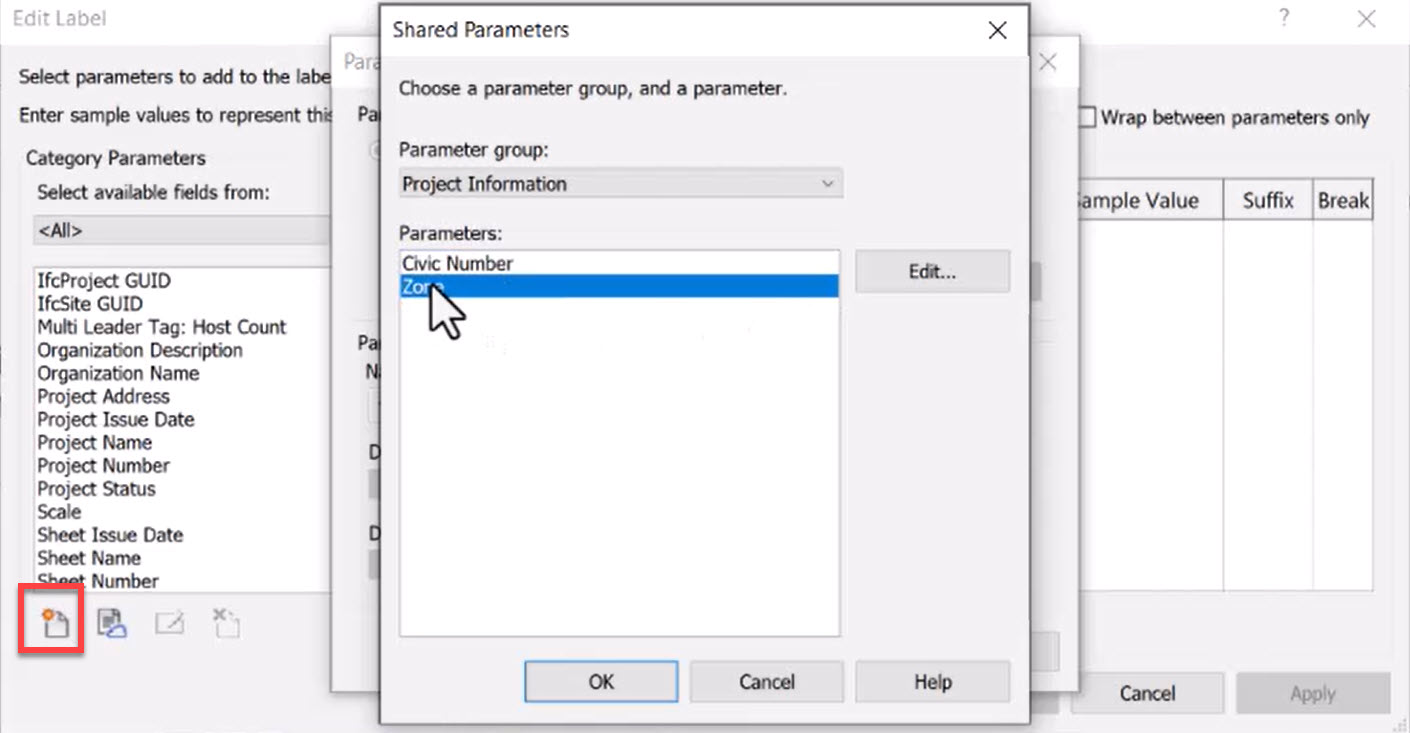
- Click OK until you’re back at the Edit Label dialog box. Now the Zone parameter is in the Category Parameters list and is highlighted.
- Click Add Parameter(s) to Label.
- Click OK.
- Select both new labels and change the tag label type to Tag 1.
- Save the family and click Load into Project.
- Overwrite the family when prompted to do so in the Small Medical Center model.
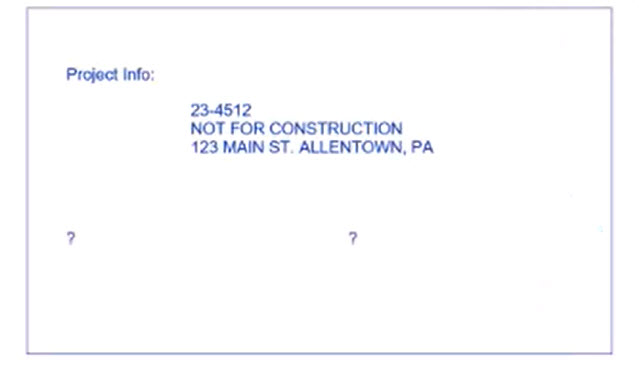
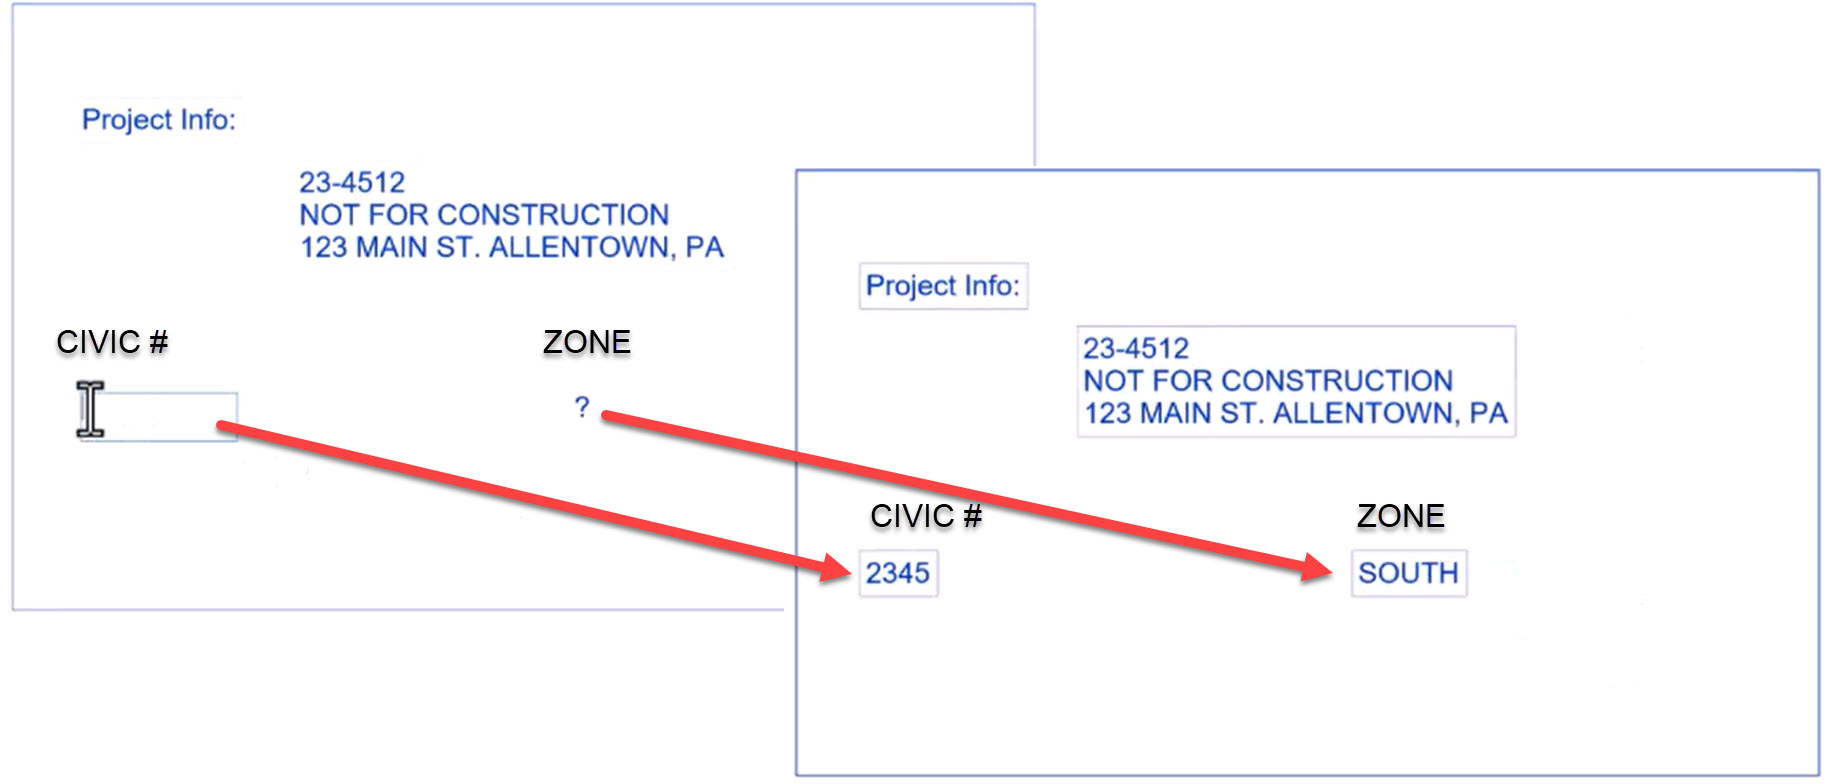
- The updated project page only has question marks where the new parameters are (as shown below) because those shared parameters are not yet in the project.
- In the Manage tab>Settings panel, click Project Parameters.
- In the Project Parameters dialog box, click Add…
- In the Parameter Properties dialog box, select Shared parameter and click Select…
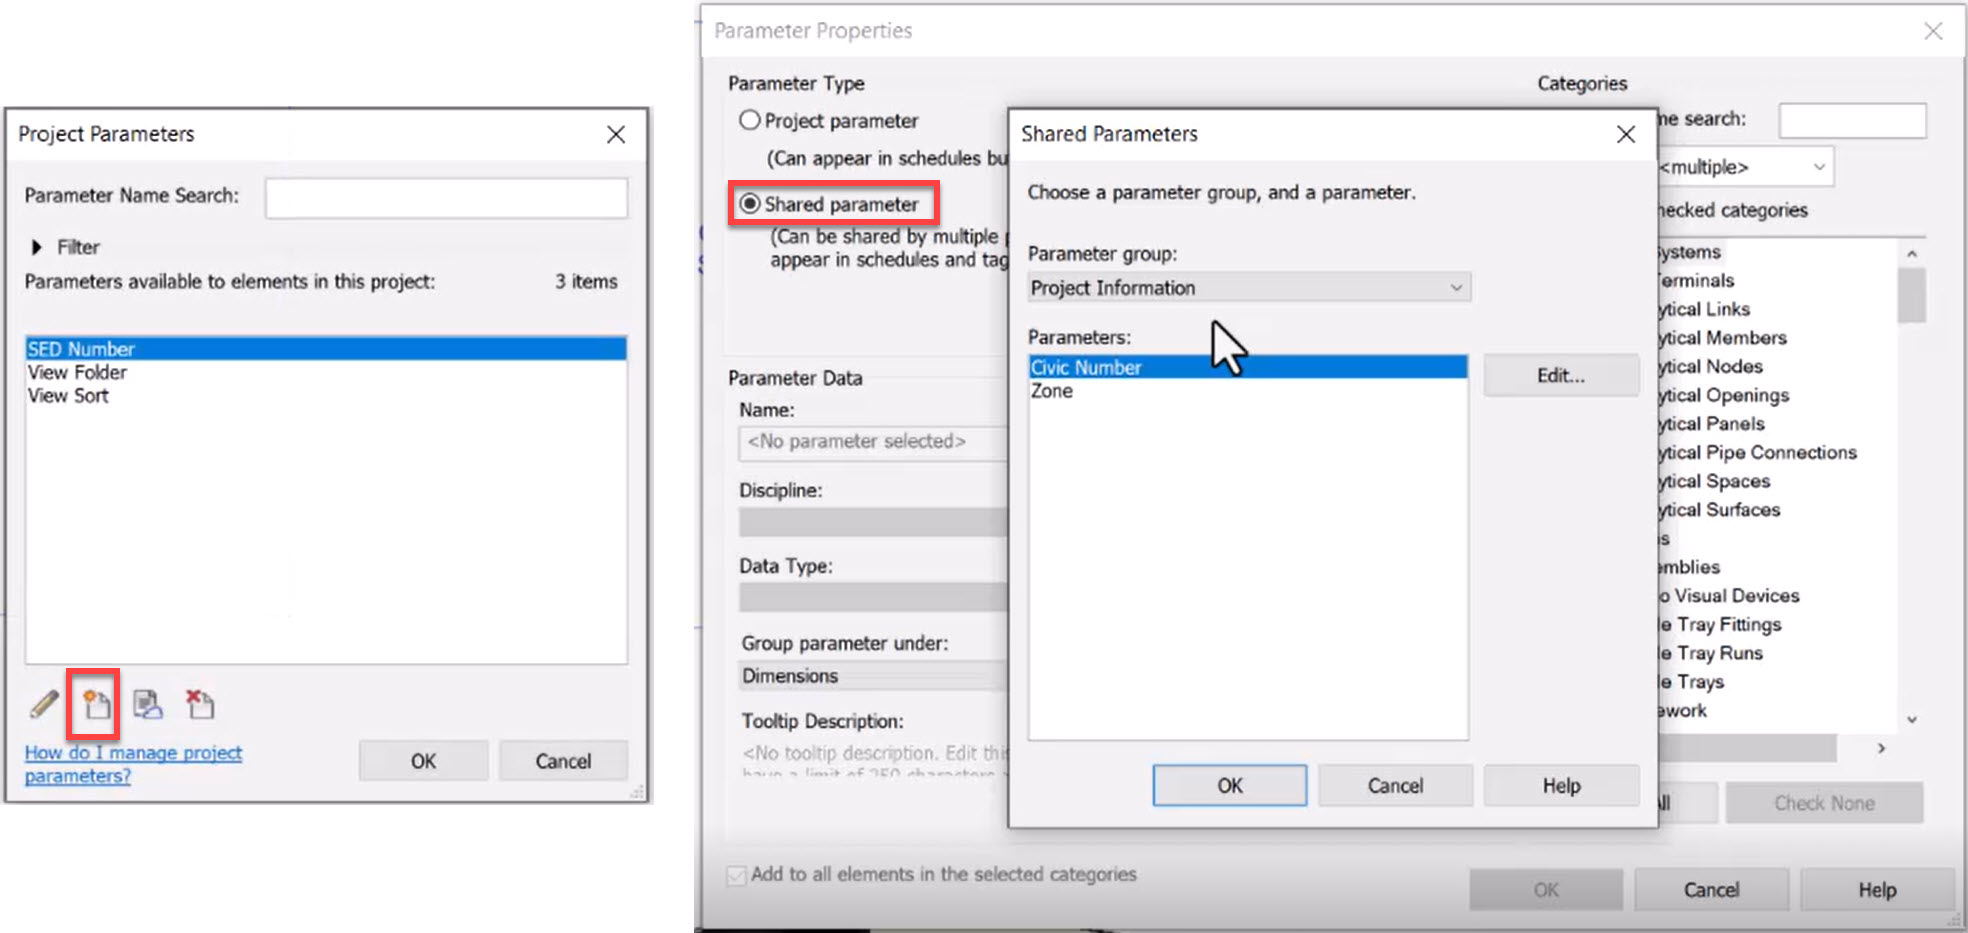
- In the Shared Parameters dialog box, select Civic Number and click OK.
- In the Parameter Properties dialog box, under Categories, select Project Information.

- Click OK.
- Repeat the same procedure for Zone and categorize it under Project Information as well.
- Click on the first question mark and enter 2345 for the Civic Number.
- Click on the second question mark and enter SOUTH for the Zone.
You now know how to use shared parameters for your projects.


