Data shortcuts in Civil 3D
Data Shortcuts - Exercise
- Continue in the previous drawing. If you did not complete the previous Try Its, browse to the C:\Autodesk Learning\Setup C3D Projects\Course 1 - Data Management folder and open Try-it- 1C.dwg.
- In the Toolspace>Prospector tab, right-click on the Data Shortcuts heading and select Set Working Folder.
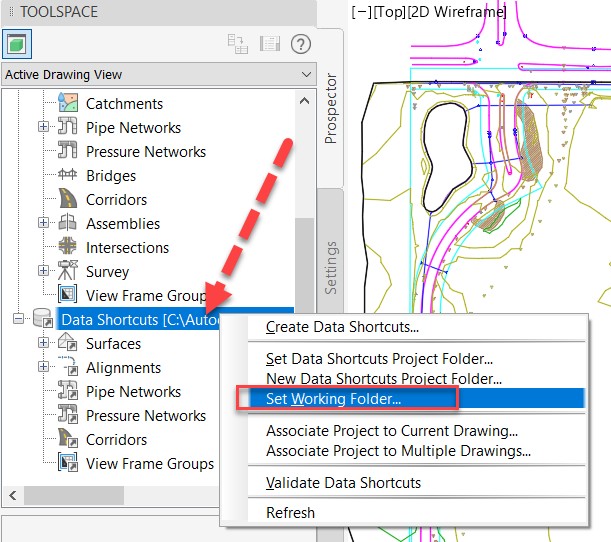
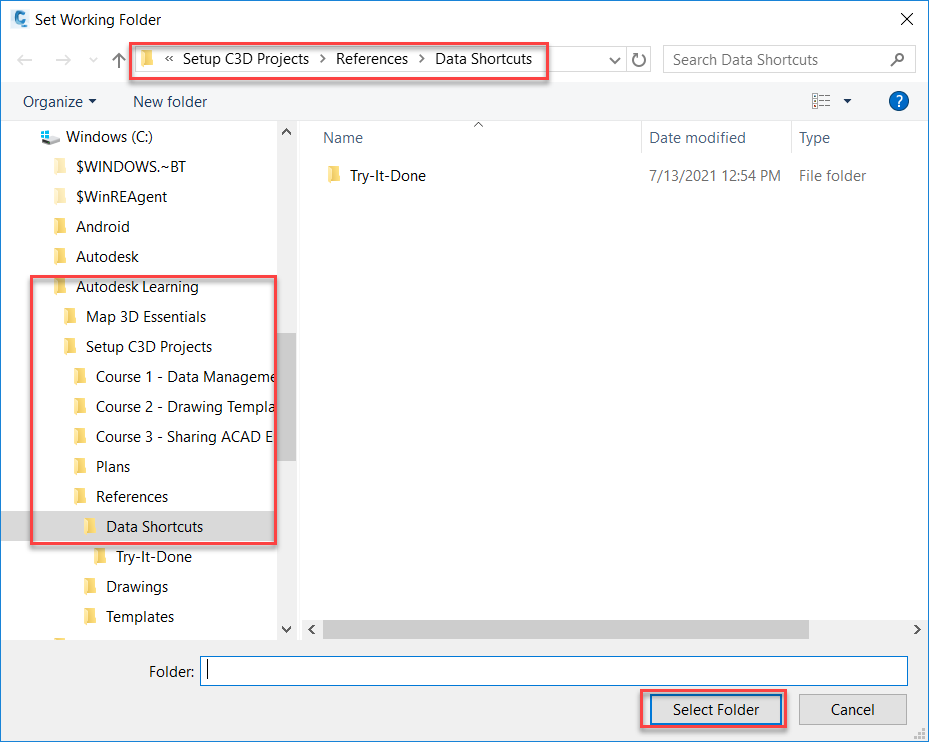
- In the Set Working Folder dialog box, browse to the C:\Autodesk Learning\Setup C3D Projects\References\Data Shortcuts folder and click Select Folder.
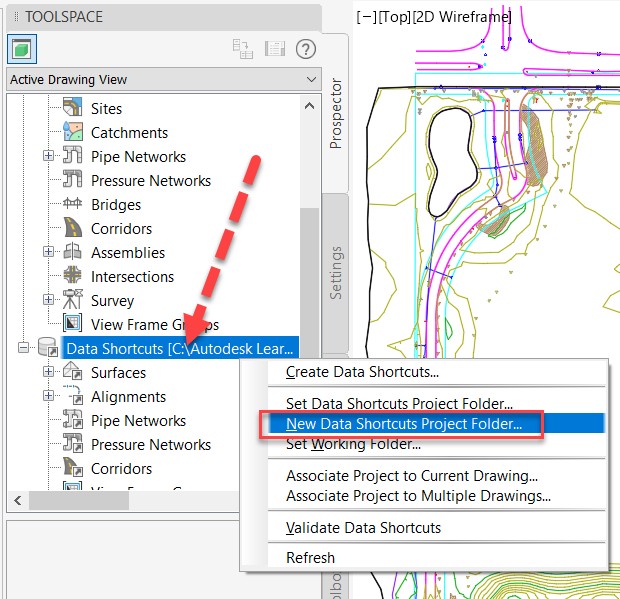
- In the Toolspace>Prospector tab, right-click on the Data Shortcuts heading and select New Data Shortcuts Project Folder.
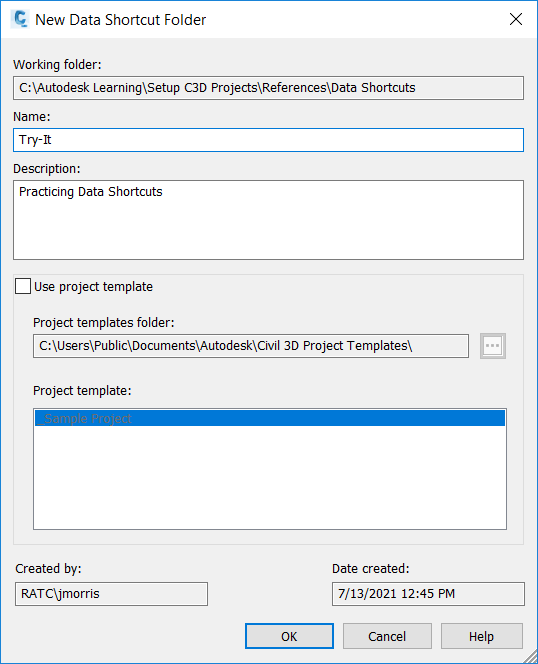
- In the New Data Shortcut Folder dialog box, enter Try-It for the name of your project and Practicing Data Shortcuts for the description, and click OK.
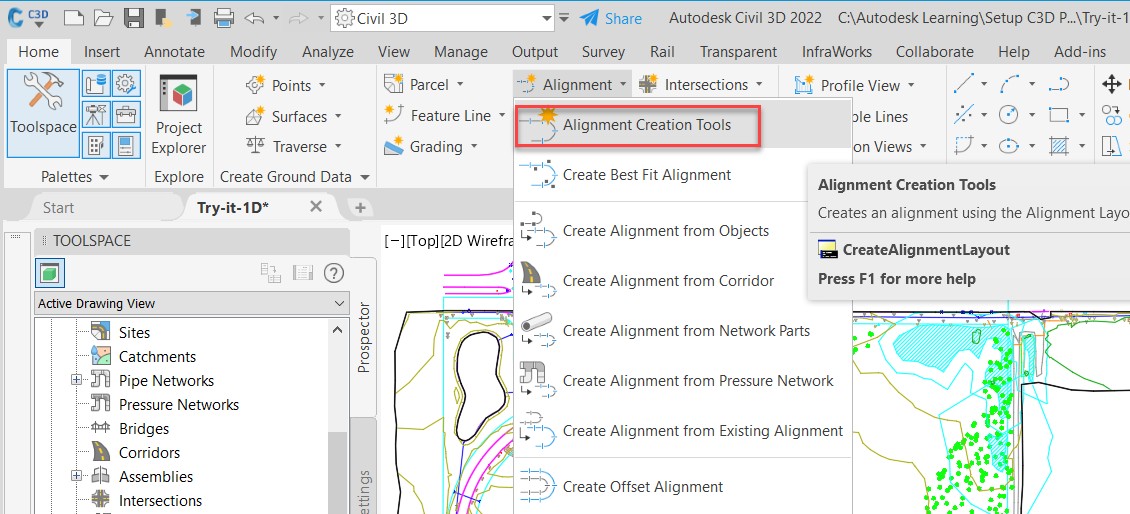
- In the Home tab>Create Design panel, expand the Alignment drop-down list and select Alignment Creation Tools.
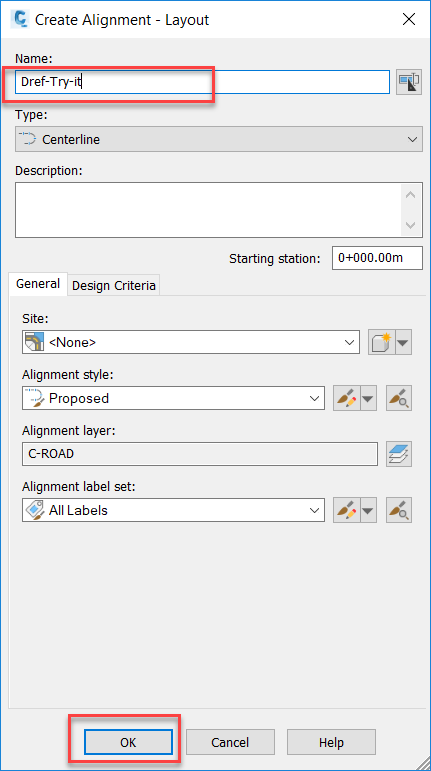
- In the Create Alignment dialog box, name the alignment Dref-Try-it, accept all other defaults, and click OK.
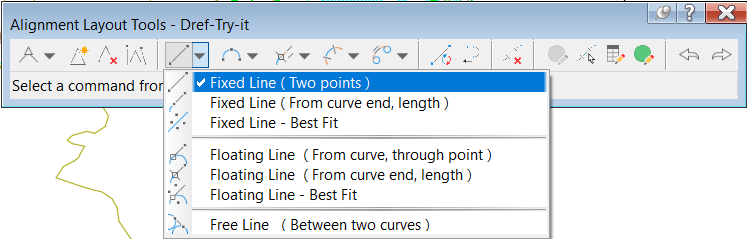
- In the Alignment Layout Tools, expand the Line creation drop-down list and select Fixed Line (Two points).
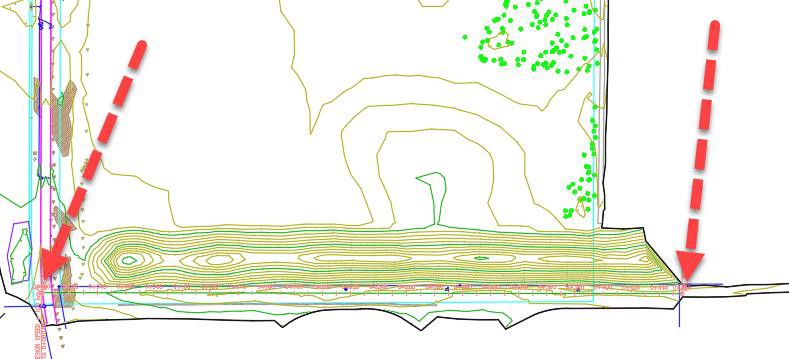
- Pick two points running west to east near the bottom of the drawing, as shown in the following image, then press <Enter> to create the alignment.
- Save the drawing.
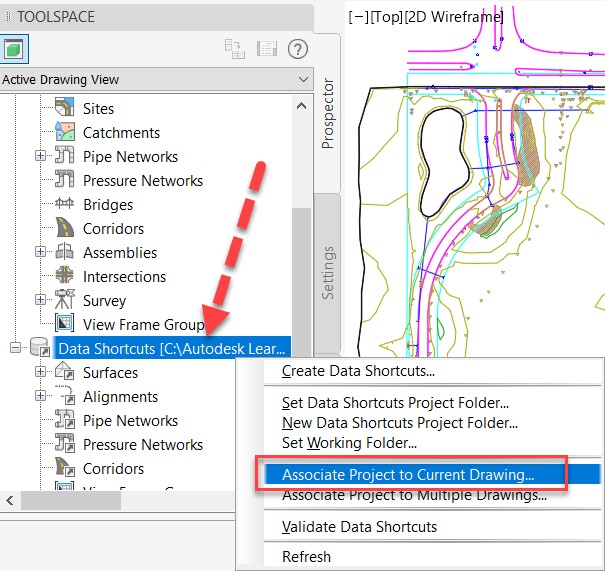
- In the Toolspace>Prospector tab, right-click on the Data Shortcuts heading and select Associate Project to Current Drawing.
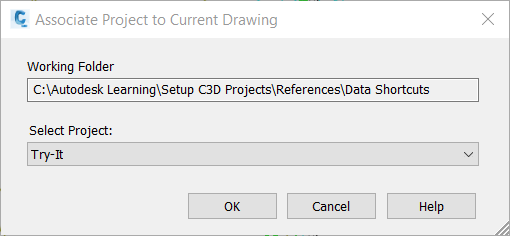
- In the Associate Project to Current Drawing dialog box, select the Try-It project from the Select Project drop-down list (it's the only project) to associate to the current drawing and click OK.
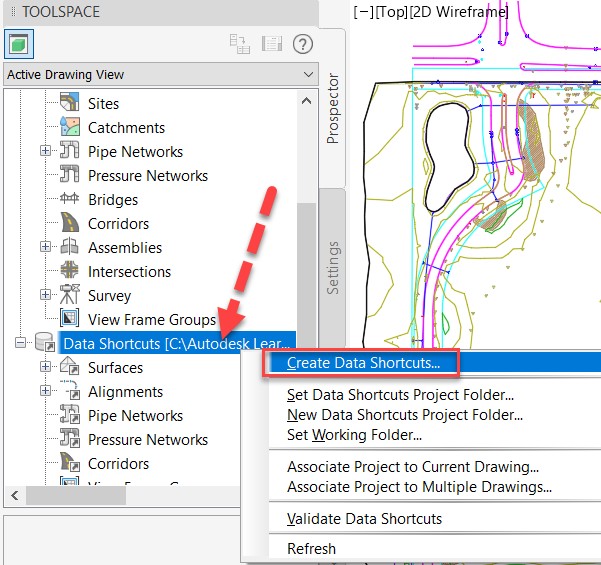
- In the Toolspace>Prospector tab, right-click on the Data Shortcuts heading and select Create Data Shortcuts.
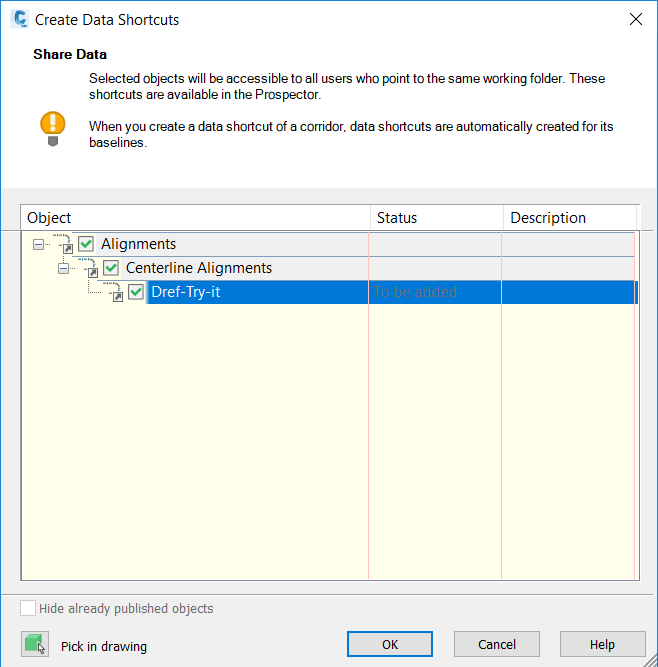
- In the Create Data Shortcuts dialog box, select the alignment you just created and click OK.
- Save the drawing.
- Start a new drawing, but do not close the current drawing.
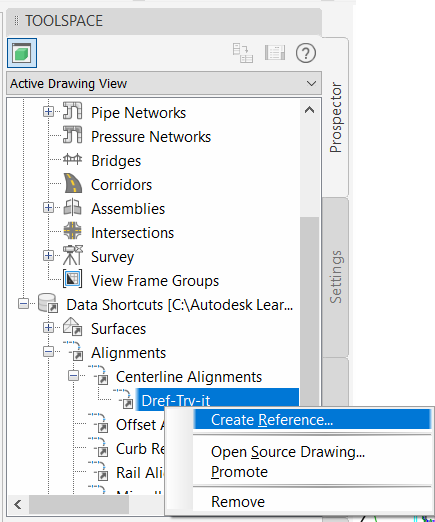
- In the Toolspace>Prospector tab, in the Data Shortcuts collection, expand the Alignments>Centerline Alignments collection, right-click on Dref-Try-it, and select Create Reference.
- In the Create Alignment Reference dialog box, accept all defaults as they are and click OK.
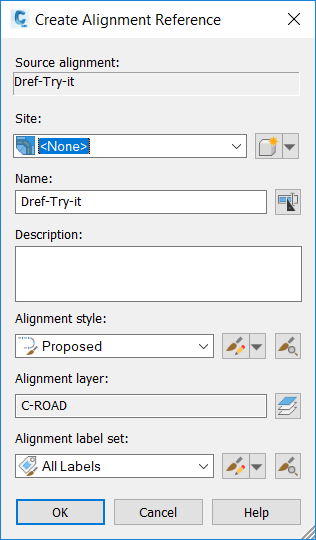
- The alignment reference is inserted into the drawing at its original coordinates.
- Save the new drawing in the C:\Autodesk Learning\Setup C3D Projects\Course 1 - Data Management
folder and name it Dref-Test.dwg.
- Return to the drawing with the defined alignment.
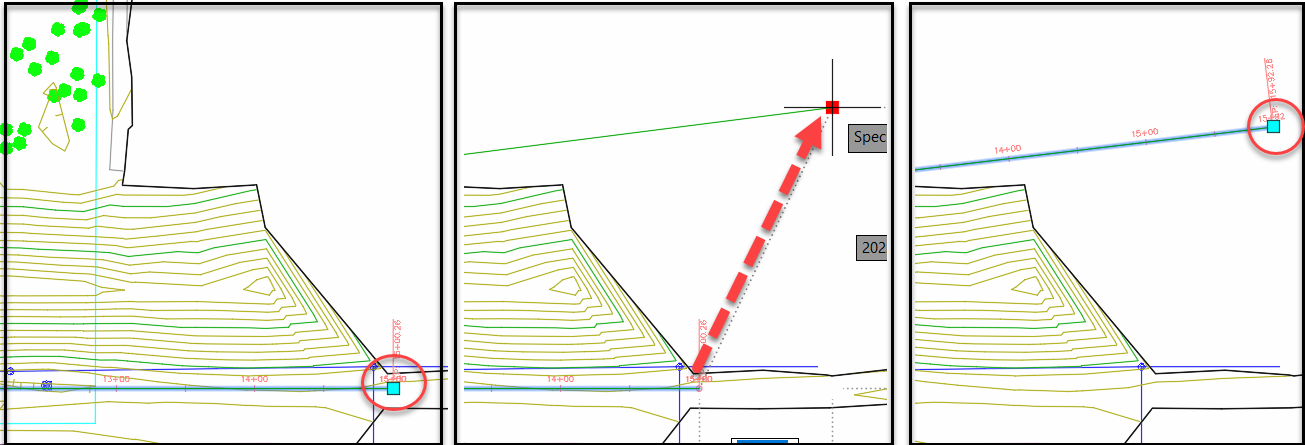
- Click on the alignment, then click on the square grip on the right end and drag it upward and outward a bit, as shown in the following images.
- Save the drawing.
- Return to the Dref-Test drawing.
- An alert bubble appears in the lower-right corner about possible changes to the data reference.
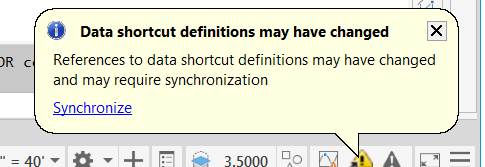
- Click Synchronize and note how the alignment changes.
- Save and close the Dref-Test drawing.
- In the alignment drawing, change the alignment back to near its original position. Accuracy is not important in this exercise. Another option is using the Undo command until the alignment is back in its original position (but don't go back too far!).
- Save the drawing.
- Open the Dref-Test drawing again.
- Note that the alignment has changed without any notification.
- Save and close both drawings.
Data Shortcuts Editor - Exercise
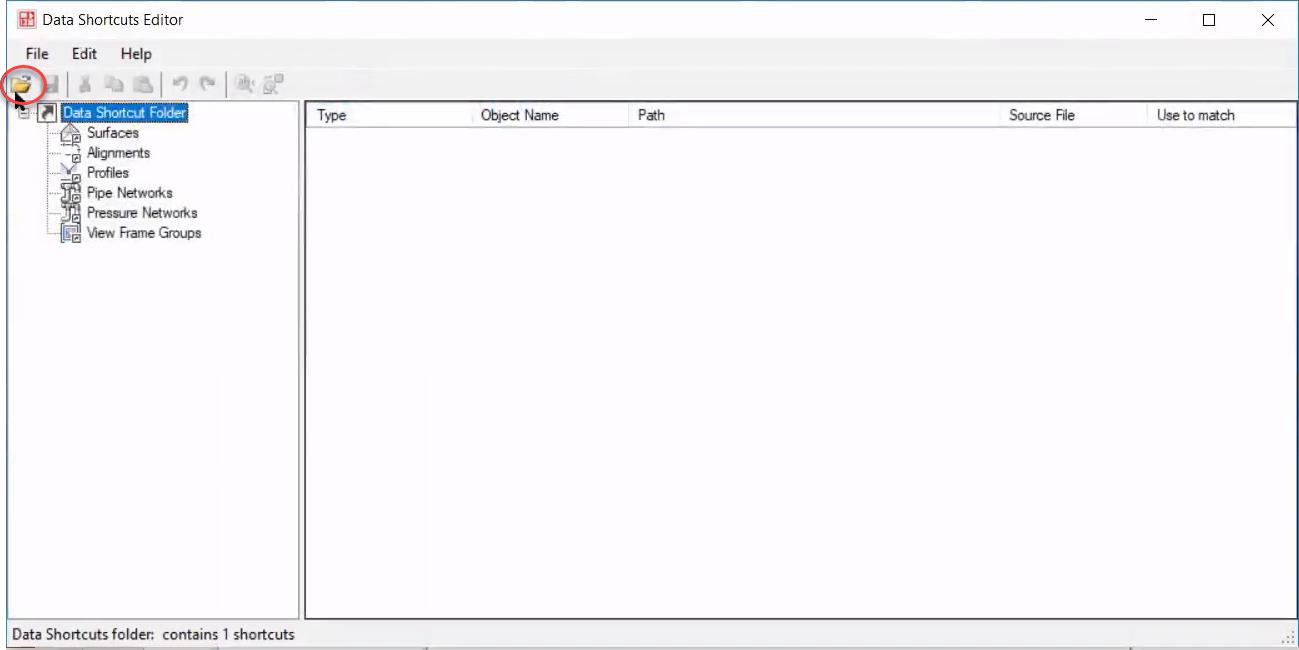
- From the Windows start menu, open the Data Shortcuts Editor.
- In the Data Shortcuts Editor toolbar, click Open.
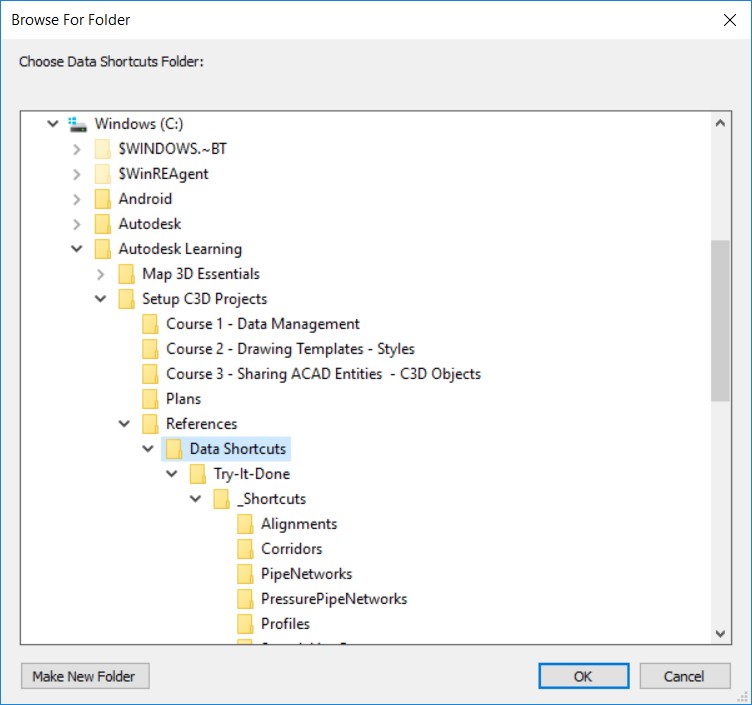
- In the Browse for Folder dialog box, browse to your working folder (C:\Autodesk Learning\Setup C3D Projects\References\Data Shortcuts) and click OK.
- The Data Shortcuts Editor will update to display the files found in the working folder, as shown in the image below.
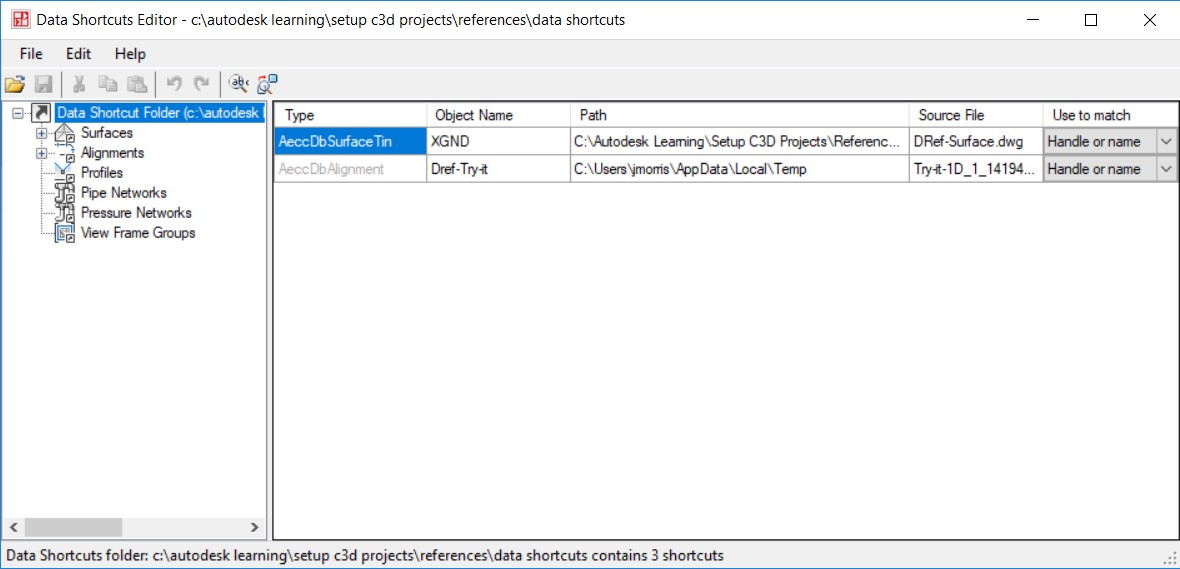
- To update a reference path, select the Path cell of the reference that needs to be updated and click Find and Replace in the toolbar.

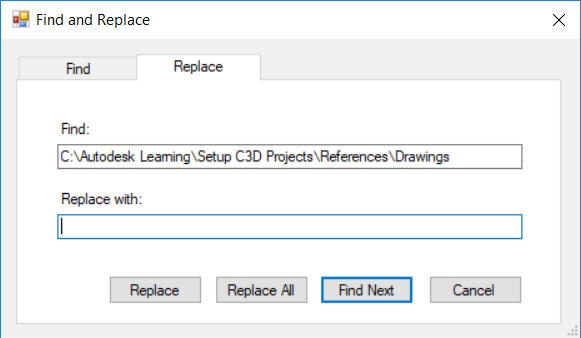
- In the Find and Replace dialog box, you can find and replace object names and path locations, depending on which cell you selected. Since you do not need to edit anything at this point, click Cancel to dismiss the Find and Replace dialog box.
- Close the Data Shortcuts Editor program.


