Creating a New Sheet in Your Project
Task 1: Create a New Sheet in Your Model
The first step in creating a set of documents in Revit is to simply create a new sheet containing a border. With this accomplished, we can then drag our views containing our floor plans, elevations and sections to those sheets.
To create a new sheet in Revit, follow along with the steps listed below:
- Open the practice file called 2023R2_Arch.rvt
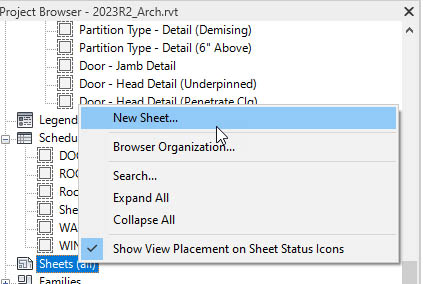
- In the Project Browser, scroll down until you find Sheets (all)
- Right click on Sheets (all) and select New Sheet…
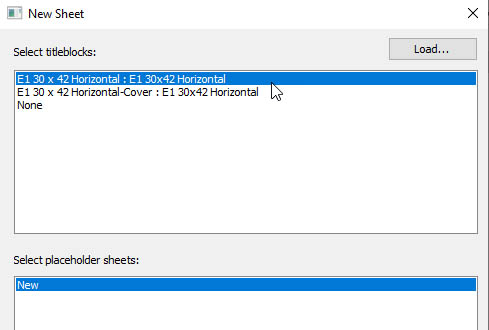
- Select the E1 30 x 42 Horizontal title block in the Select Titleblocks: field.
- Click OK.
- In the Project Browser, click the Expand button next to Sheets (all)
- Right Click on A304 – Unnamed and select Rename…
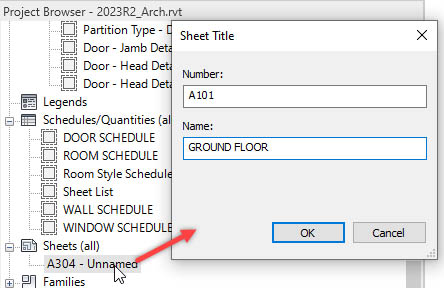
- Rename it to A101 GROUND FLOOR. As shown above.
- Click OK.
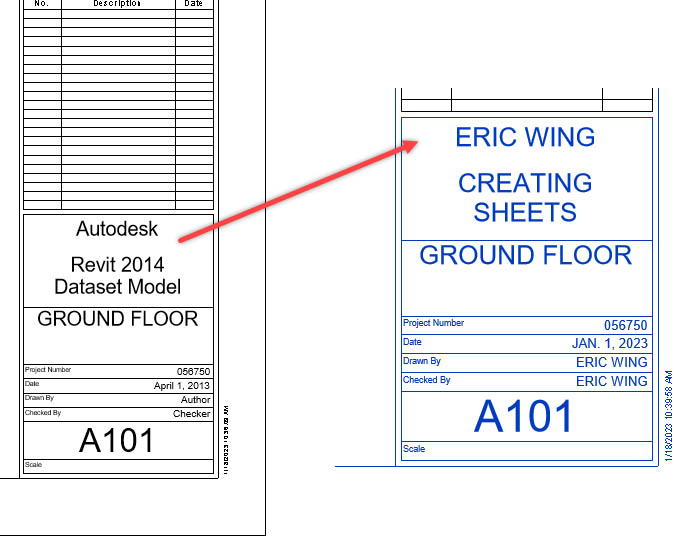
- Zoom in on the lower right corner of the border. Notice the sheet specific information is filled out but not the project information. With that being said, select the border.
- With the border selected, click where it says Autodesk.
- Add whatever you want. I’ll add my name.
- Do the same for The Project Name. This can be CREATING SHEETS.
- You can change the rest of the information to be updated to this decade.
Task 2: Add a View to Your Sheet
With the new sheet in place, we can now select the views we want displayed on that sheet.
To place a view on a sheet, follow along:
- With the sheet open, scroll up in your Project Browser. Under Views (all) -> Floor Plans, find GROUND FLOOR.
- Select and hold GROUND FLOOR then drag that view over the sheet in approximately the location you’d like it to be seen on the sheet, and release the pick button. A rectangle should be following your cursor around. The ol’ Drag and Drop.
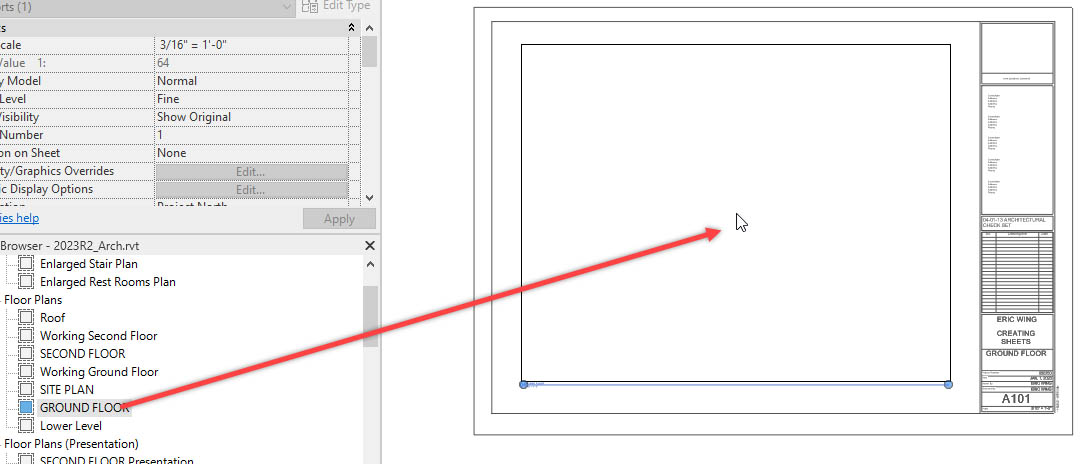
- Pick the spot where you want the view.
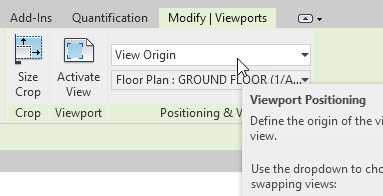
- Zoom in on the view and select somewhere on the plan. You will see the viewport highlight. This is the extents of your view.
- With the viewport selected, notice you have a context tab that says Modify|Viewports. Underneath it there are two tiles called Viewport and Positioning and View.
- Change the Position to View Origin. This is important when we want all of our floor plans to align on other sheets.
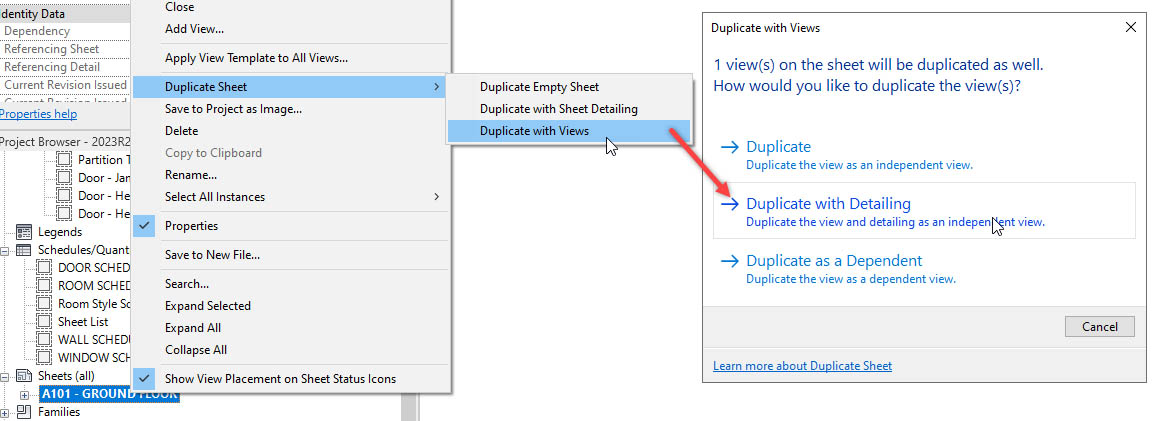
- In the Project Browser, scroll back down to the Sheets (all) area and right click on your A101 sheet.
- Select Duplicate Sheet -> Duplicate with Views.
- Select Duplicate with Detailing.
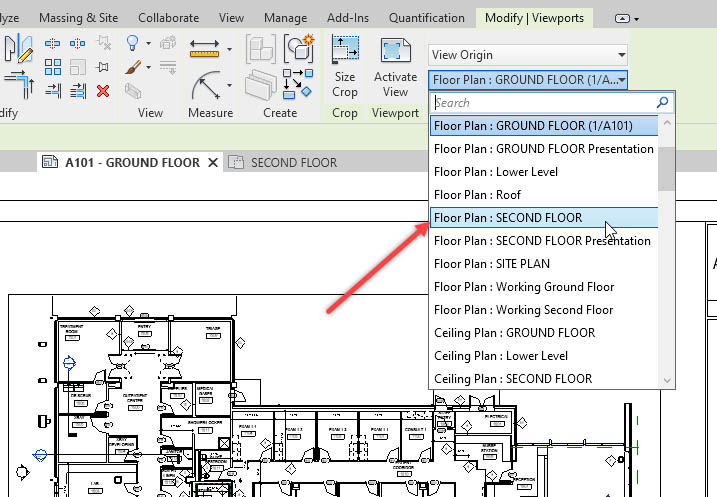
- Select the Viewport and change it to Floor Plan: SECOND FLOOR.
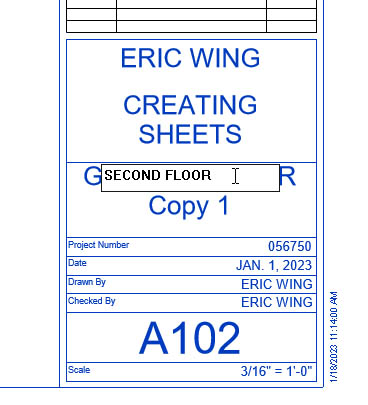
- Zoom in on the lower right side of the border and change GROUND FLOOR Copy 1 to SECOND FLOOR.
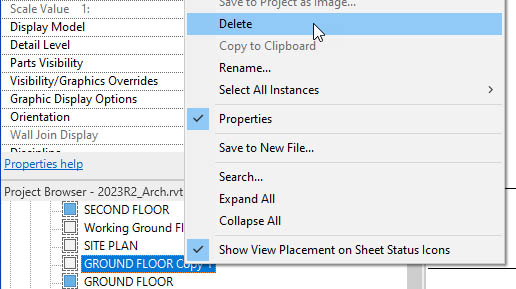
- In the Project Browser find the Floor Plan GROUND FLOOR Copy 1 and delete it.