Create, Customize, and Share Dashboards and Cards
Create, Customize, and Share Dashboard and Cards – Practice Exercise
Task 1: Access Insight and the My Dashboard View
- Log on to your Autodesk Construction Cloud project.
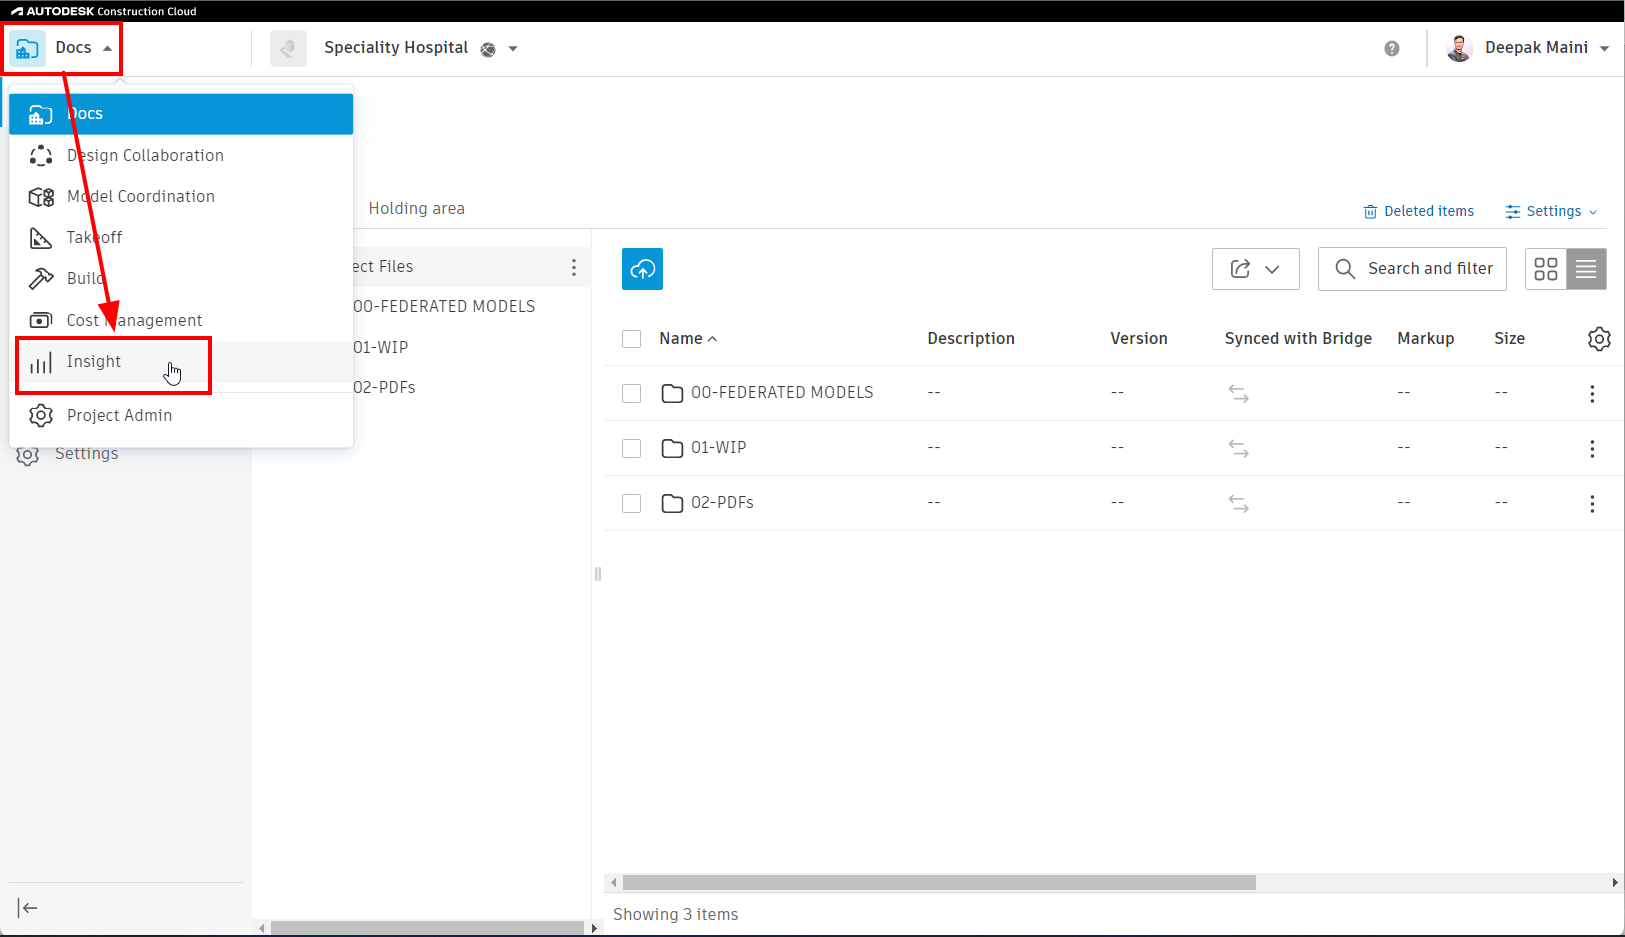
- Click on the product picker on the top left and then click Insight, as shown below:
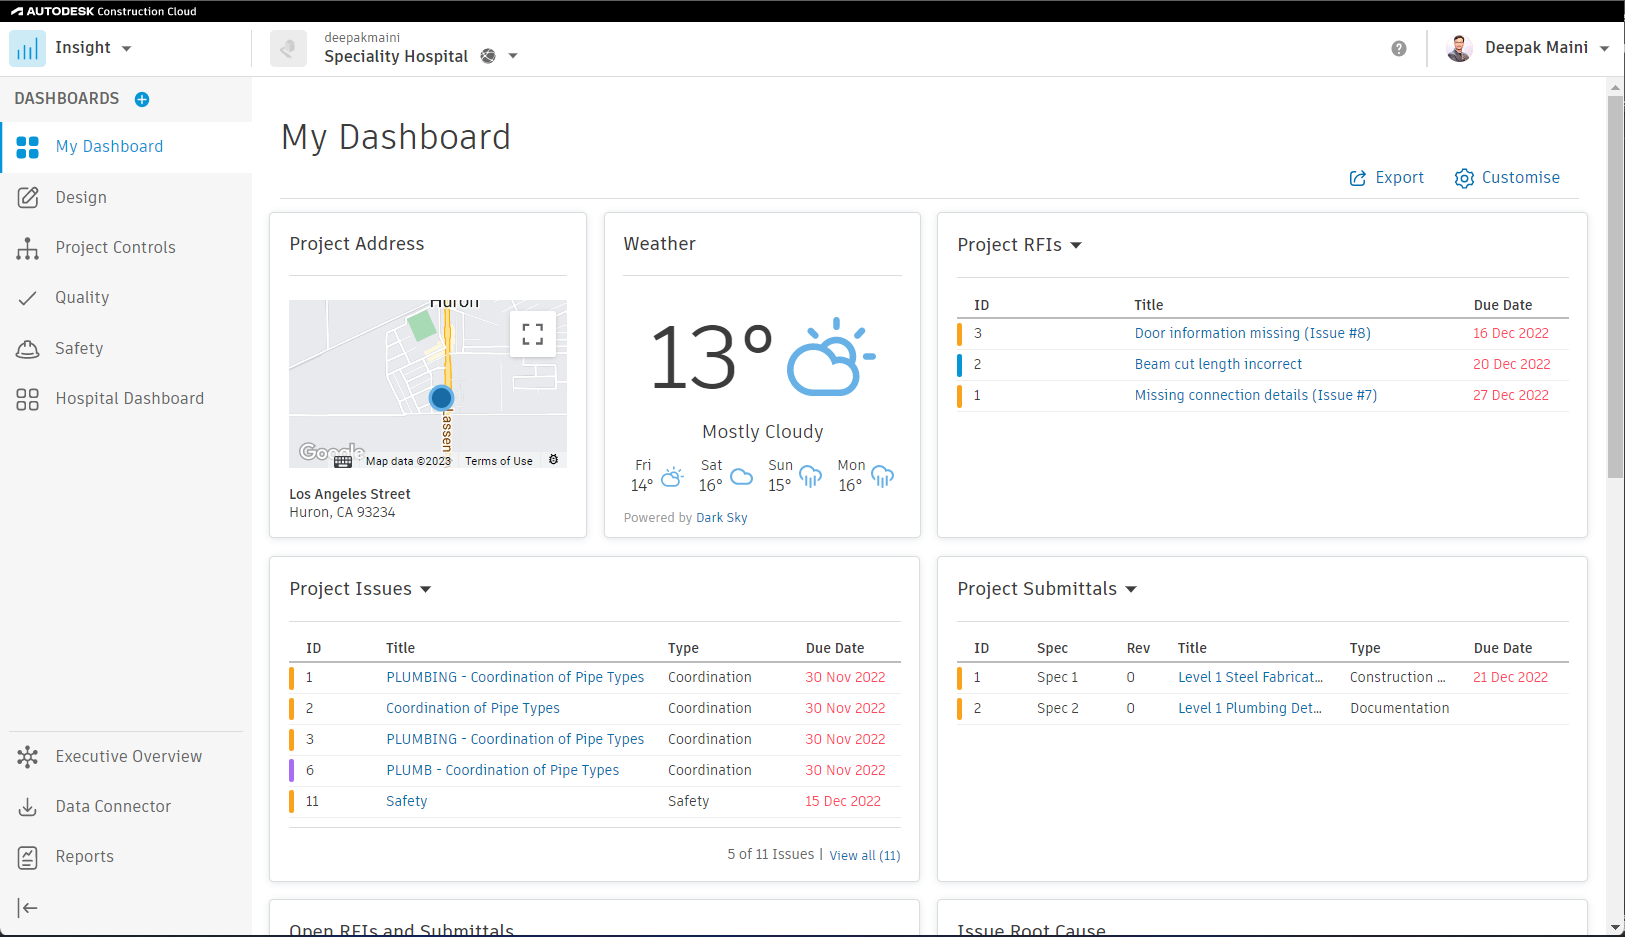
- Review various cards and their content on the My Dashboard view, as shown below:
Task 2: Customize My Dashboard View and Add Additional Cards
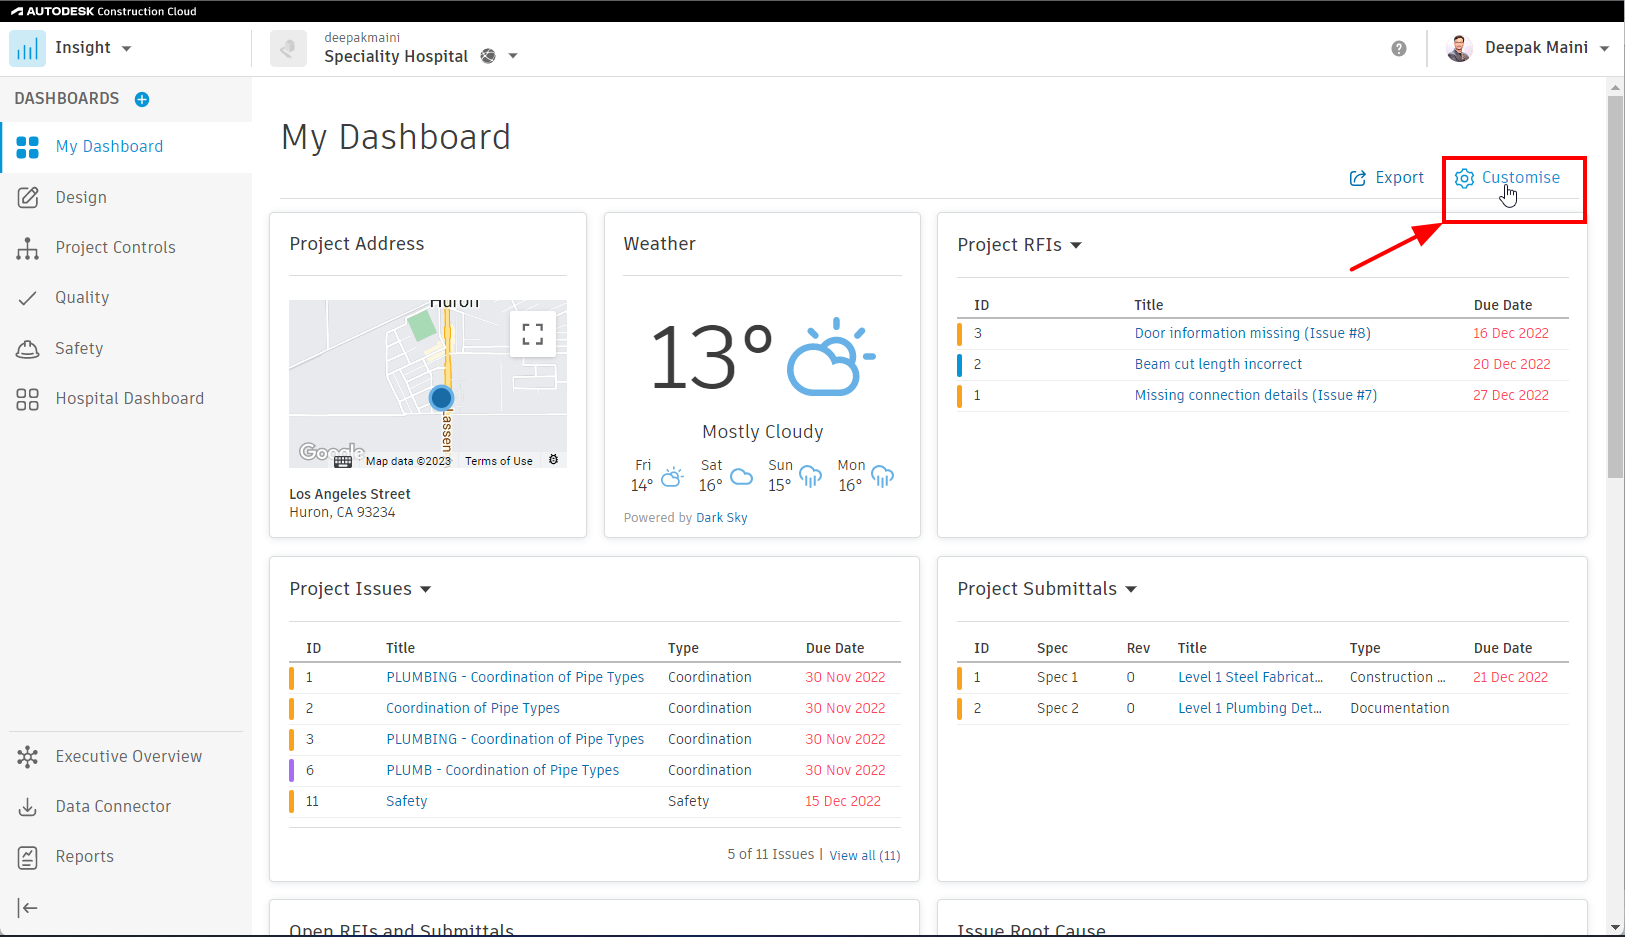
- From the top right, click Customize, as shown below:
- Click the Card Library button near the top right.
- In the card library, scroll down and select the Autodesk Construction Cloud and ISSUE ROOT CAUSE cards.
- From the bottom right, click Add Cards.
- Drag and drop the cards on the page where you want them to be located.
Task 3: Configure ACC Card to Display Federated Project Model
- Open the Docs module of the project in another window.
- Navigate to the federated model of the project and then click on it to open it.
- Copy the address listed in the address bar at the top.
- Return to the Insight window.
- In the Autodesk Construction Cloud card, click Configure.
- Change the card title to Project Federated Model.
- In the Document Management URL field, paste the address you copied from the Docs window.
- Click Save; the card is configured to display the federated project model now, as shown below:

- From the top right, click Save; the customization is saved.
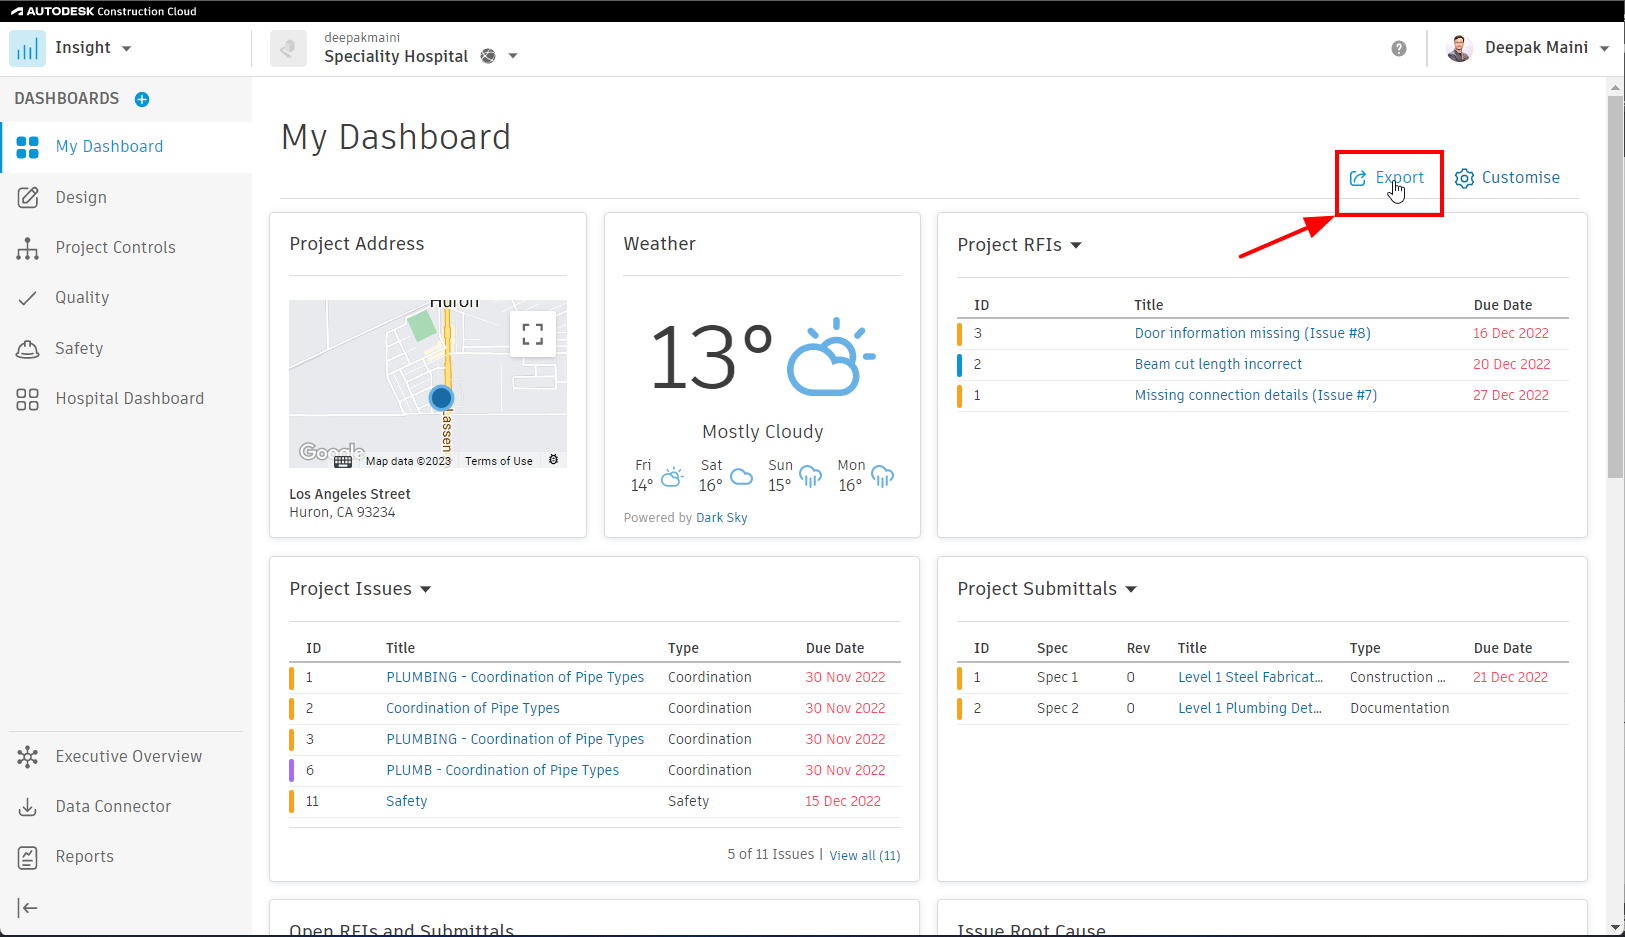
Task 4: Export My Dashboard
- From the top right, click Export as shown below:
- From the Share with drop-down list, select the company, role, or individuals with whom you want to share the dashboard.
- Add any additional message in the Message field.
- Click Export from the bottom right; the selected users will get an email that a dashboard is shared with them.
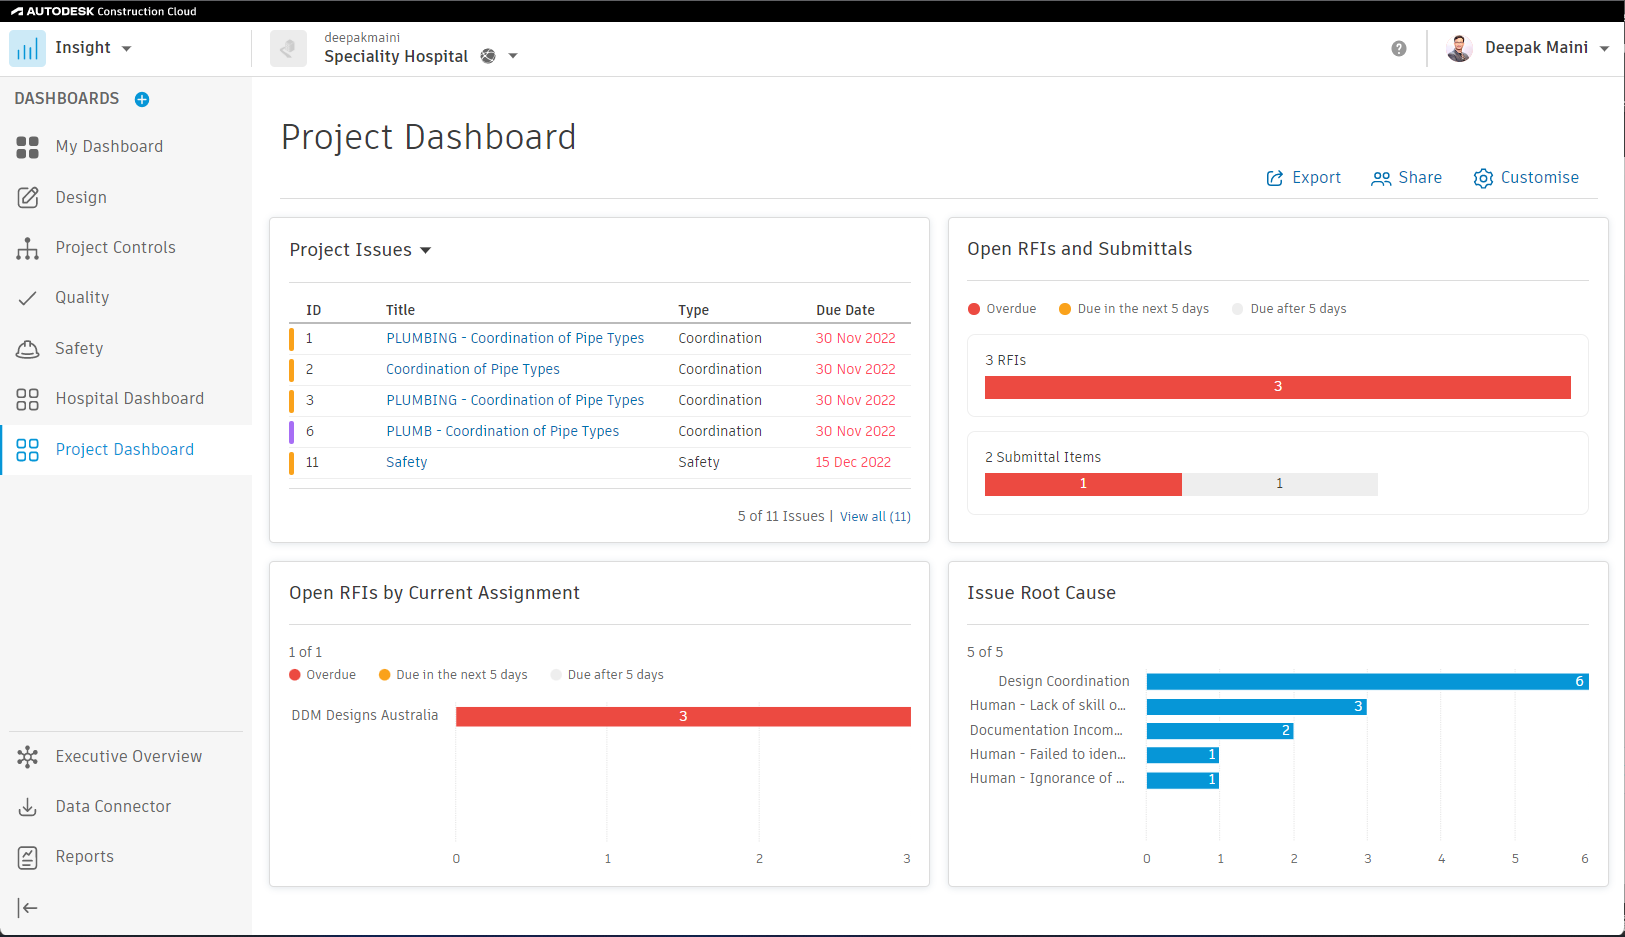
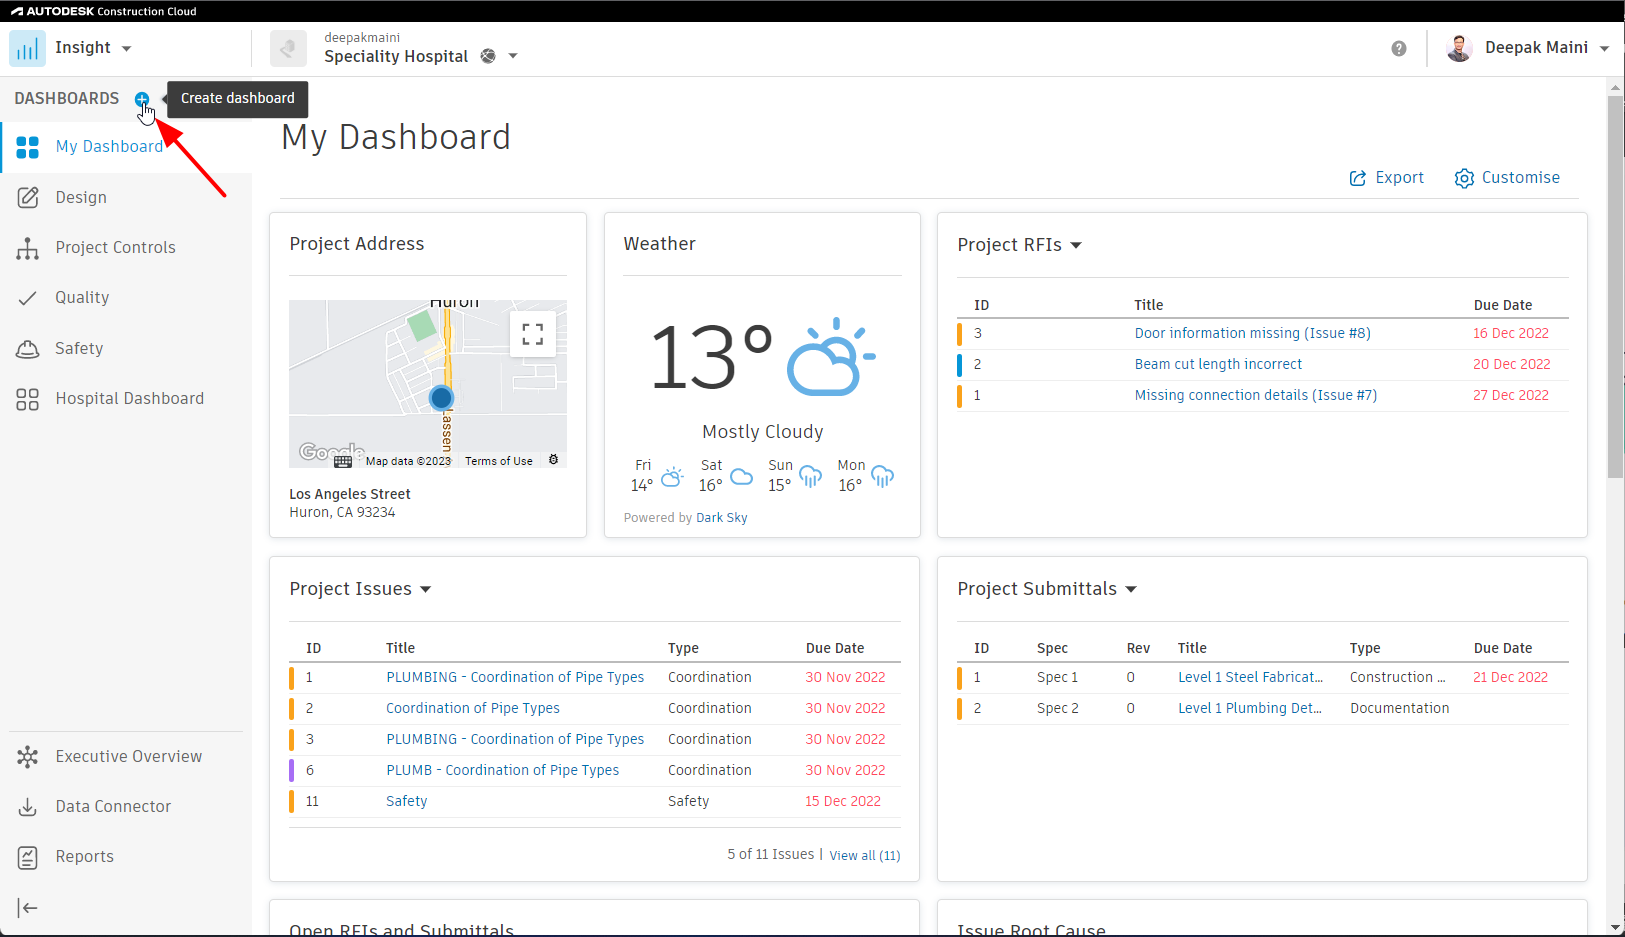
Task 5: Create a New Dashboard
- From the top left, click Create dashboard as shown below:
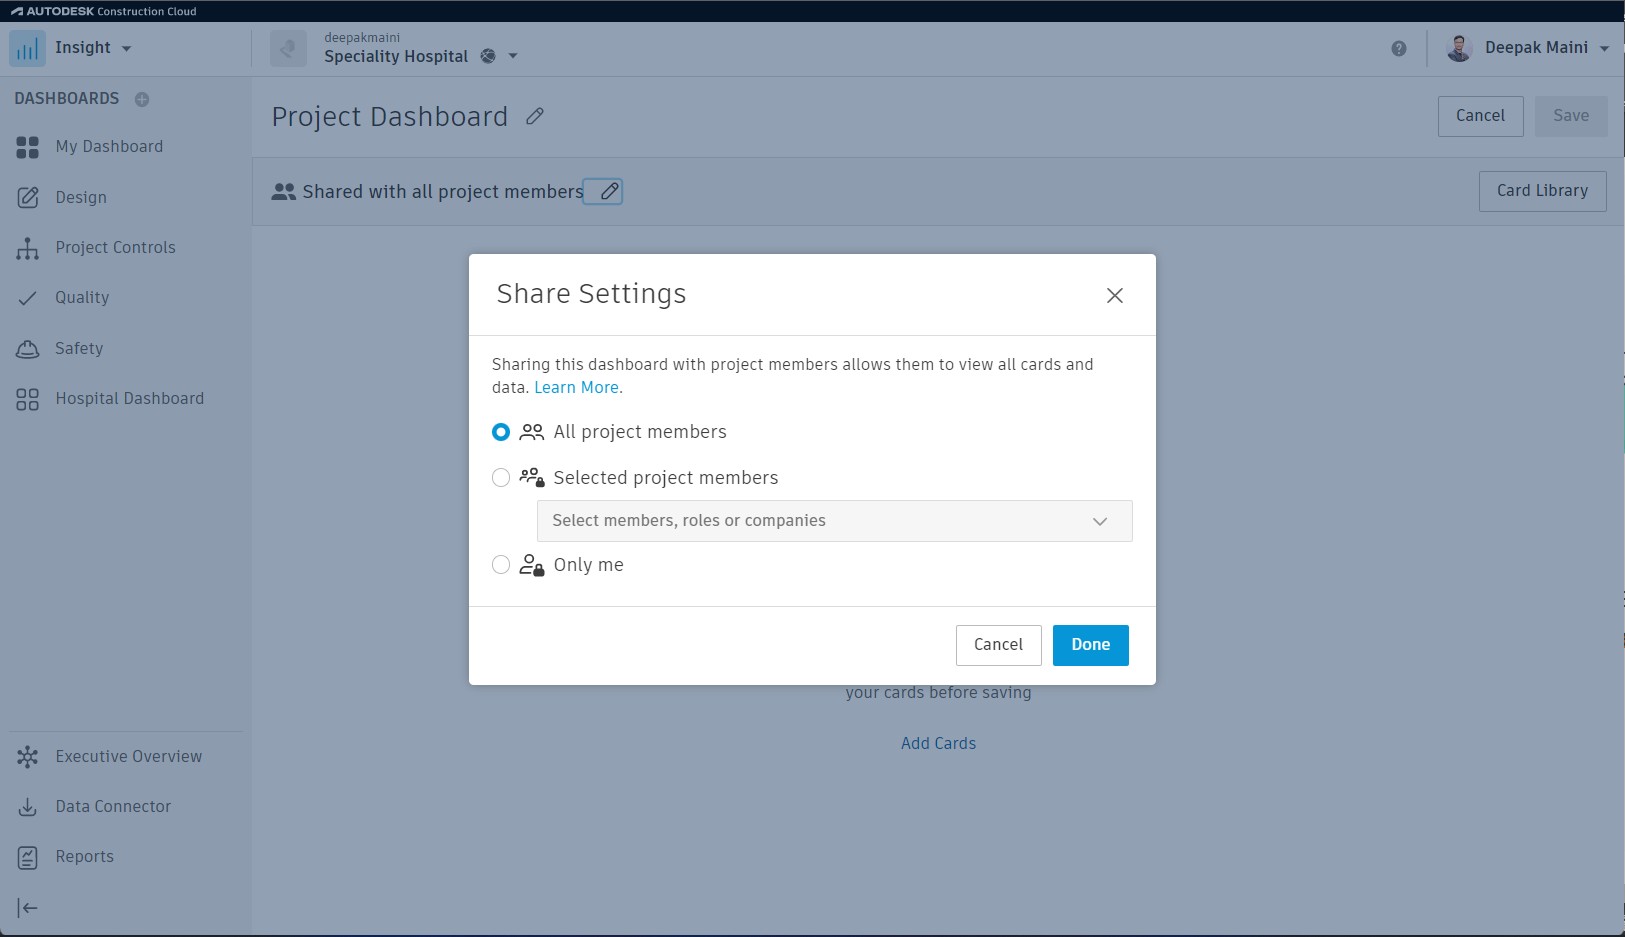
- Rename the dashboard to Project Dashboard.
- Click the pencil icon on the right of the share option and make sure the dashboard is shared with all project members, as shown below:
- From the top right, click Card Library.
- Select the cards that you want to show on this dashboard.
- From the bottom right, click Add Cards.
- Drag and drop the cards on the page to place them as you want.
- From the top right, click Save; the new dashboard is created and saved, as shown below: