Step-by-step Guide
In InfoWorks WS Pro, demand area analysis provides the demand profile input that is necessary for simulation runs.
Before carrying out a demand area analysis, however, several steps must be taken:
- Allocating all known demand to the network
- Assigning any direct demand for large, metered consumers
- Creating a template demand diagram that includes demand categories for all unprofiled and leakage demand
To begin, allocate demand to the network using data configuration:
- In the Model Group, expand DAA Start.
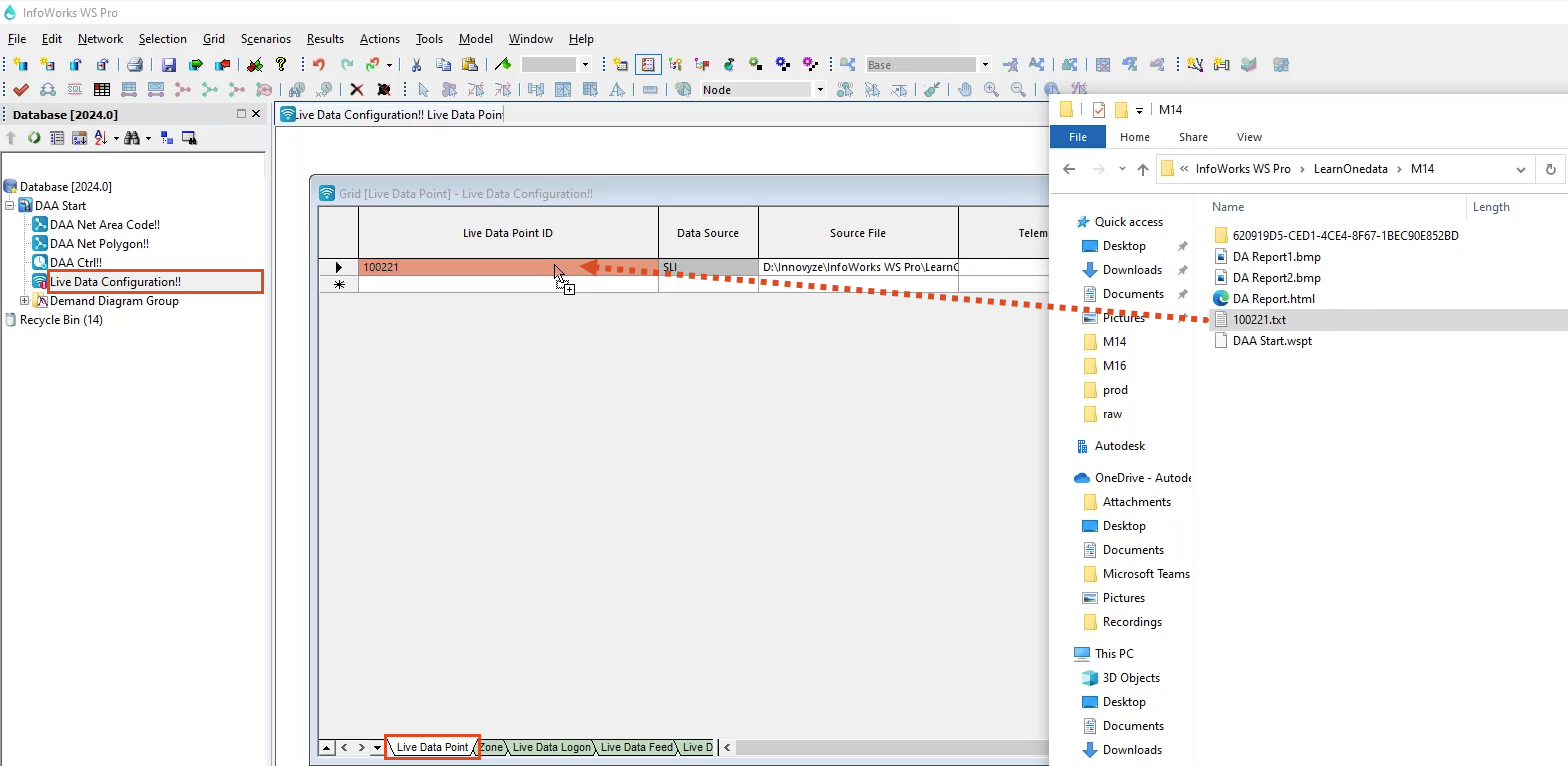
- Open Live Data Configuration.
- In a file browser, navigate to the Demand Area Analysis folder and select 100221.txt.
- Drag 100221.txt into the Live Data Configuration grid, Live Data Point tab, and drop it in the first cell of the Live Data Point ID column.
To perform a demand area analysis, you must have the Demand Diagram, the network and control, and live data configuration open in the background.
- Open the Demand Diagram.
- Open the DAA Net Area Code and DAA Ctrl GeoPlan and bring it to the front.
To perform a demand area analysis:
- In the Window menu, select Grid windows > New demand area window.
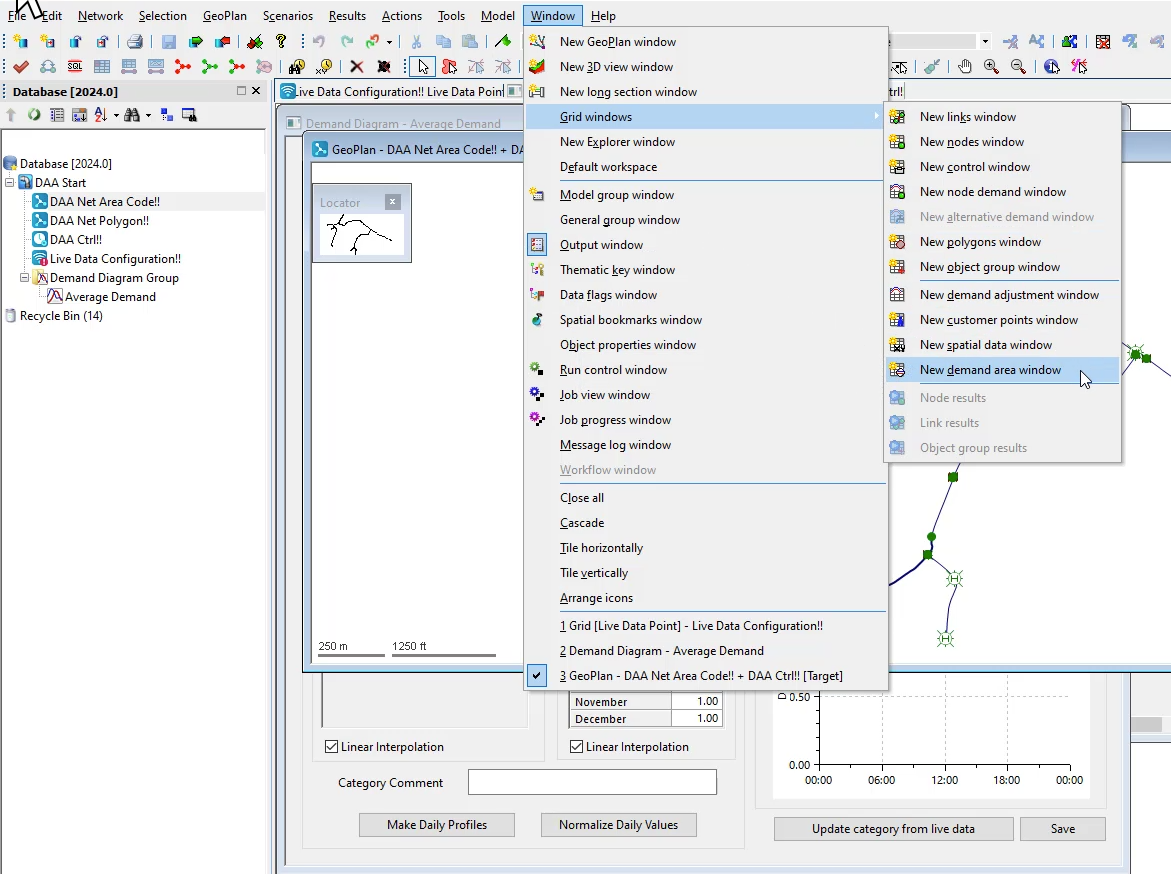
The Grid (Demand Area) window displays. The Demand Area Grid View is used to view, edit, and analyze Demand Areas.
- In the Demand Area ID column, right-click and select Generate demand areas from area codes.
- Leave the boundary conditions as-is.
- Click Generate.
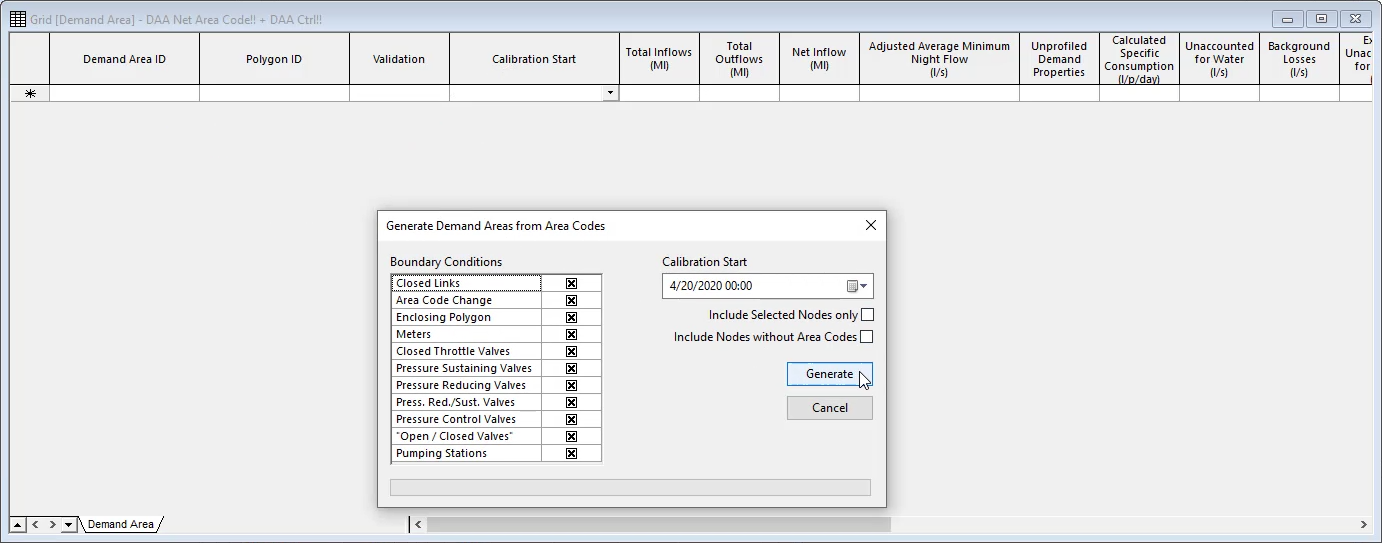
The Demand Area grid automatically populates. Notice in the Validation column there are some errors.

To remedy the errors:
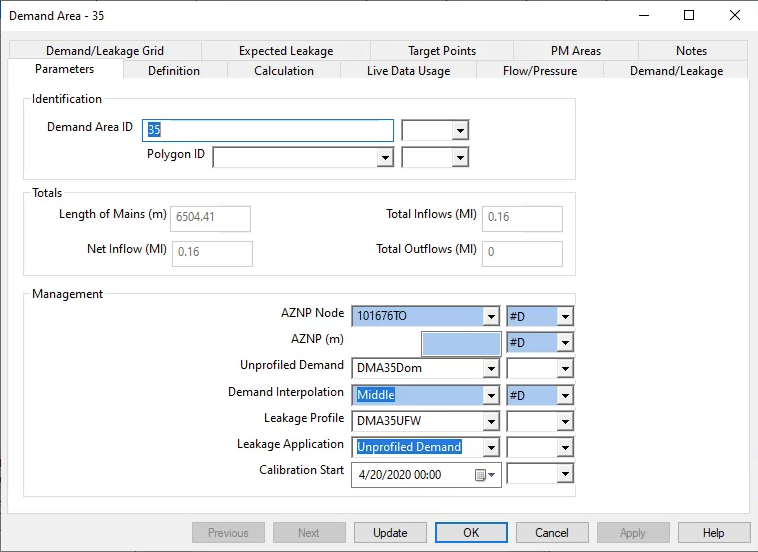
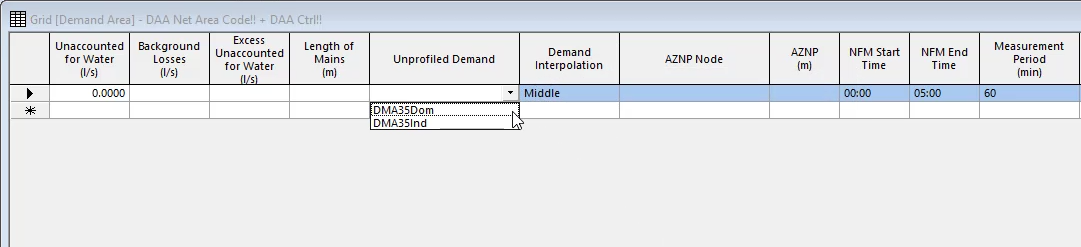
- Navigate to the Unprofiled Demand column. This is where you specify the demand profile for the demand area analysis process to update.
- In the first row, expand the Unprofiled Demand drop-down and select DMA35Dom for area 35.
- Navigate to the Leakage Profile column, where each demand area is assigned a constant leakage.
- Expand the Leakage Profile drop-down and select DMA35UFW for area 35.
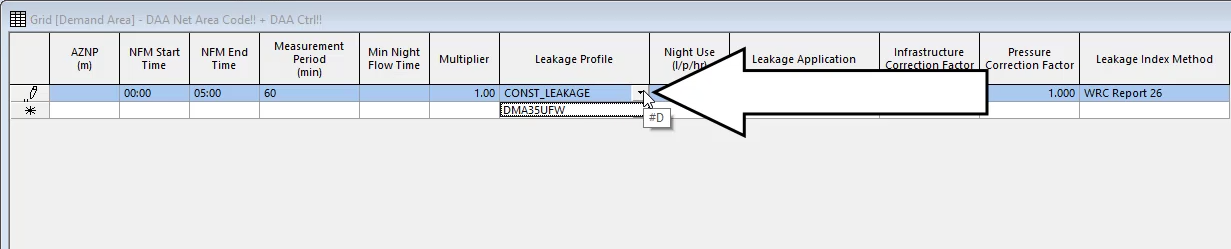
The specified profiles are existing leakage profiles, generally determined from minimum nightly flows, within the demand diagram.
- Expand the Leakage Application drop-down and set the demand area to Unprofiled Demand.
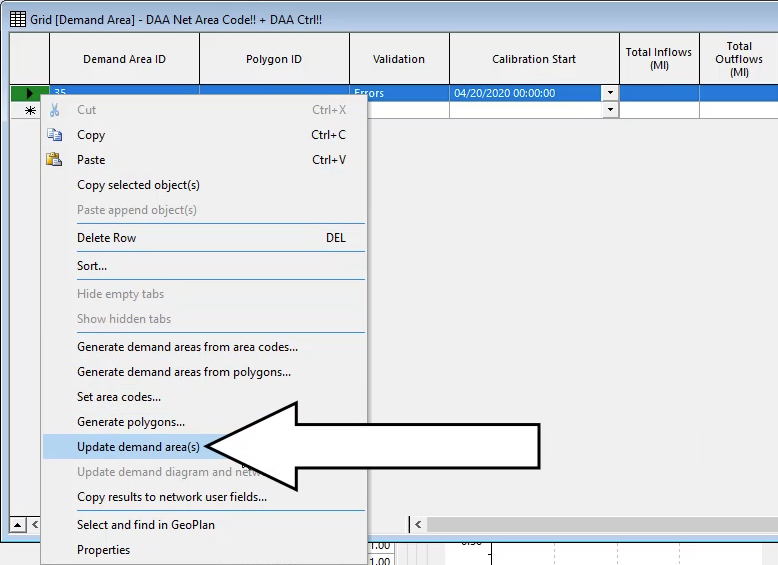
- Navigate back to the Demand Area ID column and select the row by clicking the cell in the table margin.
- Right-click the cell and select Update demand area(s).
- To view more detailed information on the demand area, right-click it and select Properties to open its properties dialog box.