00:00
NARRATOR: Adding and naming spaces in an MEP project.
00:05
In this video, we're going to add spaces and use
00:08
the space naming tool to match the space names to room names
00:11
in the architectural model.
00:14
Remember that spaces include important engineering
00:17
data such as electrical loads and mechanical airflow
00:25
I'm working in the small Medical Center building.
00:28
This MEP model includes links to the architectural
00:31
and the structural models.
00:33
I'm now going to use the information
00:35
in the architectural model to add spaces to the MEP project.
00:41
First I need to set the architectural link
00:44
This is not set by default. So I'll
00:47
select the architectural link and in properties select
00:52
In the Edit Type dialog box, select Room Bounding
00:58
Now the MEP model will be able to see the bounding areas
01:01
of building elements such as walls, floors, ceilings,
01:05
and roofs when placing spaces.
01:08
In the project browser in the coordination group,
01:11
I have space plans already created.
01:14
So I'm going to open the O1 ground floor space plan.
01:19
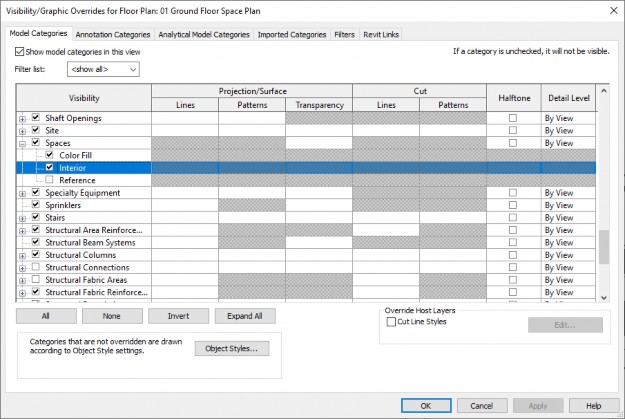
I'm going to type VG to open up the visibility
01:22
graphic overwrites dialog box.
01:24
And as you can see when I find and expand the spaces category,
01:30
I have the interior option already visible.
01:36
This means spaces will display in color in this view
01:41
Now in the Analyse tab on the Spaces and Zones panel
01:45
I'm going to click Space.
01:49
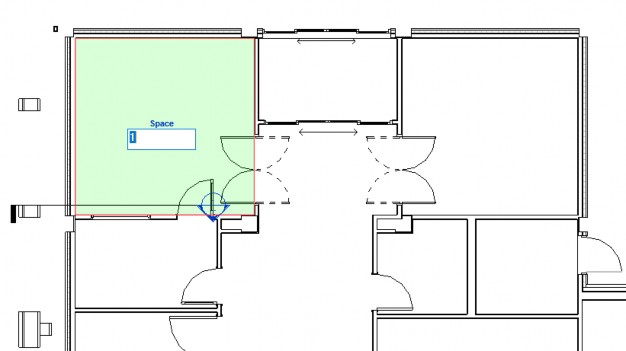
I could place each space individually
01:52
as you can see here.
01:55
I'm going to modify this and change the tag to make just
01:59
to be space number one.
02:01
But there is an easier way.
02:03
I'm going to start the space command again,
02:06
and in the modify Place space tab
02:10
I'm going to click Place spaces automatically,
02:15
and you can see the spaces are placed
02:17
and visible in this view.
02:20
Now when I zoom in, you can see that all the spaces just
02:23
have the generic name space and a number
02:26
based on the first space I put in.
02:29
It's not very useful.
02:32
When I open the 02 second floor plan,
02:35
you can see that the spaces are not yet placed here.
02:38
I need to run the space command again,
02:42
and I'm placing them automatically.
02:47
Now I'm going to select one of the spaces.
02:52
And when you do this, make sure you aren't selecting
02:54
the tag, that won't do it.
02:56
You need to hover over until you can see the x.
03:03
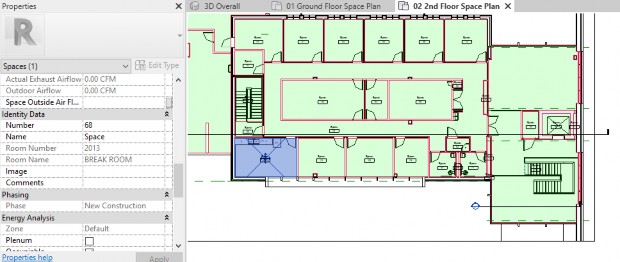
And now in properties, I'm going to scroll down until I
03:07
get to the identity data area.
03:11
And you can see here that the room number and name
03:14
from the architectural model are connected with the number
03:18
and name of the space model.
03:20
I could change these, but I don't want to spend that time.
03:24
So I'm going back to the Analyse tab,
03:27
and I'm selecting the space naming utility.
03:31
In this dialog box, you can set up how you want it to display.
03:36
I'm going to use the name and number,
03:39
and then you can select how many levels that you want to use.
03:42
I'm going to again select both my levels here.
03:45
So I'm going to do all in the view.
03:47
When I click OK, you can see that the spaces are now
03:51
updated to match the identity data of the room names.
03:60
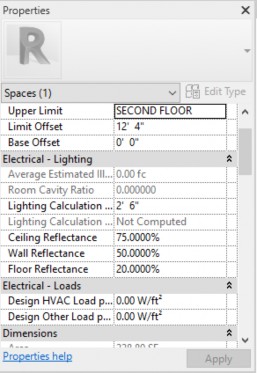
Now these spaces can also be used
04:02
for Electrical lighting and electrical load
04:05
calculations as you can see here, as well as HAVC analysis.
04:12
Now one of the thing I do want to show you is setting up
04:15
space tags in another view.
04:18
So I'm going to open up the electrical ground floor
04:21
electrical plain view, and I could use space tag and then
04:25
select each space. .
04:26
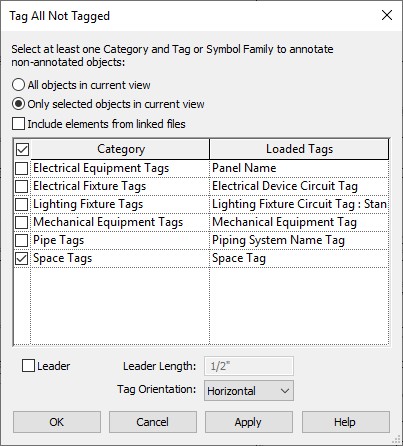
That would take time but in the Annotate tab,
04:30
I can use the tag all, select space tags, and then click OK.
04:40
So I've added spaces to my project
04:43
and I can use this as a basis for other analysis