00:01
MARTHA HOLLOWELL ORCUTT: Modifying Ducts Fitting
00:03
to Fitting in Revit.
00:05
In this video, we're going to search for interferences
00:09
and then modify the duct and apply Fittings
00:11
to Fittings to reduce the depth between duct runs
00:17
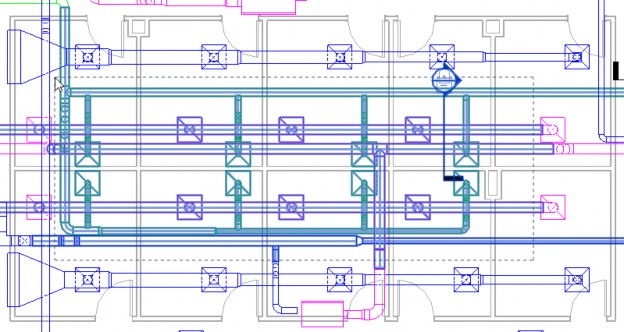
I'm working in the small medical center in the 3D HVAC view.
00:21
There are lots of ducts running around each other--
00:24
supply, exhaust, and return systems.
00:28
I wouldn't be surprised if there weren't some interferences.
00:32
I want to focus on the ground level first,
00:35
so I'm opening the O1 Ground Floor HVAC Plan
00:39
and zooming in a bit.
00:42
To limit the number of interferences,
00:44
I'm going to create a crossing window
00:46
around some of the elements that are near this section.
00:51
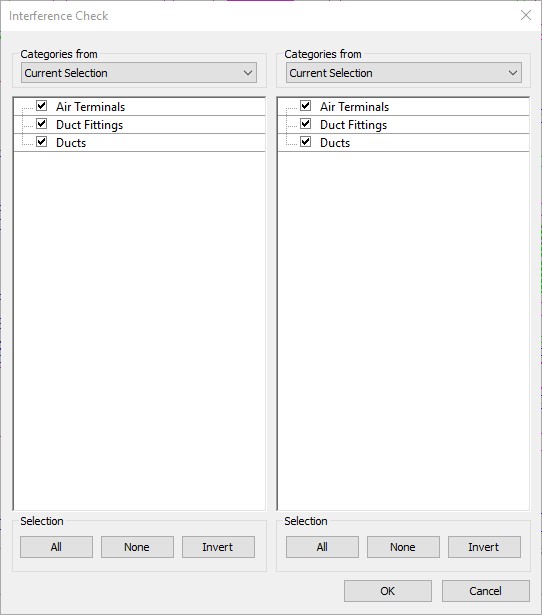
Then, in the Collaborate tab, Coordinate panel,
00:55
I'm going to expand Interference Check.
00:58
In my Interference Check, you can
01:00
see I just have air terminals, duct fittings, and ducts.
01:04
I'm going to click OK.
01:06
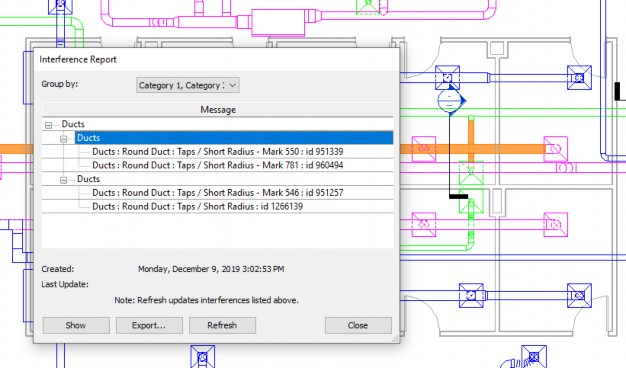
And the issue is an exhaust duct interfering with a return duct.
01:13
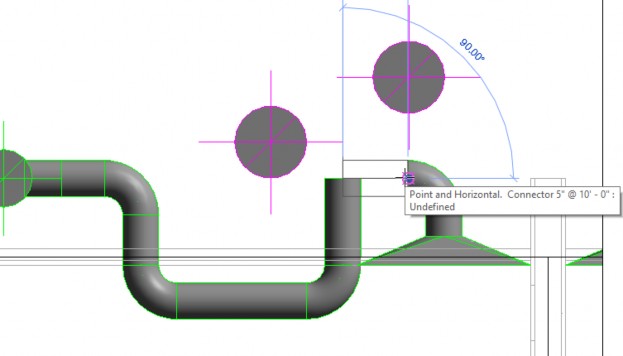
So I want to open the section that displays this area.
01:23
Here is the return duct and the exhaust duct interfering.
01:28
I need to run the exhaust duct under the return duct.
01:33
So first, I'm going to drag the duct back
01:35
so I have room to work.
01:41
Now, I'm going to draw a new duct that goes down
01:44
and around the return duct.
01:48
I tried to draw it first so there's not too much space,
01:52
but it won't let me because there's no place
01:54
to put in the fittings.
01:55
So I'm going to draw it a little bit longer, over,
01:60
up using alignments.
02:02
And I now have a new run of duct that
02:05
goes under the return duct.
02:09
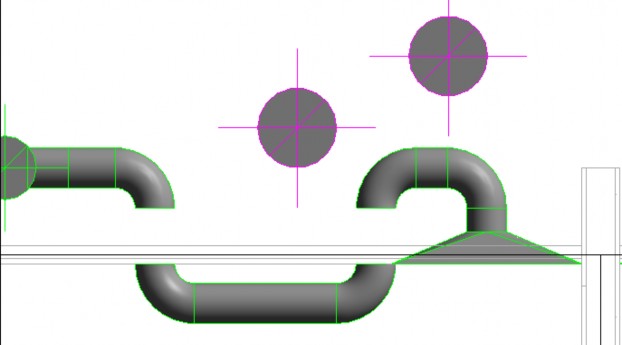
But there's not enough room yet.
02:11
The easiest thing for me to do, though,
02:13
is just to take out these extra pieces of duct
02:16
and then select one of the fittings
02:20
and drag that fitting so fitting touches fitting.
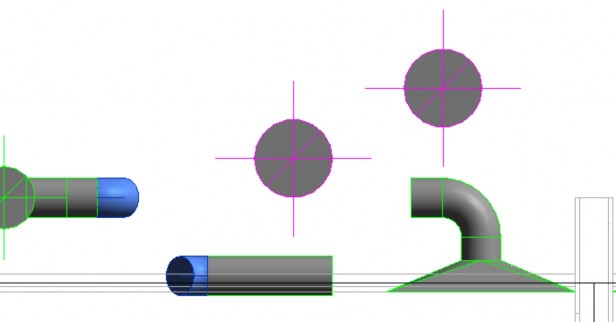
02:27
There isn't quite enough room yet.
02:29
You can see that the duct is hanging out under the ceiling.
02:33
So I want to modify the fittings so that they are 45 degrees.
02:40
I select the existing duct.
02:42
And you can see that while I can change the angle,
02:45
I can't, in this case, while it's connected.
02:48
So I need to put in new fittings.
02:50
So I'm just going to delete these fittings.
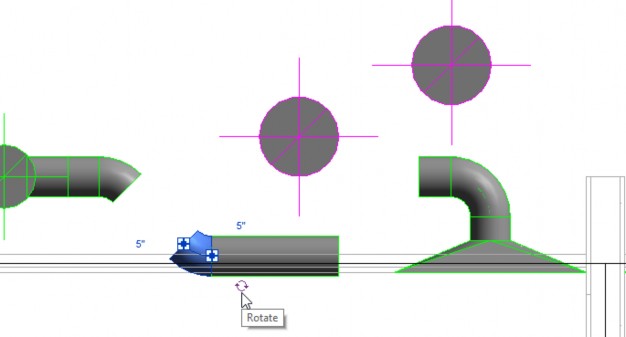
02:54
And then in the Systems tab, I'm going
02:59
to click Duct Fitting, use a Round Elbow.
03:03
Notice the default angle is 45 degrees.
03:07
And I'm going to place an elbow at each end of these existing
03:13
They aren't at the right angle, so I'm going to click Modify,
03:17
come back, and then I'm going to use the Rotate
03:20
control until they're facing the right direction.
03:30
Now that they're facing the right direction,
03:32
I can use the controls to drag the fitting so
03:36
the fitting touches, and it takes up much less space.
03:42
Now I just need to clean up the extra fittings that are there.
03:47
So I'm going to delete those two fittings out.
03:50
And now I'm going to mirror the other two fittings.
03:53
So I'm going to select each of these fittings,
03:57
and then start the Mirror command.
04:00
I'm going to do it around the midpoint of that duct.
04:06
Now, all I have to do is expand the length
04:09
of the duct to fit the fitting.
04:12
And I might want to clean it up a little bit more.
04:15
So I'm going to move this fitting over,
04:17
dragging it over, and then the duct back in place.
04:24
And now you can see that by connecting
04:26
ducts fitting to fitting, you can use less space
04:30
as you remove interferences.