Most popular Autodesk products
2D and 3D CAD tools built to accelerate your creativity.
Best-in-class 2D design and drafting tools with automation.
Cloud-based 3D CAD / CAM / CAE / PCB software for product design.
Get Revit LT and AutoCAD LT together at a great value.
Integrated BIM tools, including Revit, AutoCAD and Civil 3D.
Design buildings and infrastructure in 3D.
Comprehensive detailed design and documentation software for civil infrastructure.
Cloud-based design collaboration and design management software.
Professional CAD / CAM tools built on Inventor and AutoCAD.
3D animation and visual effects software.
Create, simulate, and document your most ambitious ideas.
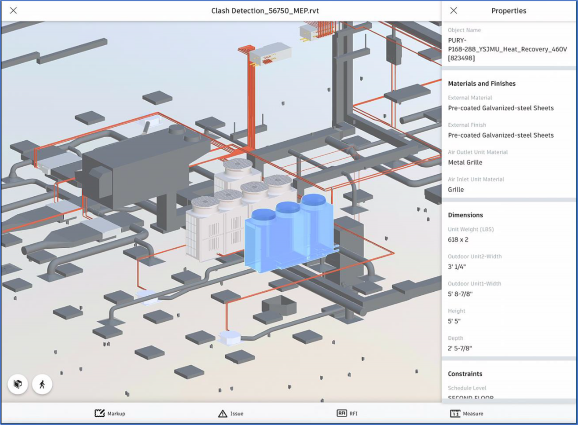
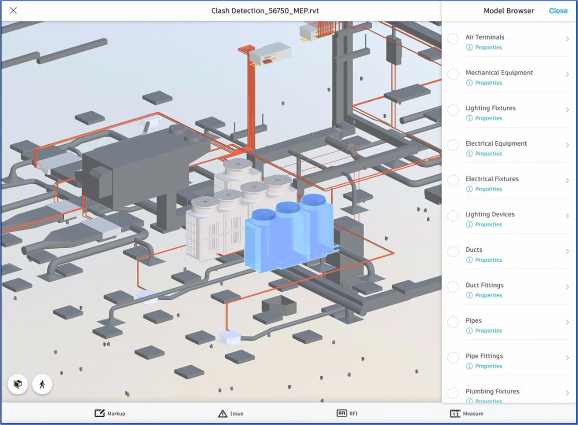
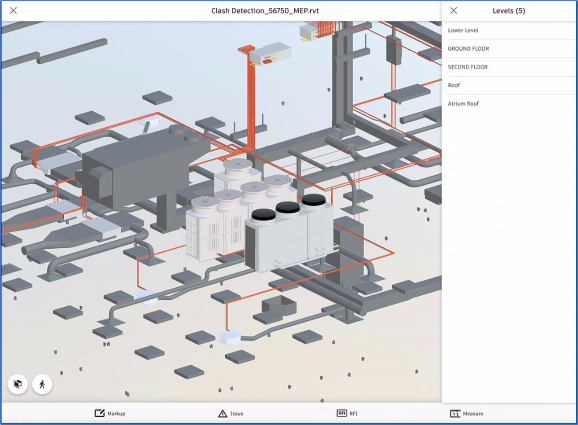
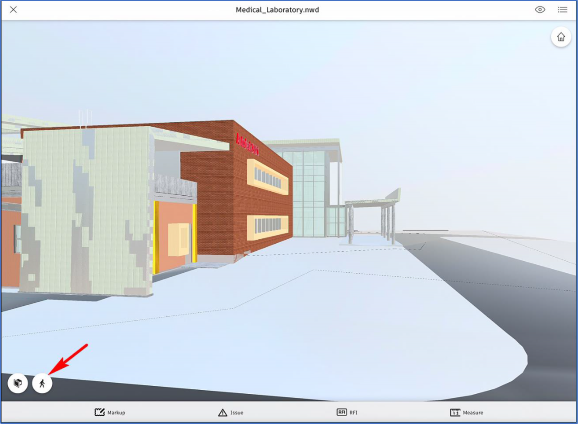
Connect design and construction teams and streamline clash detection and coordination in BIM.
3D modeling and animation software.
Create better products with enhanced workflows tailored to your business on one platform.
Creative production management and review tools.