Step-by-step Guide
InfoWorks WS Pro’s auto labels are simple, read-only labels that can be shown or hidden for all or selected objects in a GeoPlan, making it easy to review model data. Because auto labels are created with user-defined text, they can be configured to meet the unique needs of any user.
To configure auto labels:
- From the Model Group, drag BridgeNet and drop it into the workspace to open the GeoPlan.
- Zoom into the network.
- Right-click the GeoPlan and select Properties & Themes.
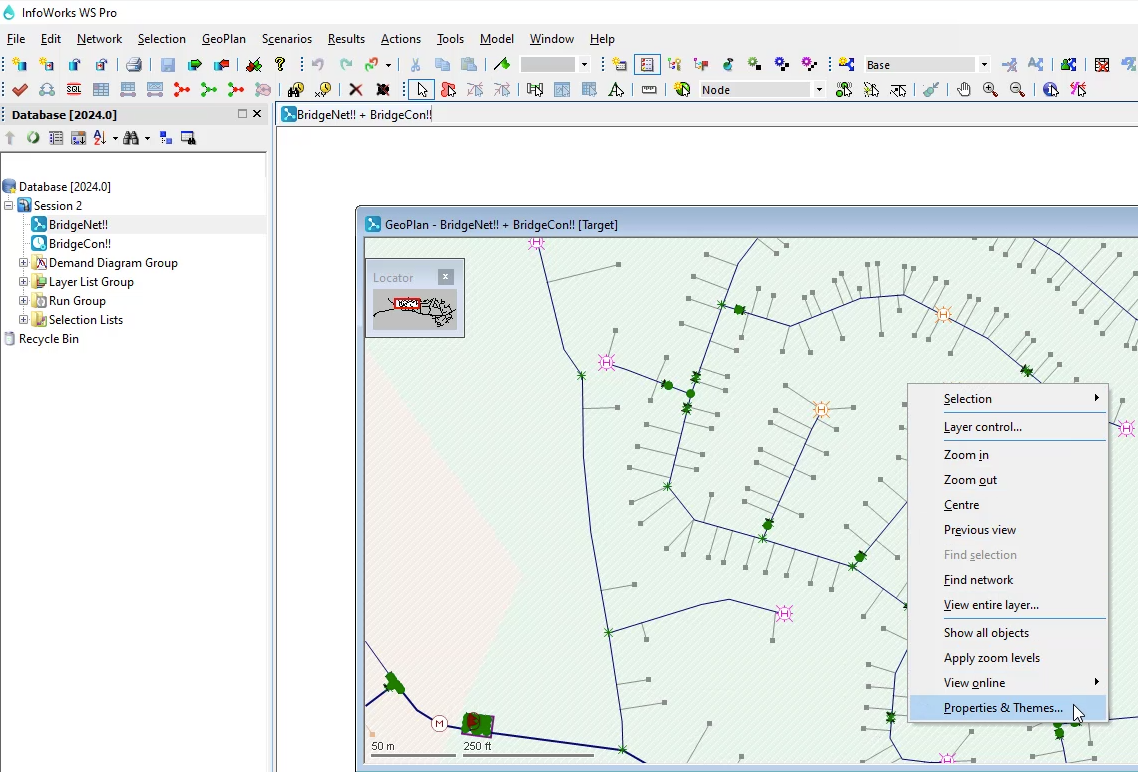
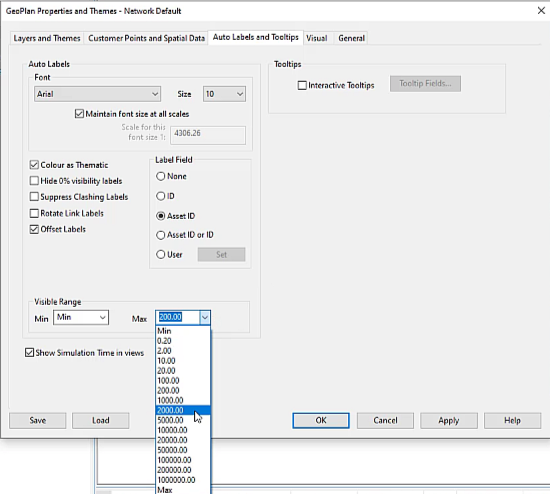
- In the GeoPlan Properties and Themes dialog box, open the Auto Labels and Tooltips tab.
To set the visible range over which auto labels are applied:
- In the Visible Range section, expand the Max drop-down and select a maximum scale, such as 2000.00.
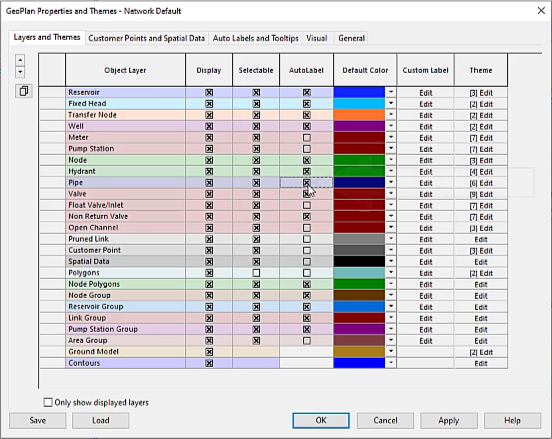
- Open the Layers and Themes tab.
- In the Pipe row, enable Auto Label.
- Click Apply.
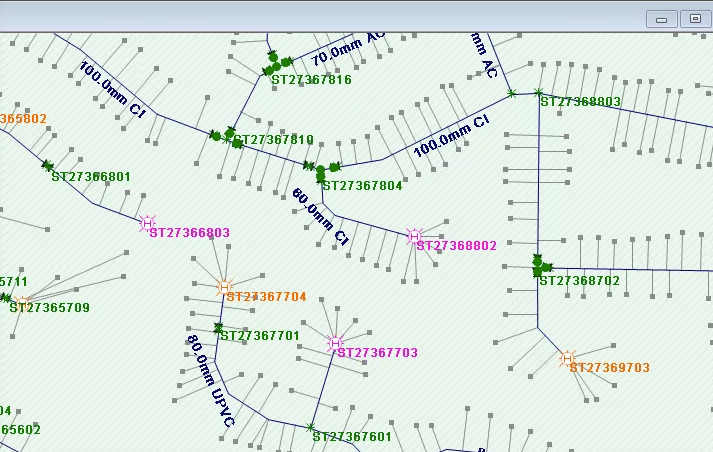
Labels now display in the GeoPlan.
To further configure how labels display:
- In the GeoPlan Properties and Themes dialog box, reopen the Auto Labels and Tooltips tab.
- Under Auto Labels, select Rotate Link Labels.
- Click Apply.
In the GeoPlan, the labels align with the network display.
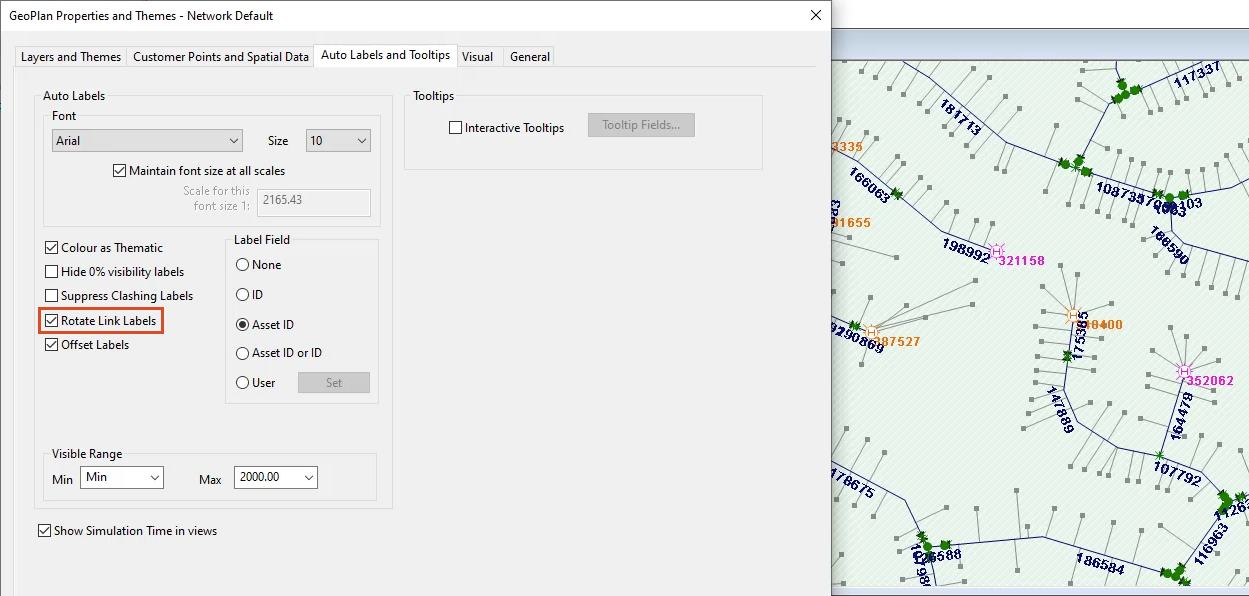
To set user-defined label fields:
- Under Label Field, select User.
- Click Set.
- In the Auto Label dialog box, expand the Object Type drop-down.
- For this example, select Pipe.
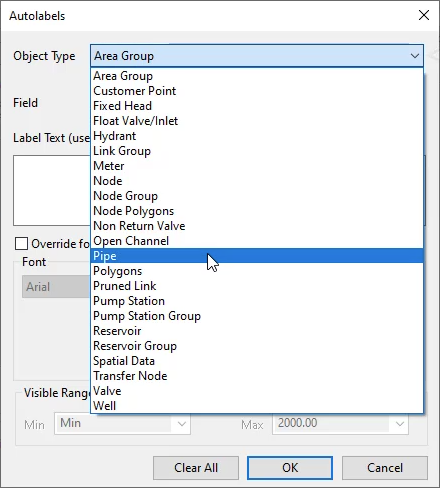
- Expand the Field drop-down for a list of fields relevant to the selected Object Type.
- Select Diameter.
- Click Insert Field to add it to the Label Text box.
- In the Label Text box, next to the field name, enter the measurement unit to display on the label, such as “mm”.
- On your keyboard, press SPACEBAR.
- Expand the Field drop-down and select Material.
- Click Insert Field.
- Click OK.

- In the Properties and Themes dialog box, click Apply.
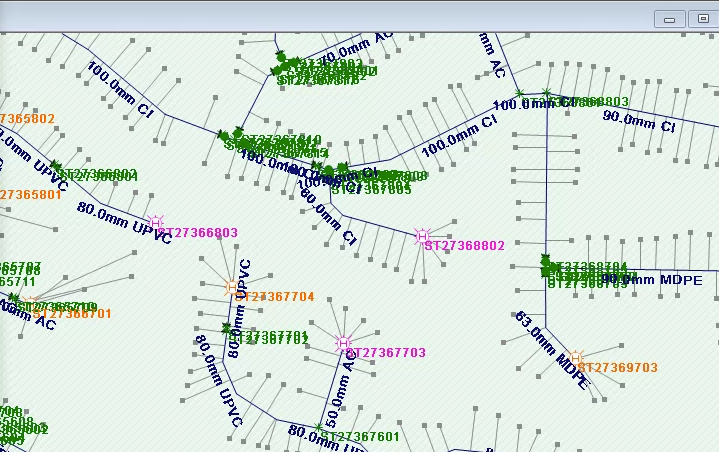
With more information displayed on the GeoPlan, it can become difficult to read. To remove visual clutter:
- In the GeoPlan Properties and Themes dialog box, reopen the Auto Labels and Tooltips tab.
- Under Auto Labels, select Suppress Clashing Labels.
- Click Apply.
- Click OK.