Step-by-step Guide
Layer lists allow you to save sets of background layers as objects in the database. This makes it easy to reload background layers with different versions of your model, or to provide a set of stock layers for cross-organizational use.
- From the Model Group, drag BridgeNet and drop it into the workspace to open the GeoPlan.
- Import Background.shp.
- Apply the shapefile to the GeoPlan and style it appropriately.
First, create a new layer list group:
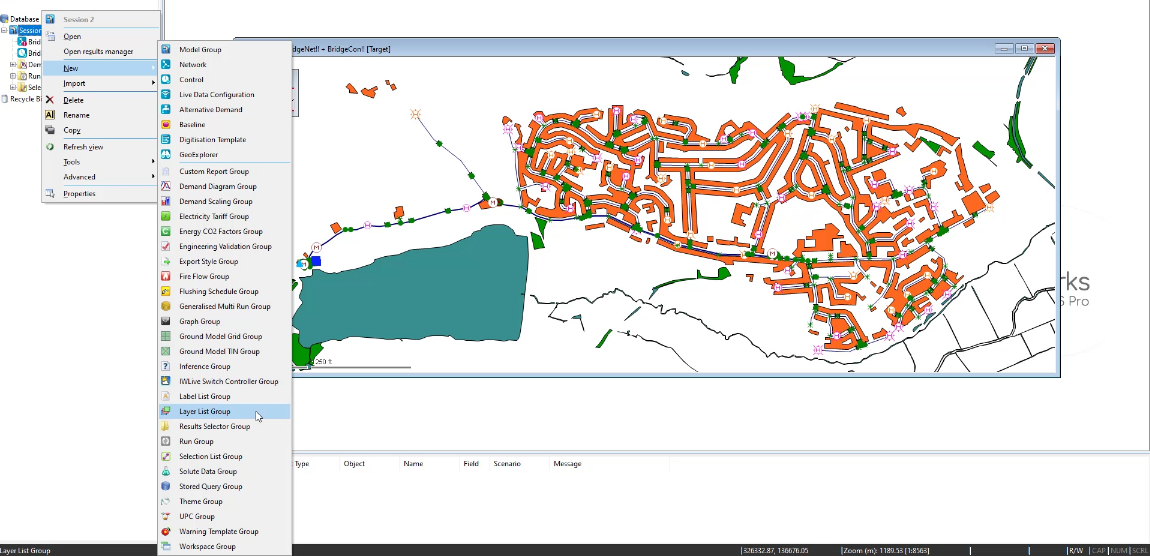
- From the Model Group, right-click Session 02 and select New > Layer List Group.
- In the Layer List Group dialog box, click OK.
Now, create a layer list:
- From the Model Group, right-click Layer List Group and select New > Layer List.
In the Layer List dialog box, Background.shp is listed, because in this case, it is open in the GeoPlan.
- In the Layer List field, enter a name for the list, such as “Background”.
- Click OK.

In the Model Group, under Layer List Group, the new Background layer list appears.
To remove the layer list from the GeoPlan:
- Close the GeoPlan.
- OR right-click the GeoPlan and select Layer Control.
- In the GIS Layer Control dialog box, in the GIS Layers box, select the background layer.
- Click Remove.
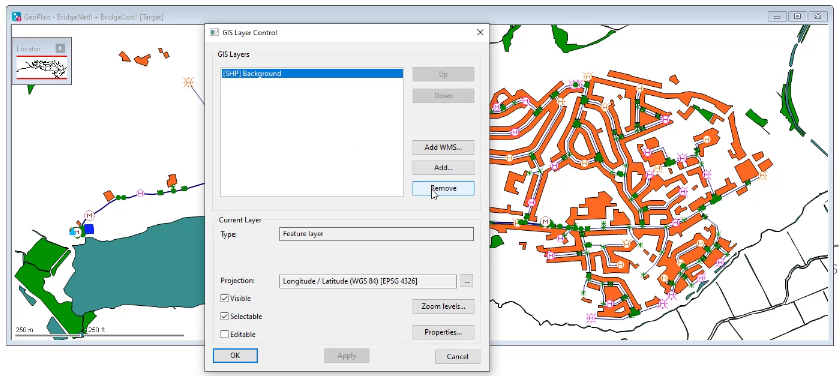
- Click Apply.
- Click OK.
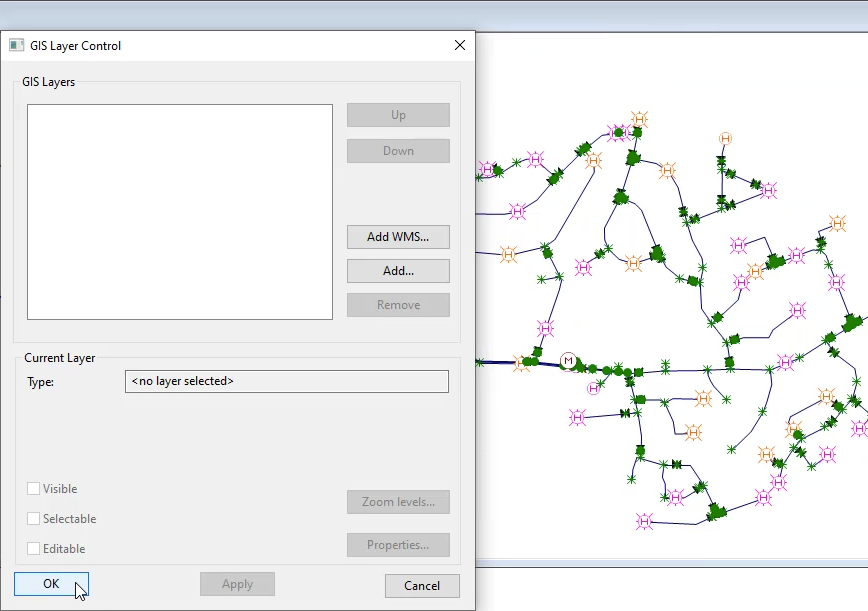
In the GeoPlan, the background is no longer applied.
- From the Model Group, drag Background and drop it into the GeoPlan. The background reappears.
To review the changes and commit them to the network:
- From the Model Group, under Session 02, right-click BridgeNet and select Commit changes to database.
- In the Commit change to server dialog box, select Diff.
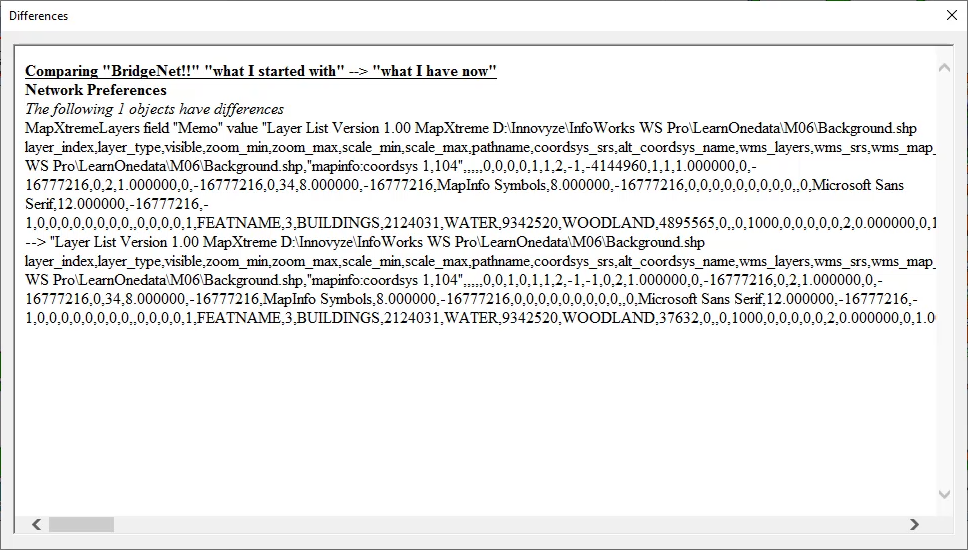
- From the Compare Object dialog box, select Show differences.
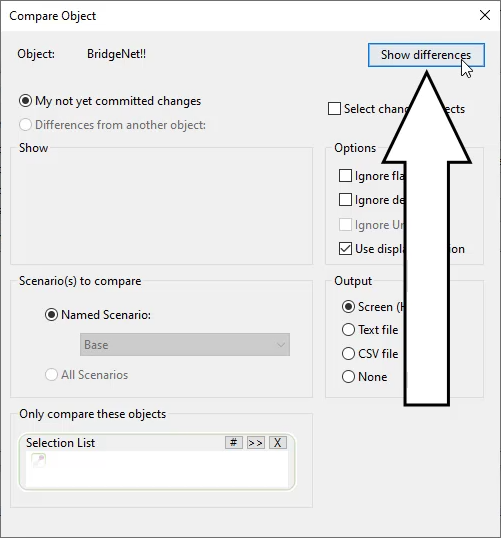
- In the Differences window, review the changelog of the updated model, including the newly added layer list.
- Close the log.
- In the Commit change to server dialog box, click OK.


