Add a railing to a staircase and modify the railing properties.
Tutorial resources
These downloadable resources will be used to complete this tutorial:
Transcript
00:04
Handouts and balustrades are used for safety purposes
00:08
first for us to hold on to as we ascend or descend the stairs.
00:12
But also to prevent anybody from falling into a stairwell
00:15
or falling over the edge of a balcony
00:18
in rev,
00:18
a railing can be hosted on the project level or
00:21
it can be hosted on objects such as stairs,
00:23
floors, walls and even roofs and topography.
00:28
Let's begin our lesson by opening the file, create rate lens.
00:32
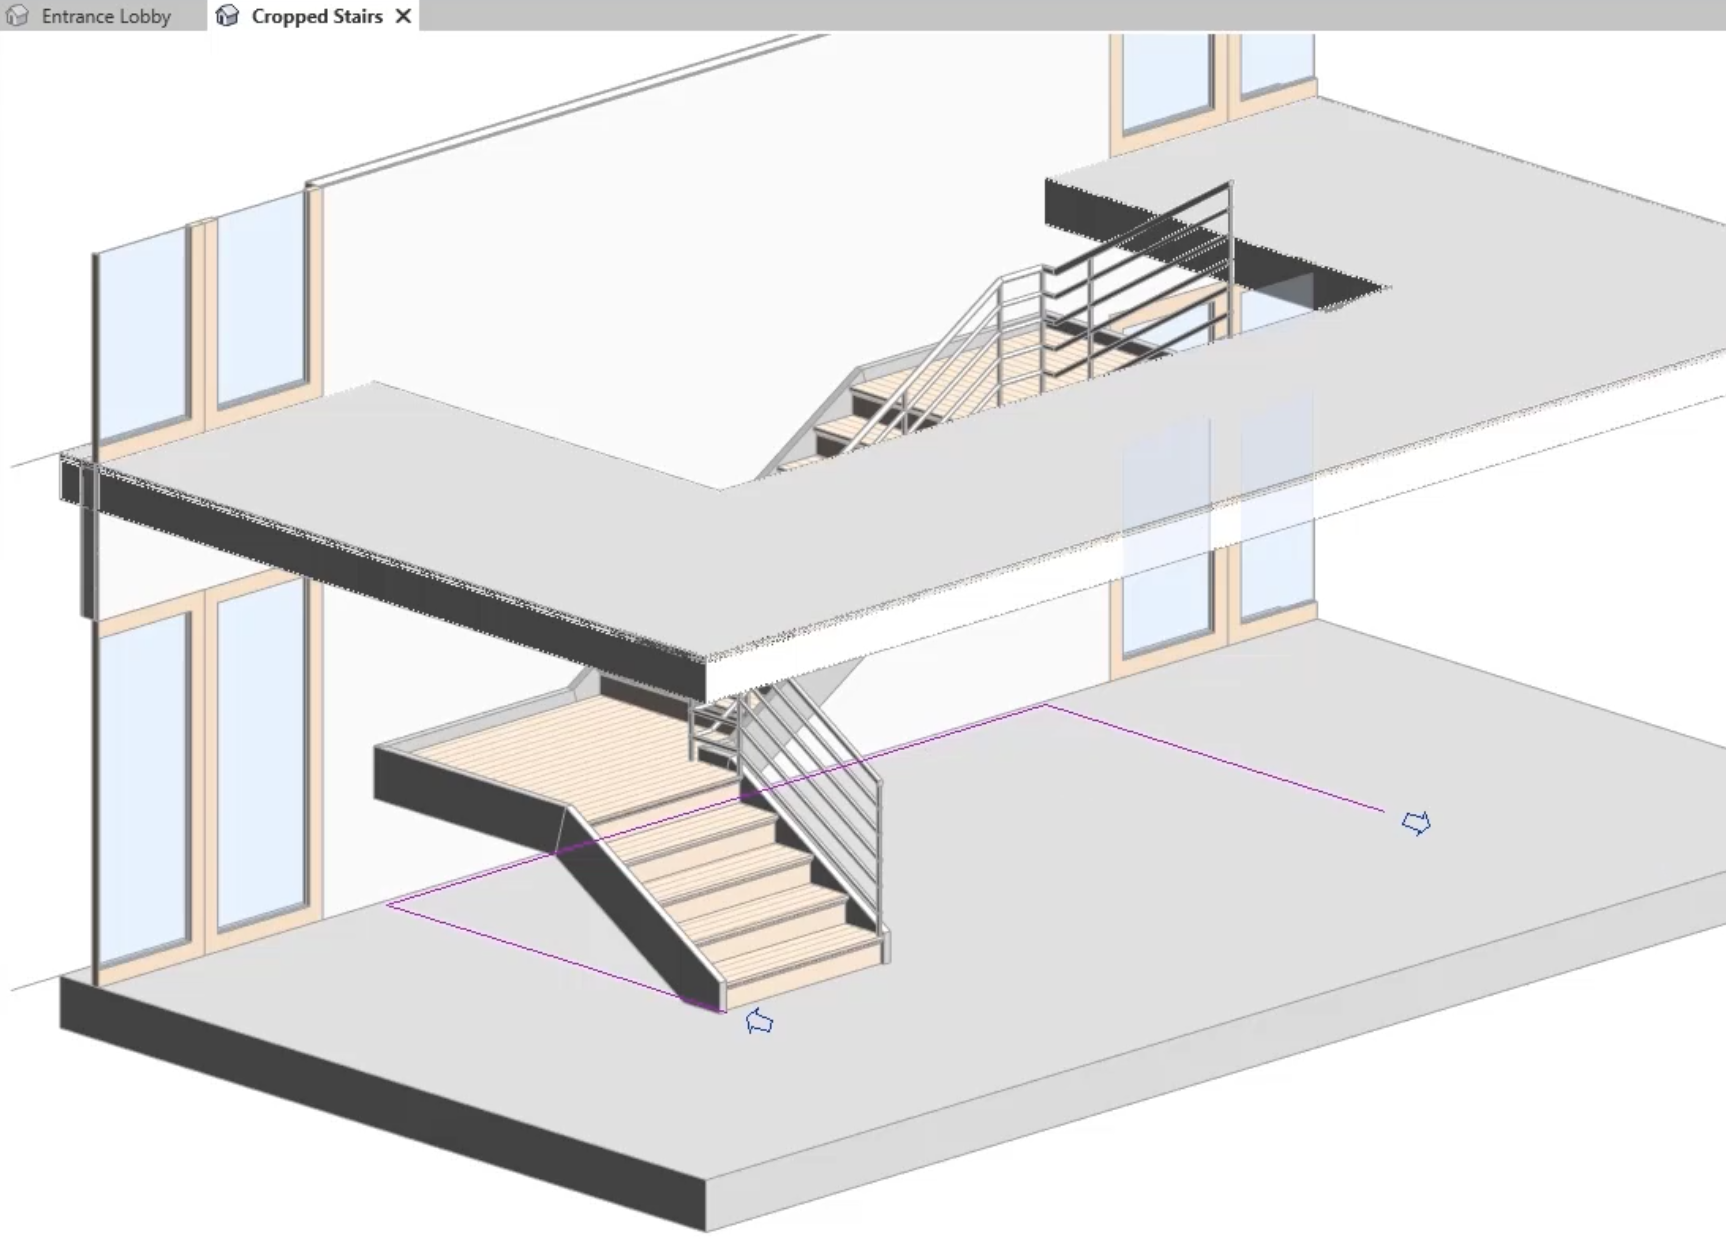
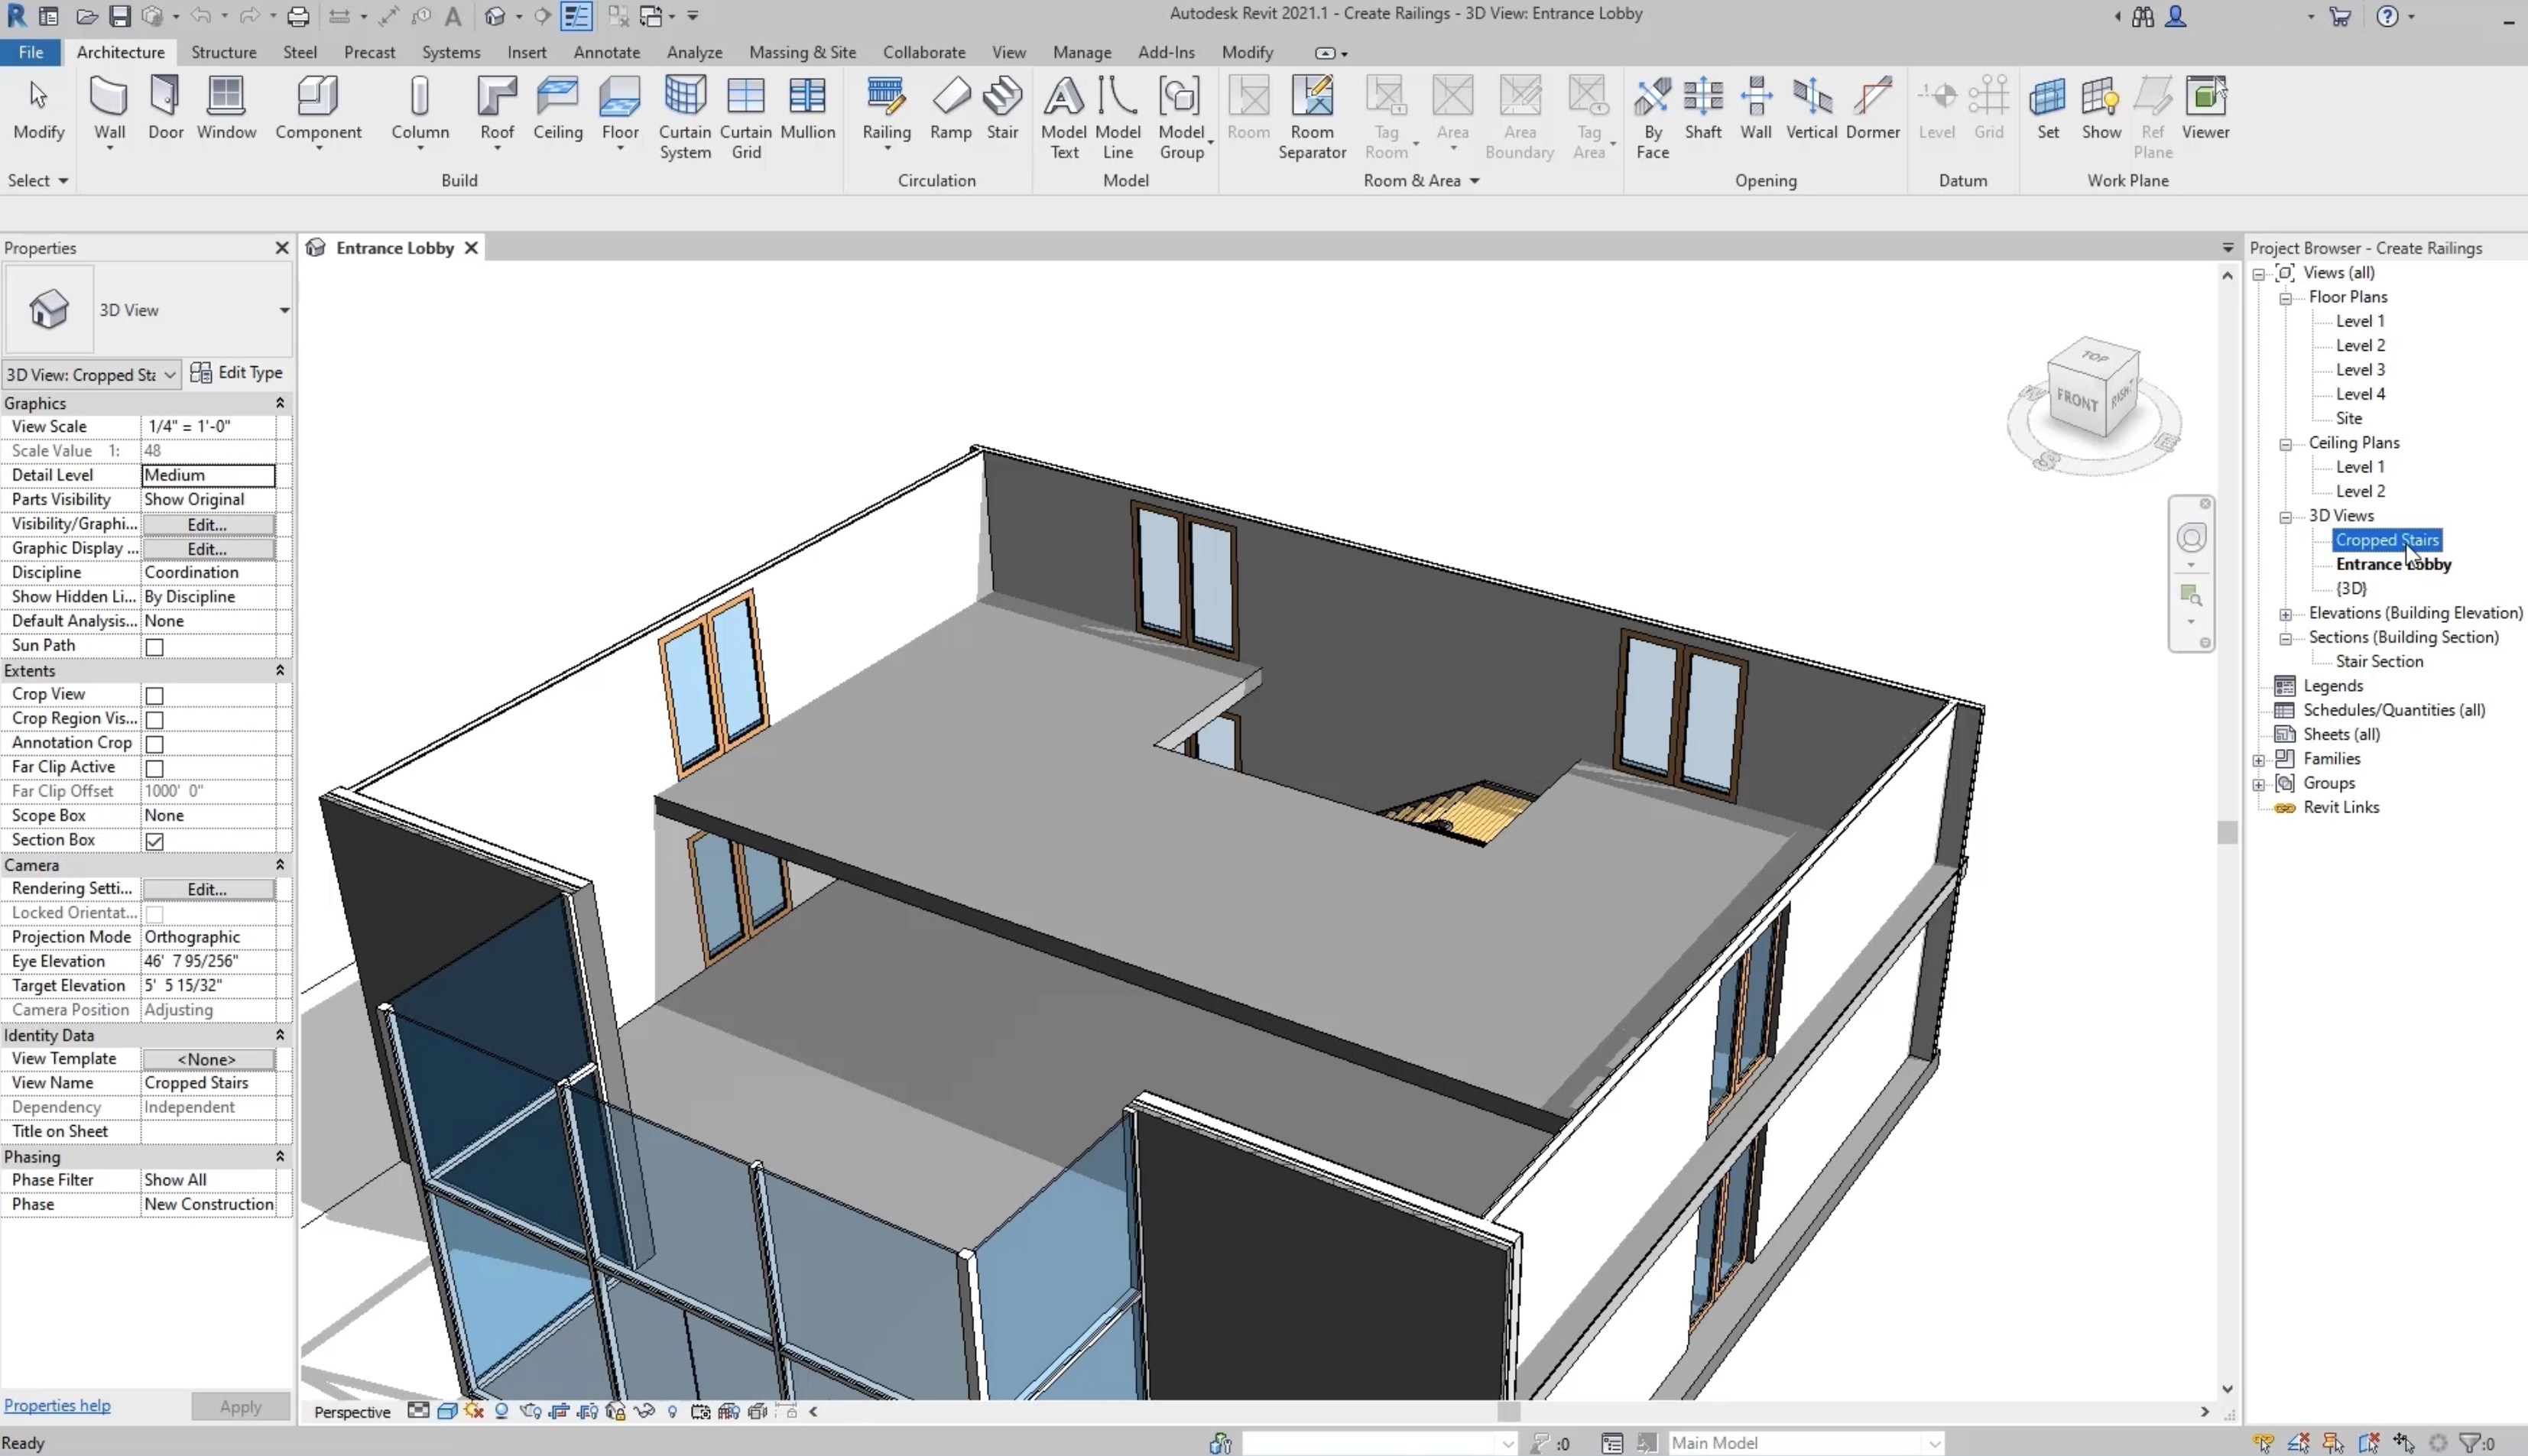
This file will open into the entrance lobby, 3d view
00:36
and at the rear of the lobby here,
00:37
we can see the stairwell and we can see the stairs coming up from level one
00:42
to meet the level two floor.
00:44
And also we have the edge of the balcony here that we need to add a rail to,
00:48
to get a better view of the stairs. In the project browser under 3d views.
00:52
We have the crops stairs view. So let's open that up
00:56
and this has been cropped closer to the stairs
00:59
and it's also had the level two floor slabs set to be
01:01
transparent so that we can see the stairs in their entirety.
01:06
So let's add our railings to our stairs and
01:08
to do so from the architecture tab on the ribbon
01:11
under the circulation panel,
01:12
we'll choose, roll in
01:14
and then place it on stair or ramp.
01:17
Now, on the modify ribbon,
01:19
we have the option to place the railing either on
01:21
the treads or on the stringer of the stairs.
01:24
So this means that the railing will be hosted on each individual step,
01:27
which is the treads
01:29
or will be hosted on the supports on the side,
01:31
which is the stringer,
01:33
which you choose depends on your design.
01:35
For this instance, I will leave it set to treads,
01:39
looking at the properties pallette.
01:40
We have the handrail,
01:41
rectangular type of rail in selected and I'm gonna change this to handrail pipe
01:47
and now to place it, we simply need to select the stairs,
01:51
this places their aliens from top to bottom on both sides of the stairs.
01:56
But we can see we need to extend our railings to
01:58
return back to the wall and protect the stair wall.
02:01
This side
02:02
for the central rail in here.
02:03
We need to extend this across the stairwell and
02:06
across to the back wall on the rear wall.
02:09
We have a complete railing
02:11
when in reality, we only really need a handrail.
02:15
So we will edit this back row in here so that it contains just a handrail,
02:20
but we will leave the full rail in at the bottom flight here and at the top flight too.
02:26
So let's do that first, we'll select this handrail
02:29
and because we need to split this into two separate Rollins
02:32
from the modified tab on the ribbon under the clipboard panel,
02:35
we'll choose copy to clipboard.
02:37
Mhm.
02:38
Now we have that copied, we'll choose edit the path.
02:43
And now we can see the sketch of the railing
02:46
as it follows around the path of the stairs.
02:49
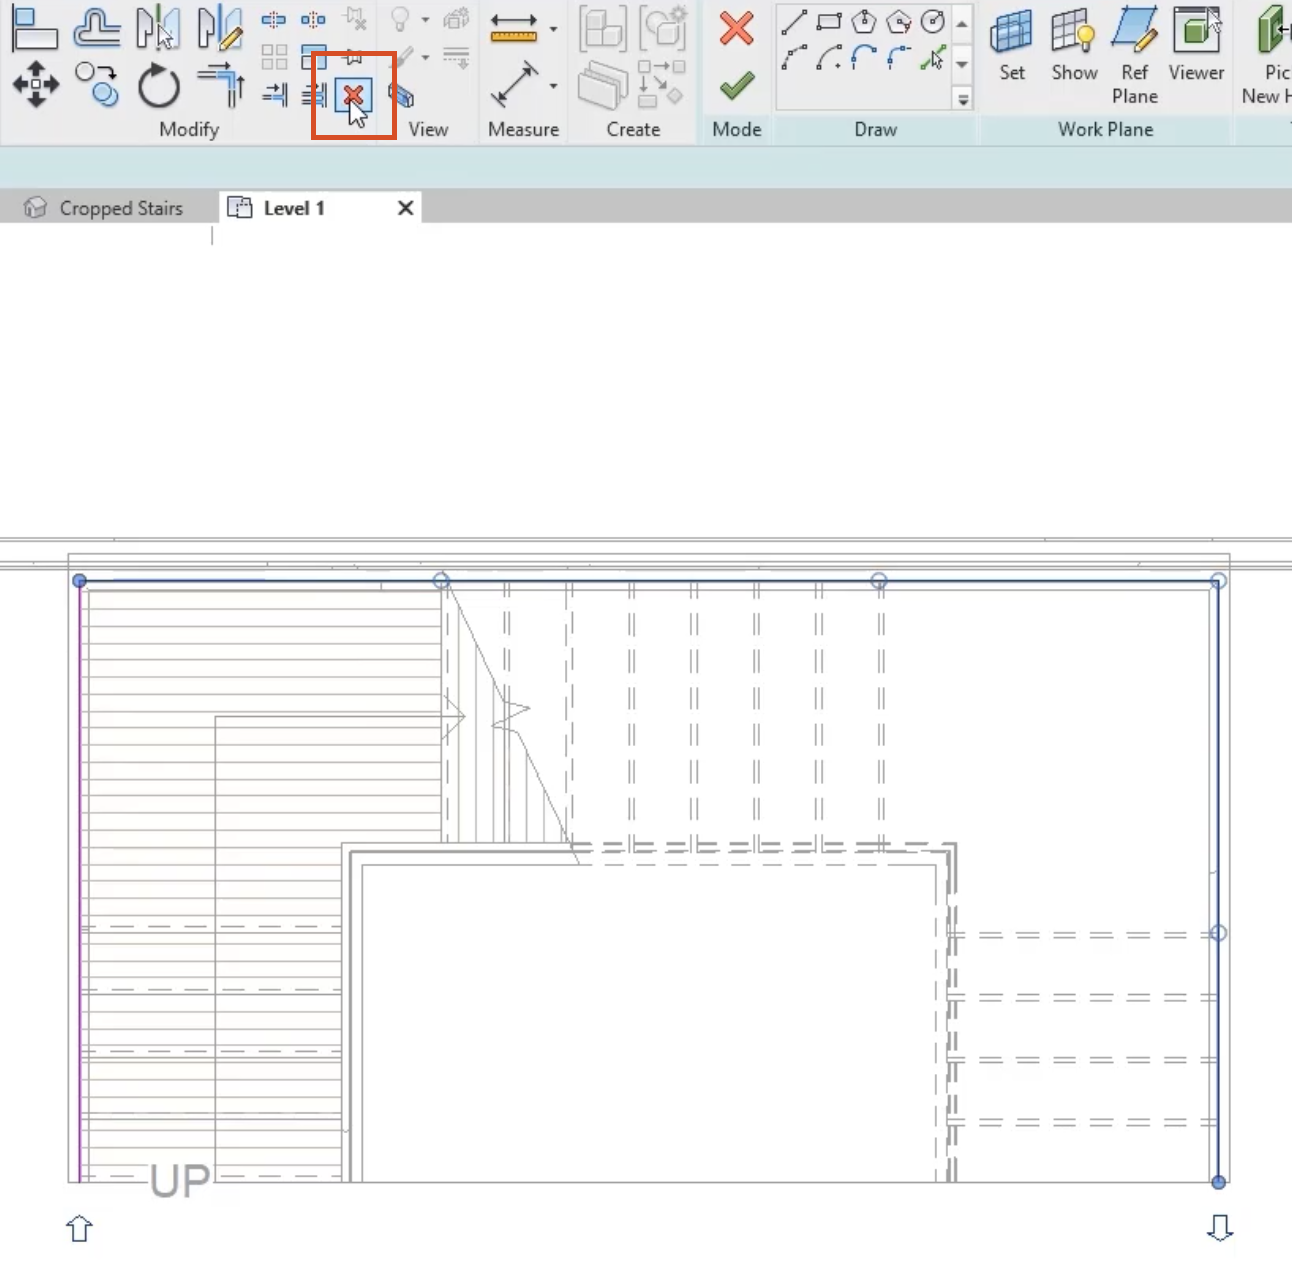
So to edit this, let's open up a floor plan view or go to the level one floor plan view.
02:56
And then as we zoom in,
02:57
we can see the sketch lines following around the edges of the stairs.
03:03
So for this one,
03:03
I just want the railing to come from the bottom of the stairs up to the back wall.
03:07
So we'll simply select the remaining lines and delete those.
03:13
Now I can choose finish edit mode.
03:16
And if I swap back to the crops stairs view,
03:19
I can now see the rolling, finishing at the back wall,
03:25
we'll post the a railing back in and then we'll repeat the process for the top row.
03:30
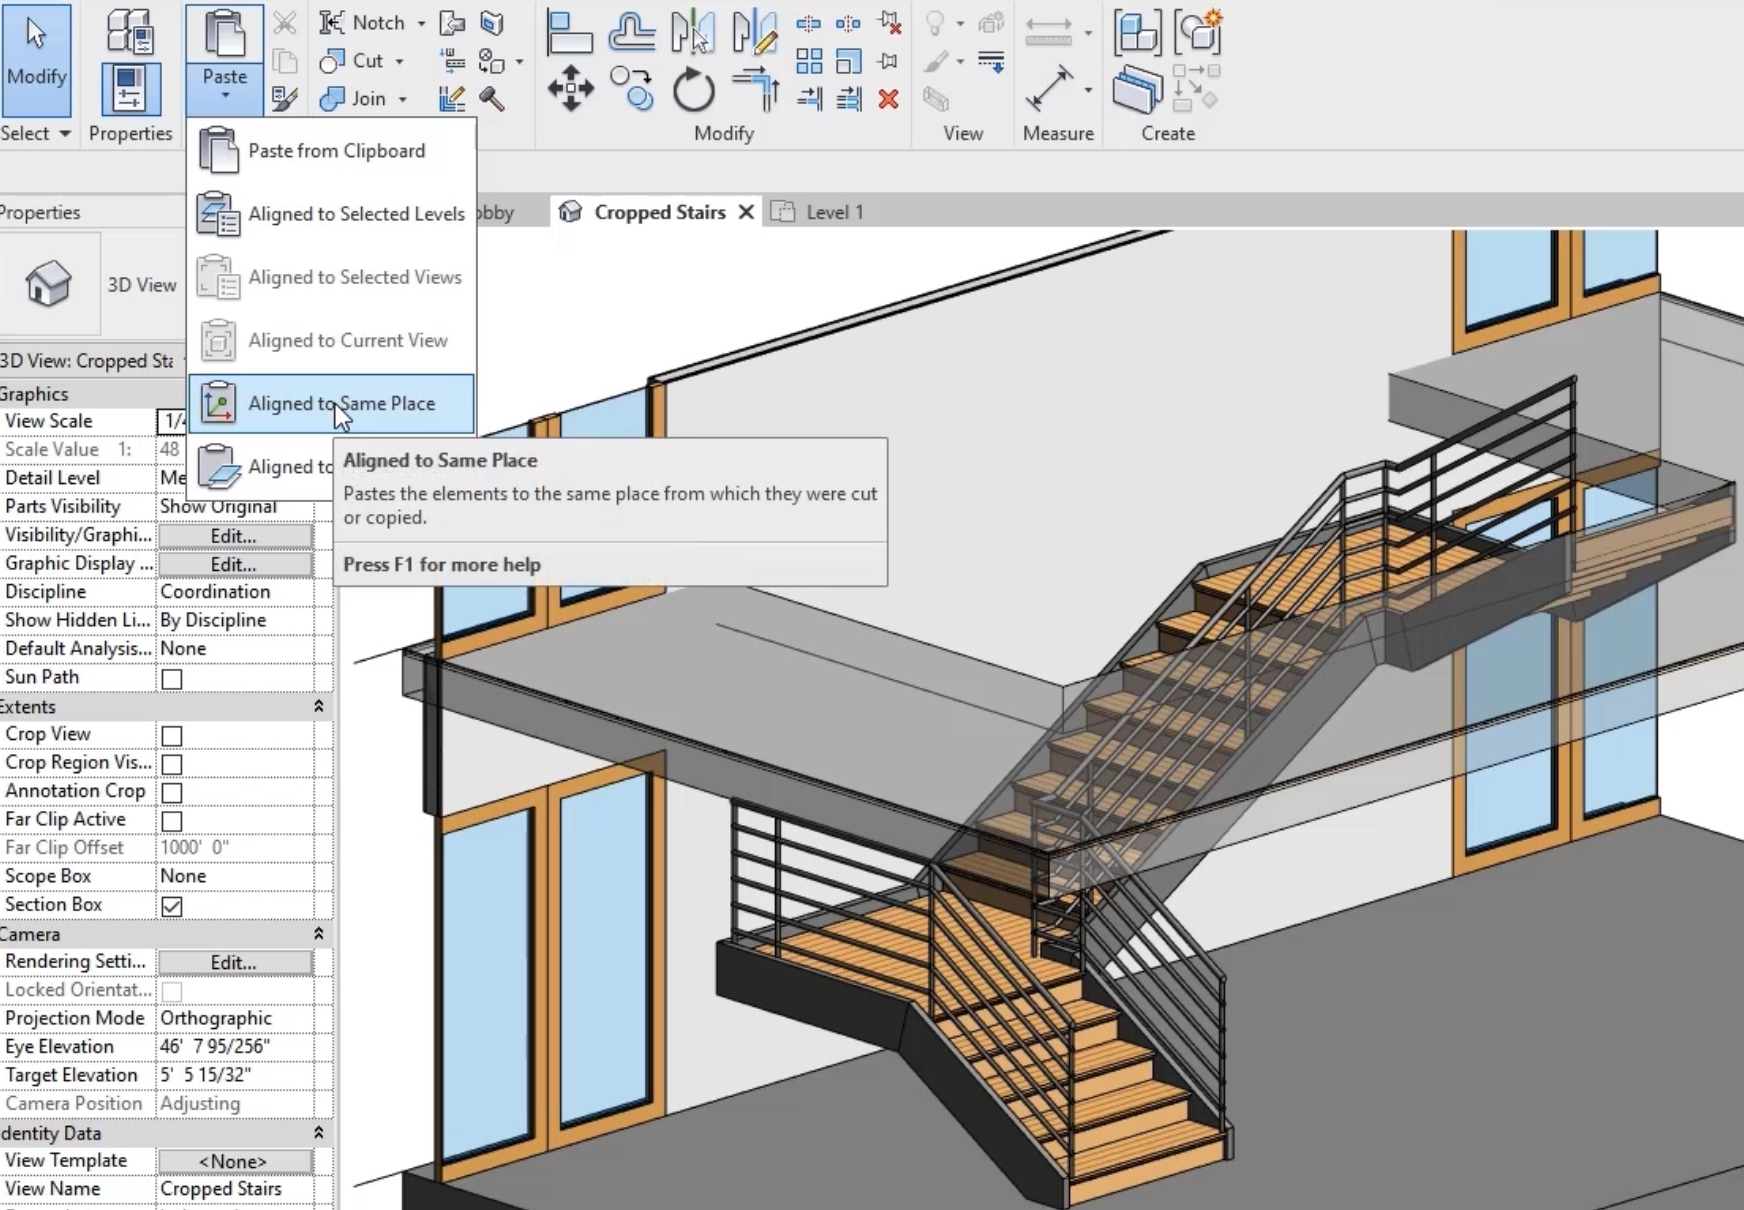
So from the modified tab
03:31
under the clip board, we'll choose under post
03:34
and choose aligned to same place.
03:39
So that's pasted the original railing back onto the entire length of the stairs.
03:43
So we'll choose edit path once more
03:47
and then we'll go back to our level one plan view
03:49
and we'll delete the lines at the bottom of the stairs and also along the rear wall.
03:57
And I will choose finish edit mode
04:01
to complete that.
04:03
And then looking back at the cropped stairs view,
04:05
we can see the railing coming from the back wall to the top of the stairs.
04:10
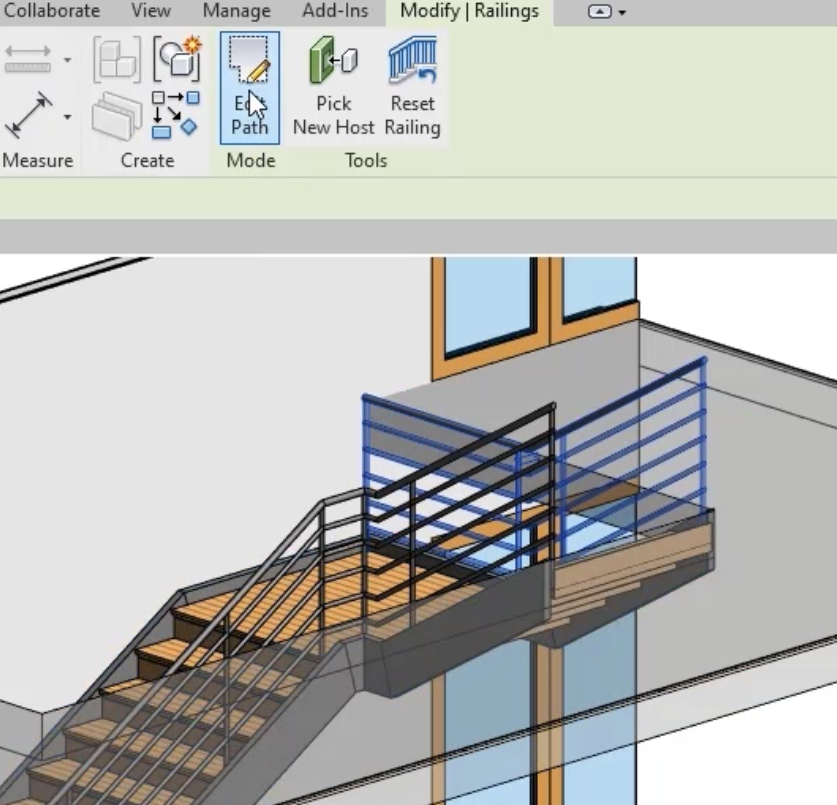
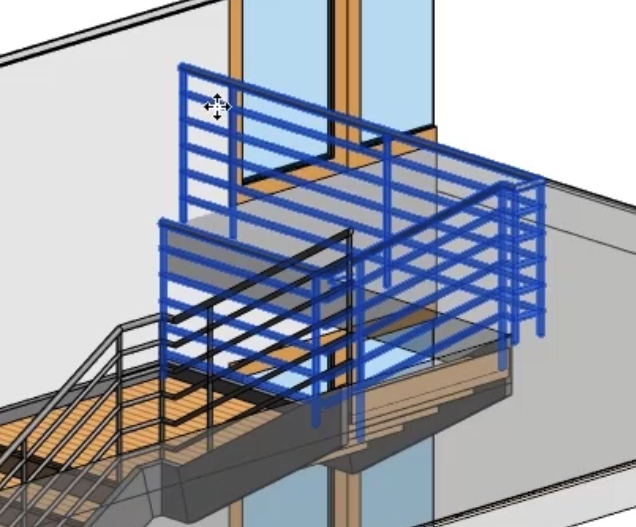
So this top rolling we need to extend so that it returns back across the stairwell.
04:15
So let's choose this rolling
04:16
and we'll choose edit path from the modify ribbon once more.
04:21
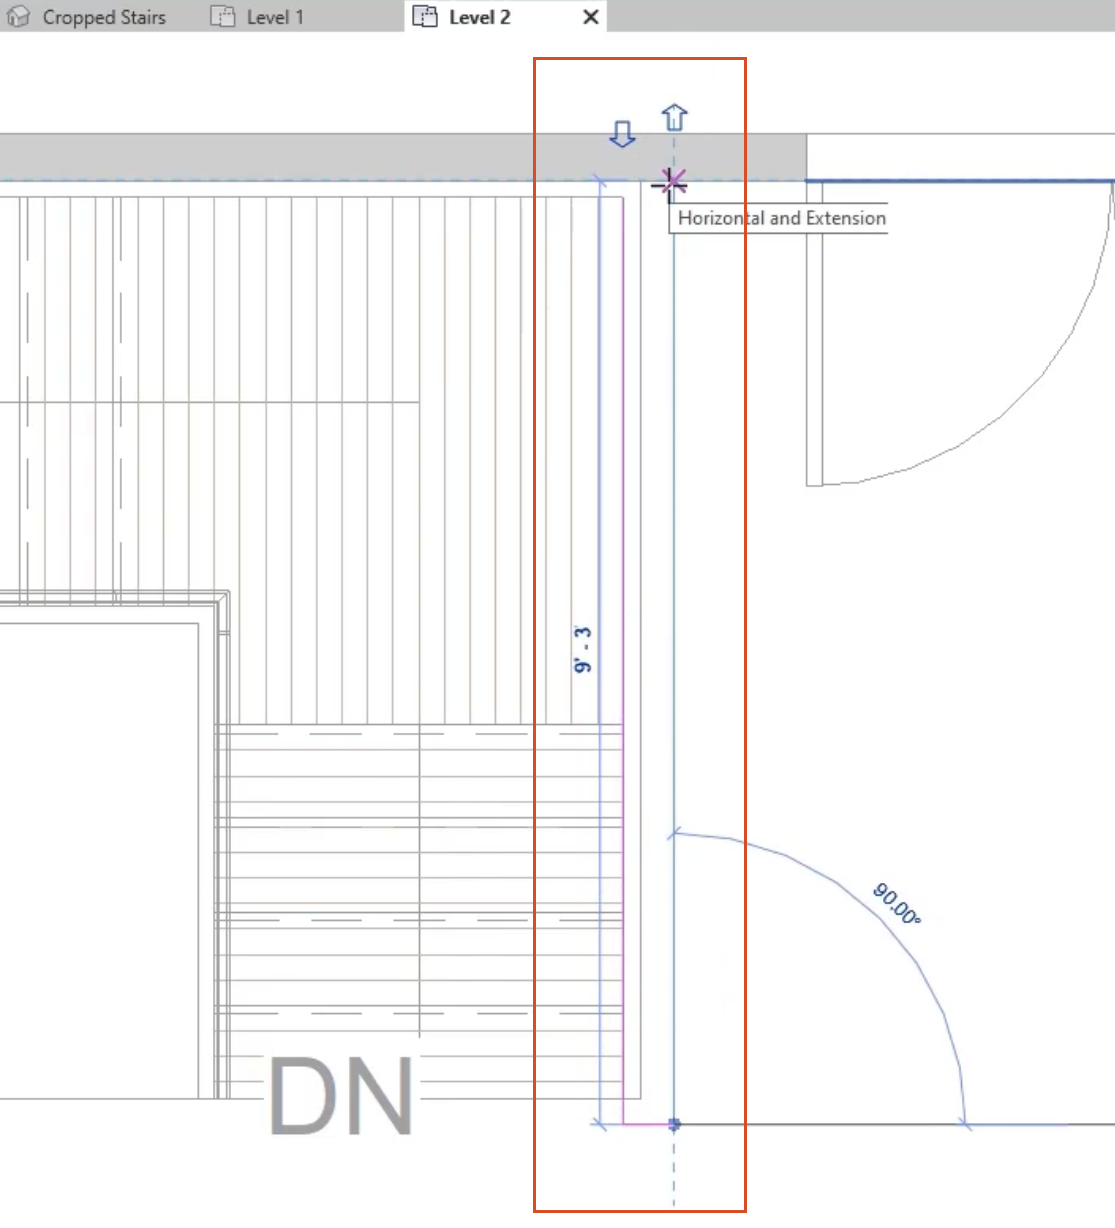
And this time, I'll go to the level two floor plan
04:27
here, we can see the rolling sketch
04:30
and we need to extend this on a little bit
04:32
further and then return it back towards the wall here.
04:34
So from the sketch tools on the modify railings ribbon tab here,
04:38
we'll choose the line tool
04:40
and then we'll extend the new line on three inches.
04:46
We'll sketch it across this way six inches
04:51
and now we return it back to the wall.
04:55
Mhm.
04:56
So once we've got that completed, we'll choose finish edit mode.
04:59
And once again, looking at the crop stairs view,
05:02
we can now see the railing
05:04
at the top of the stairs returning back to the wall
05:07
which will stop anybody from falling into the stairwells from this side.
05:13
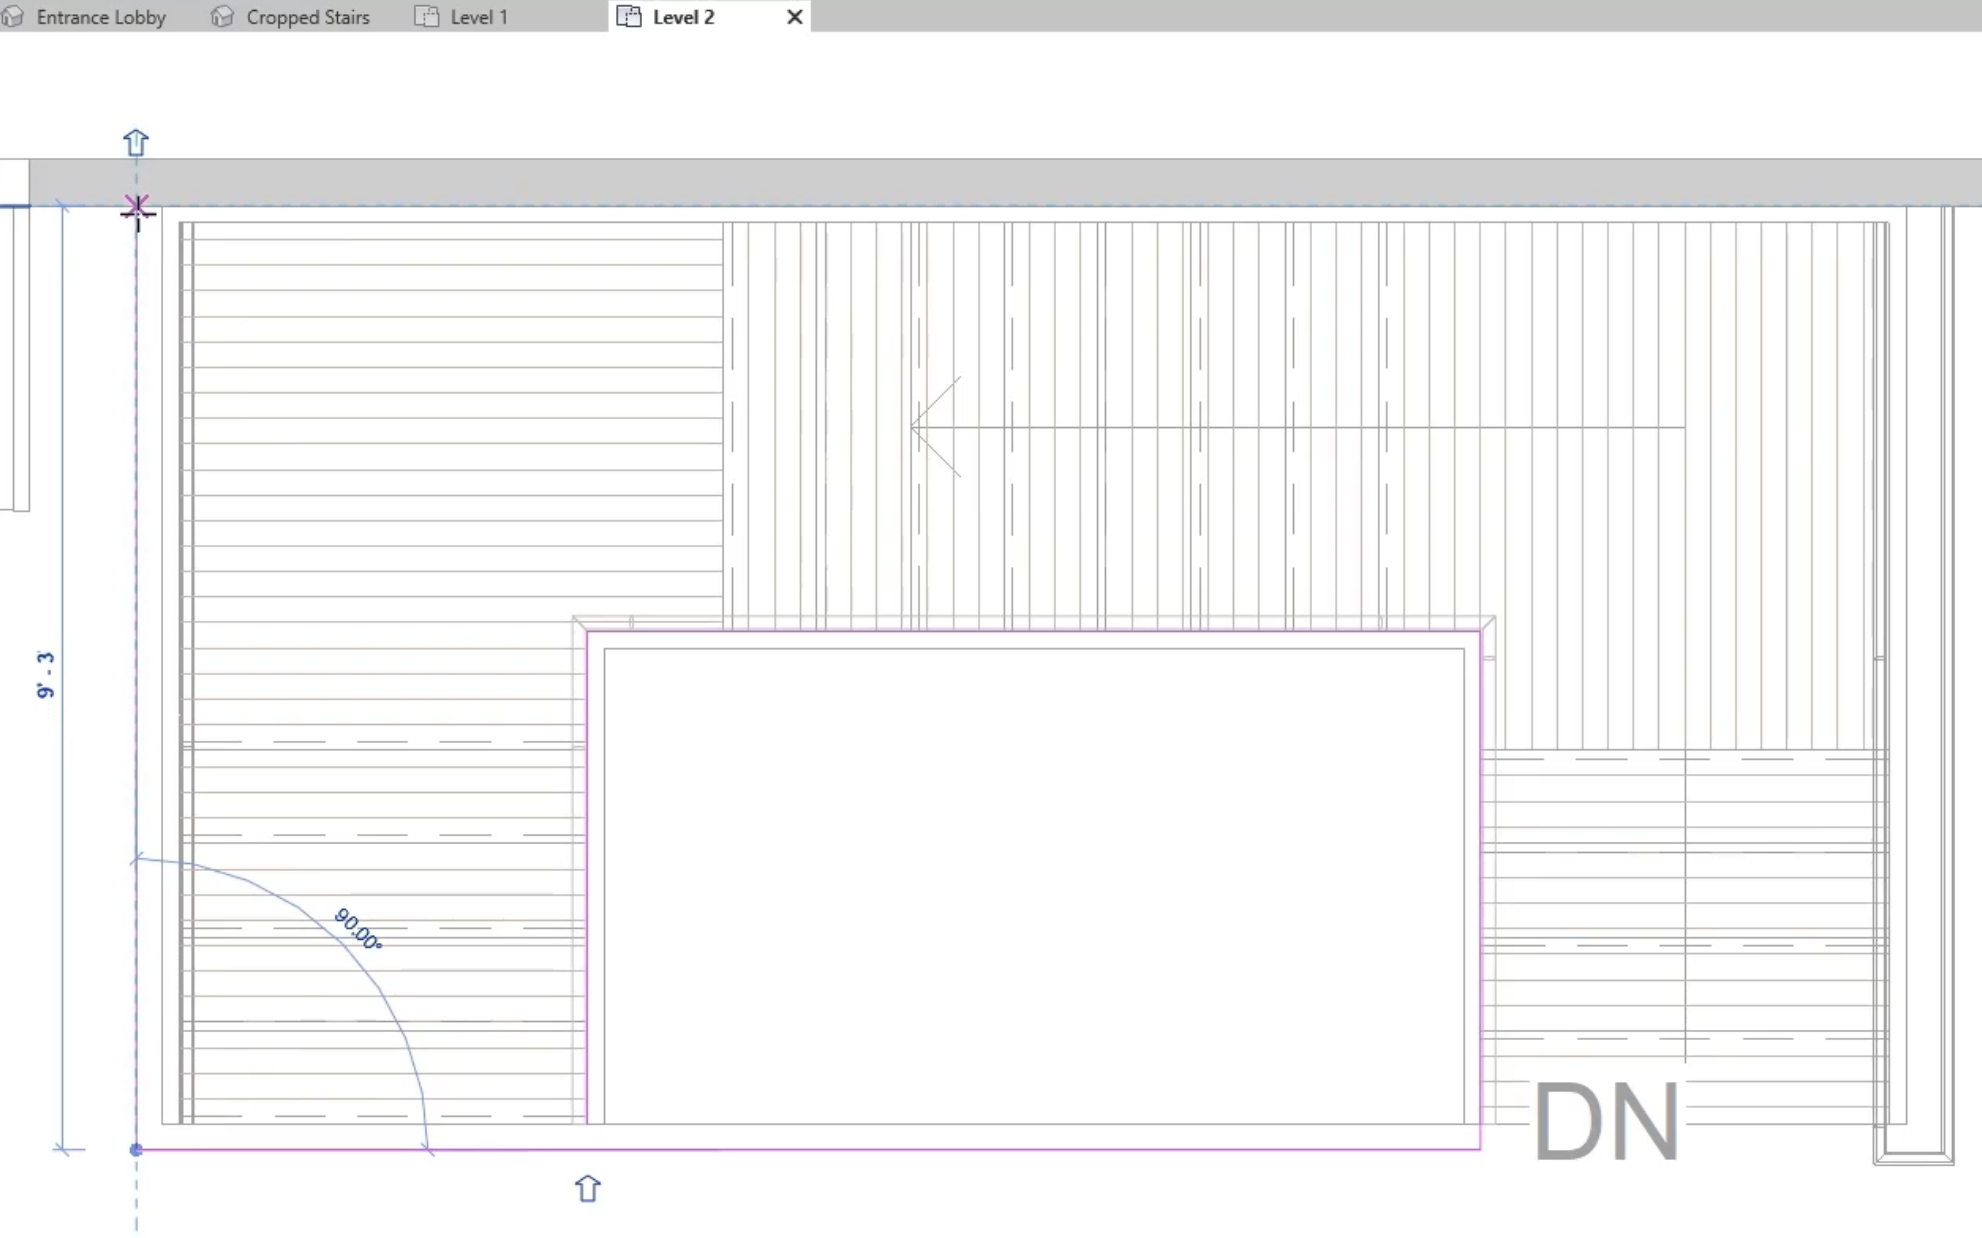
So we'll repeat that process with the central row.
05:15
So let's choose this one here and then from the modify railing, edit path once more.
05:21
And again, from the level two plan view which we have on the tab here,
05:26
we'll add a new line to the end of this one.
05:29
So three inches once more is its length
05:33
and then we'll return it across to the edge of the stairwell here
05:38
and then once more, return it back to the wall.
05:42
So now that's complete, we'll choose finish edit mode.
05:46
And once again from the crops stairs, view on the tabs here,
05:49
we can now see the rolling bending
05:51
from the top of the stairs back around the stairwell,
05:56
which is gonna prevent anybody from falling into the stairs from above.
Add a railing to a staircase and modify the railing properties.
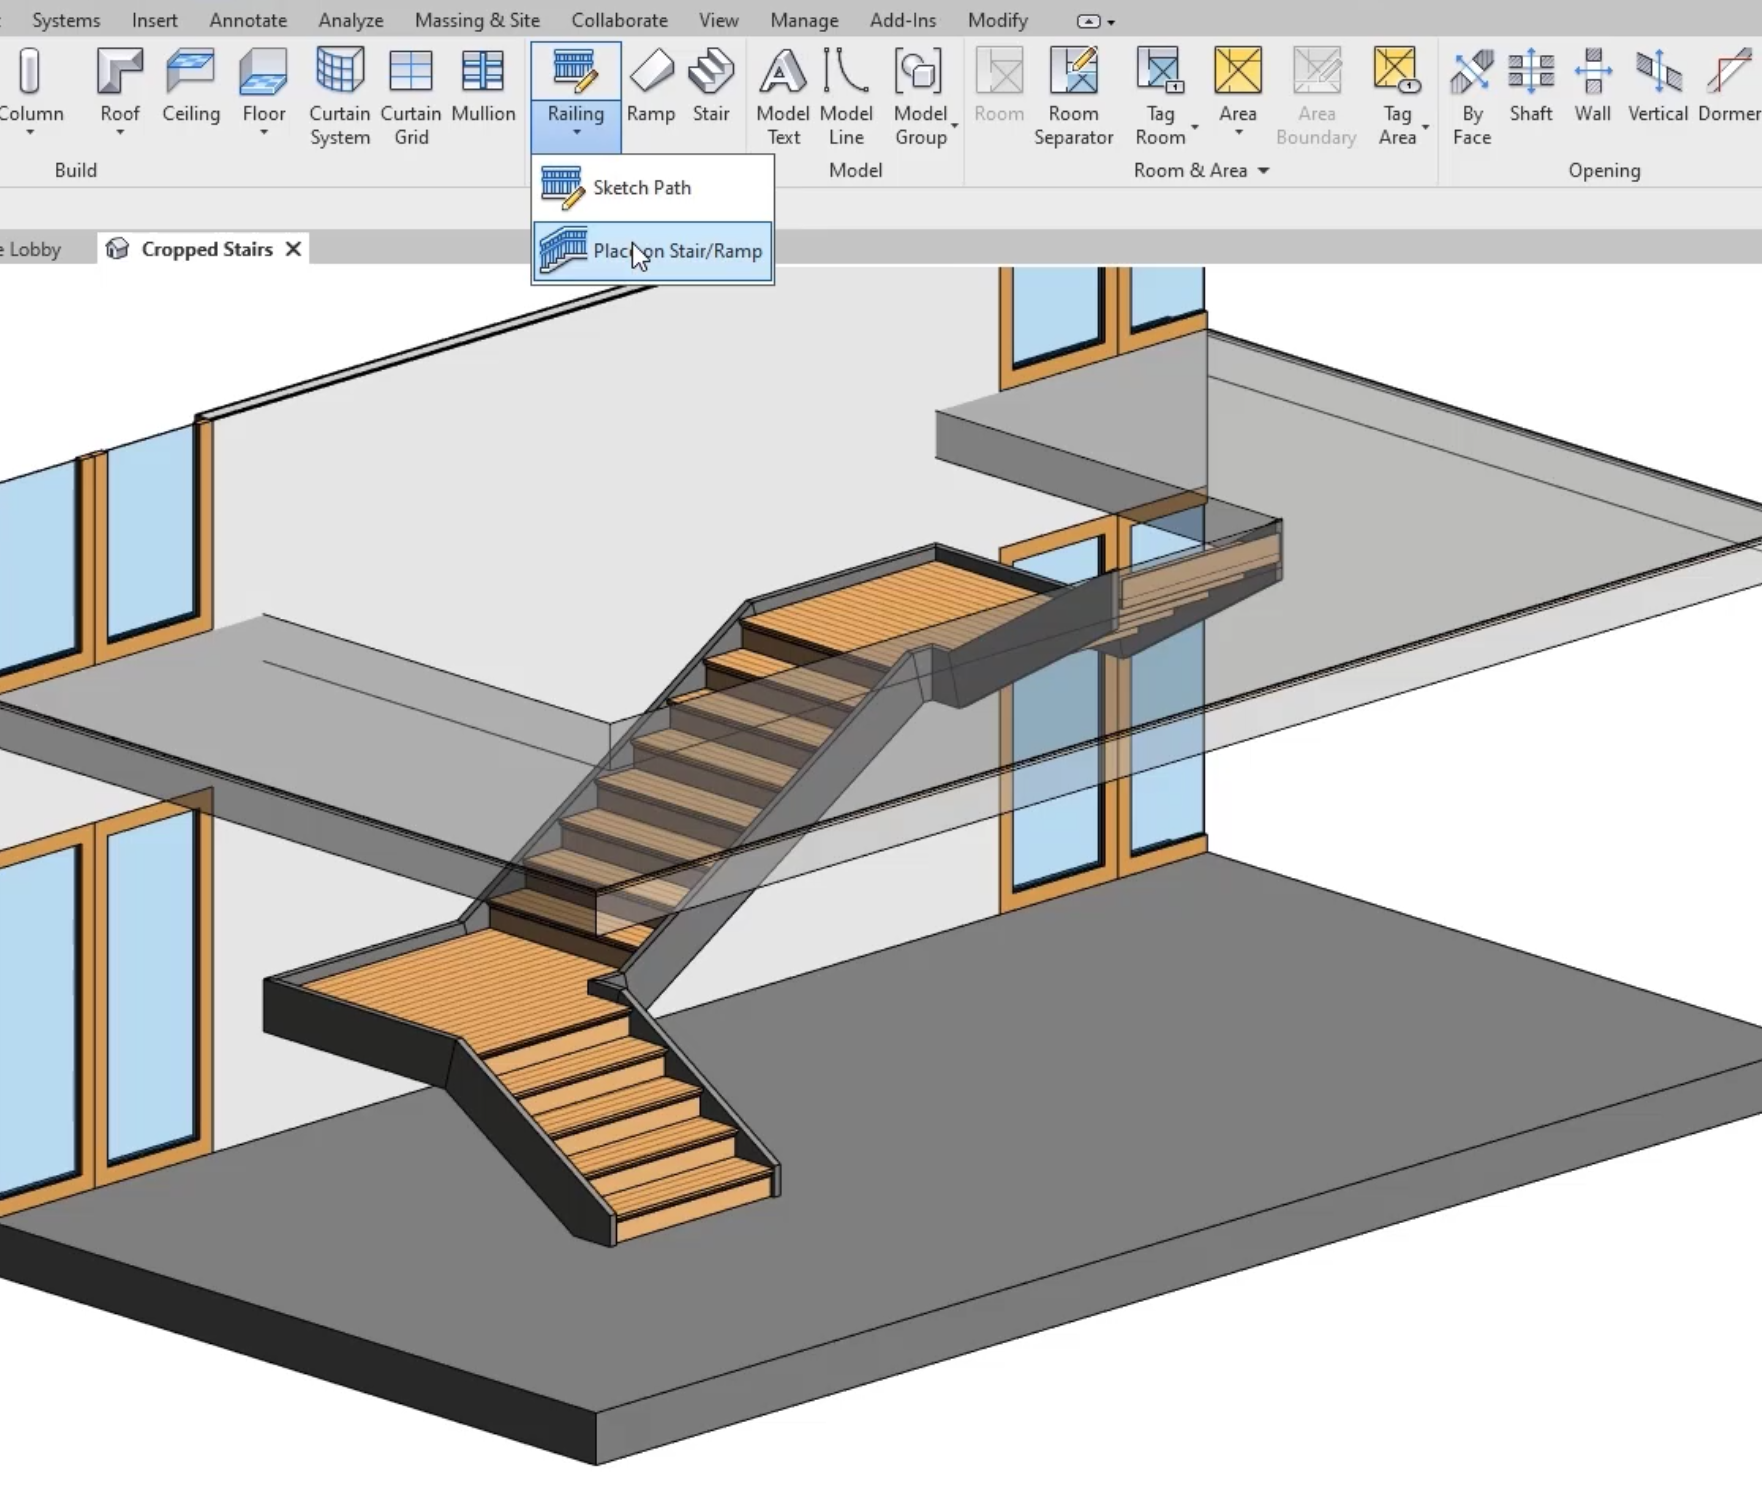
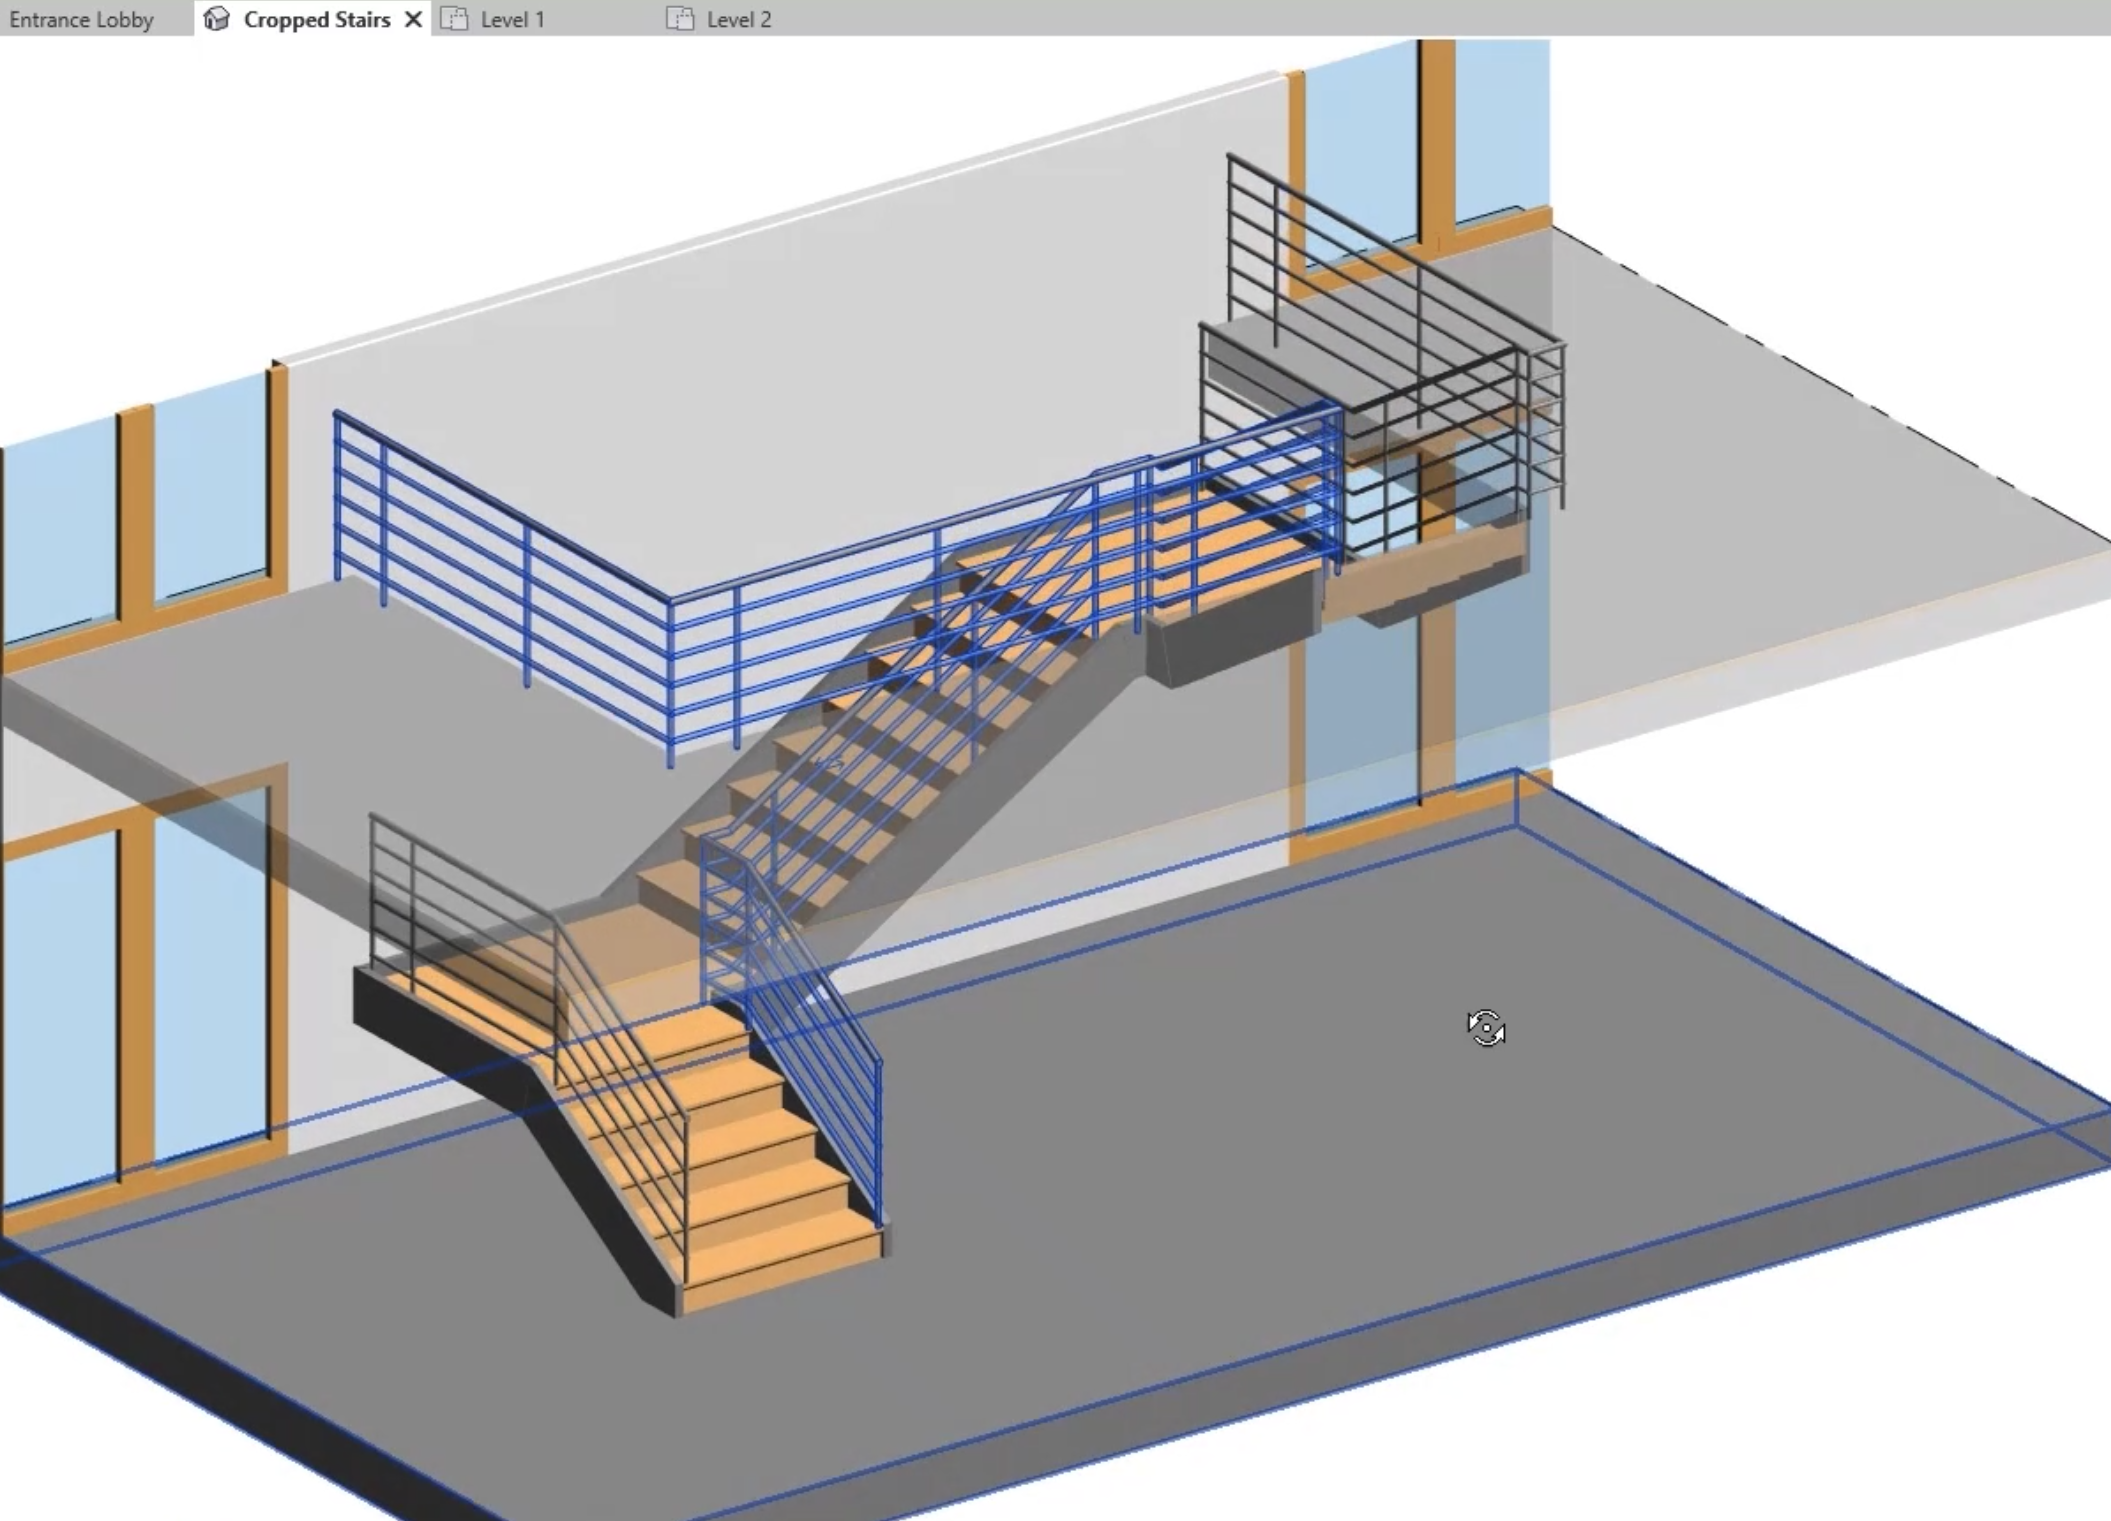
The railings are placed on both sides of the stairs
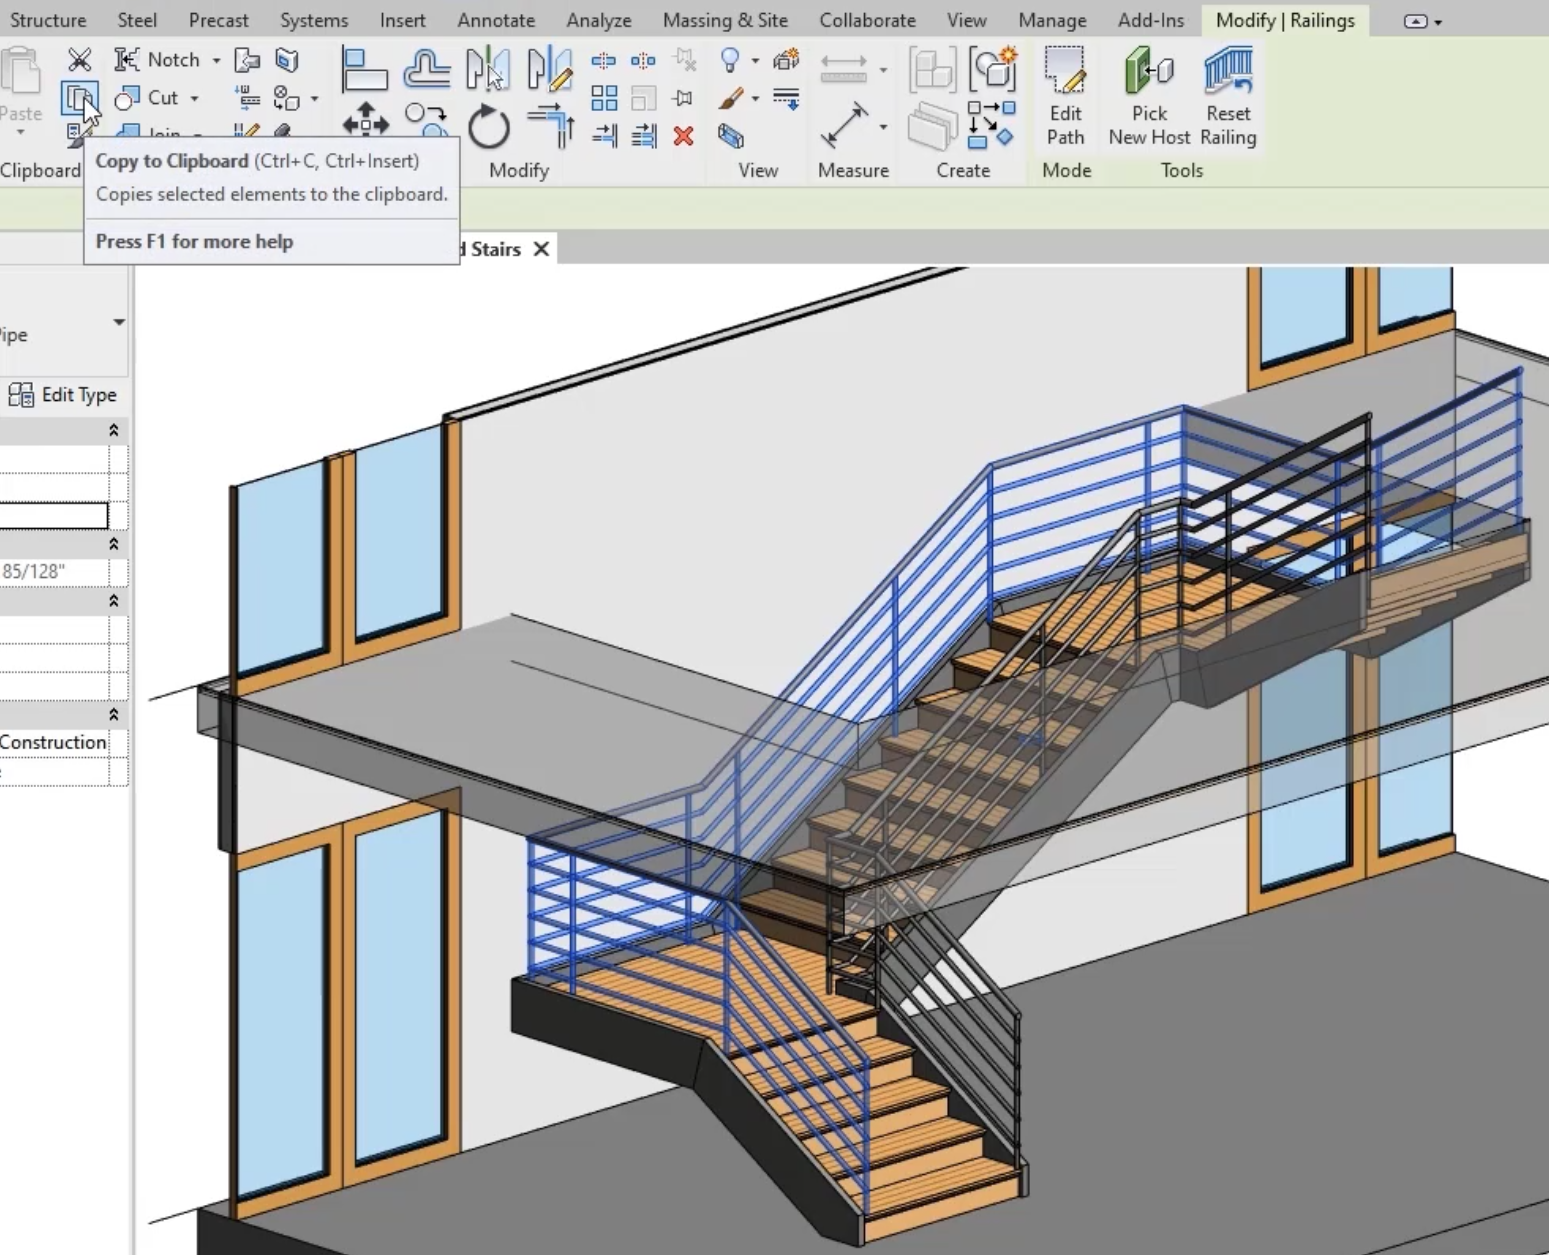
To extend the railings around the Level 2 stair opening: